¶ 1.Accessories list
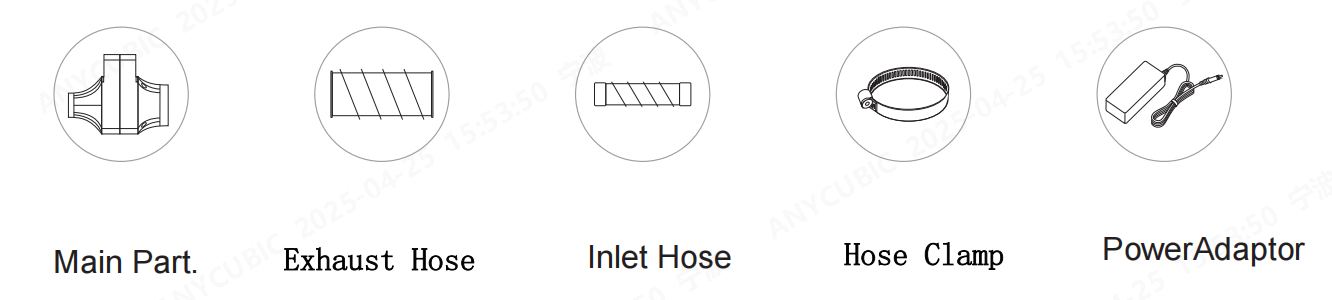
Overview

2. Preparation before installation
Safety tips:
Keep children away from the device and accessories;
Avoid placing the device near high temperature and high humidity environments;
Please read this manual carefully before use to master the installation points and usage skills to reduce incorrect installation;
Check accessories:
Check the list to confirm that all parts are complete;
¶ 3. Step-by-step installation instructions
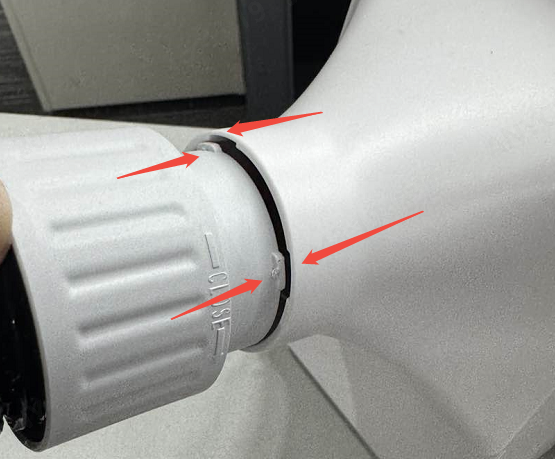
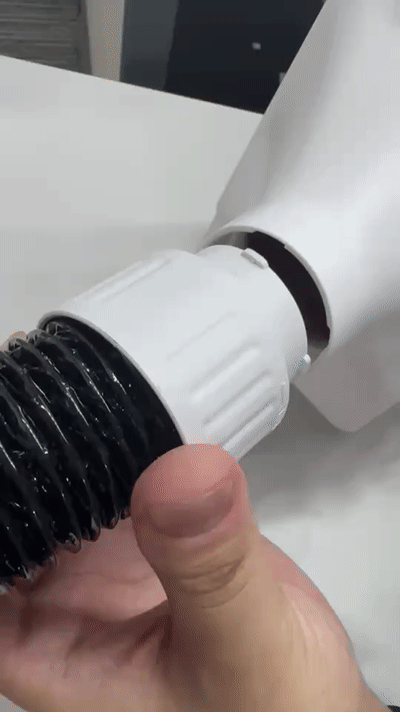
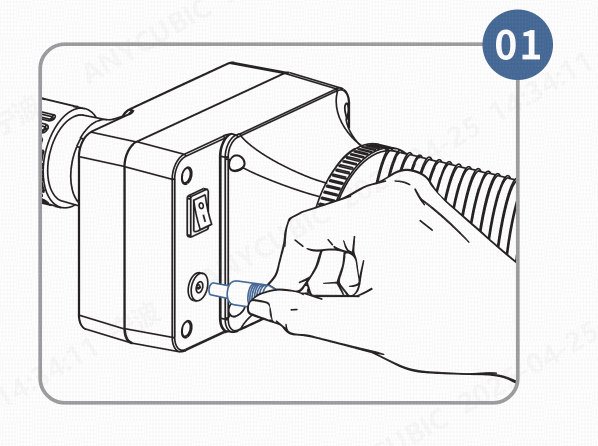
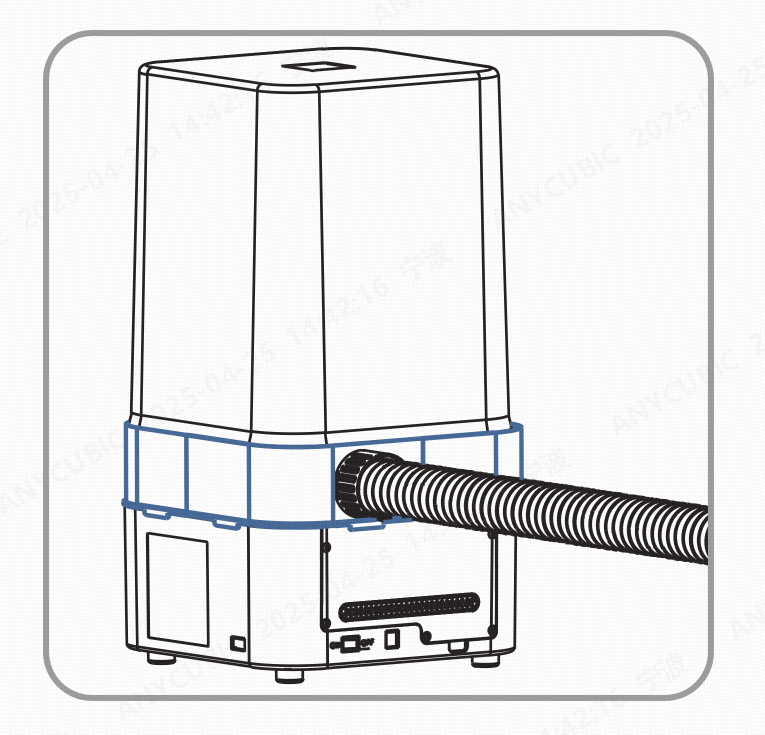
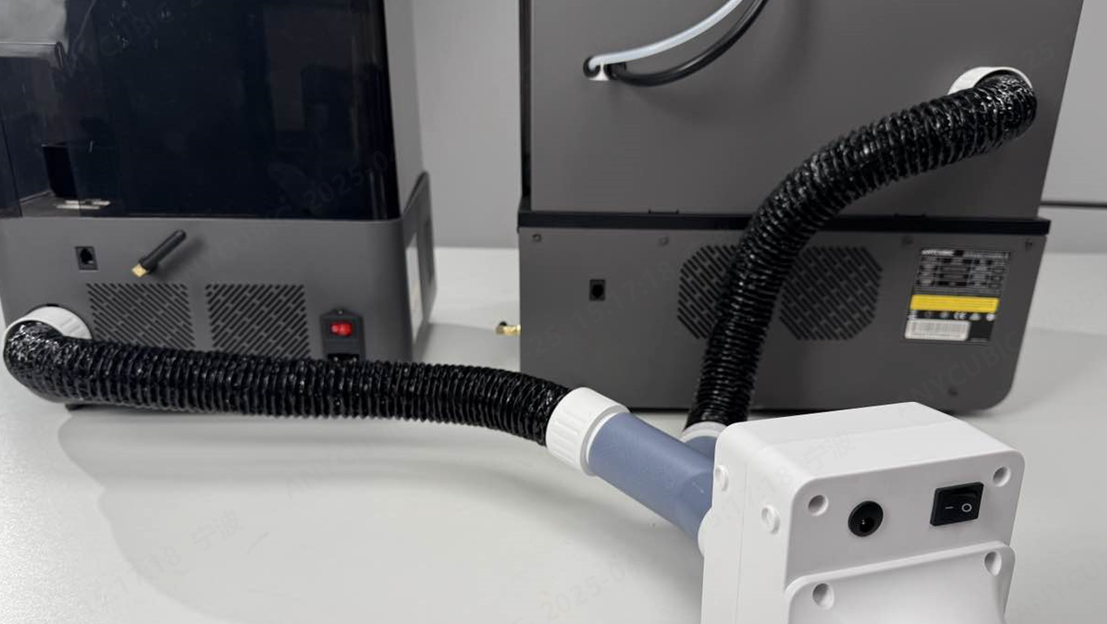
¶ ①Installation of exhaust Hose:
First loosen the hose clamp and then put it on the exhaust hose.
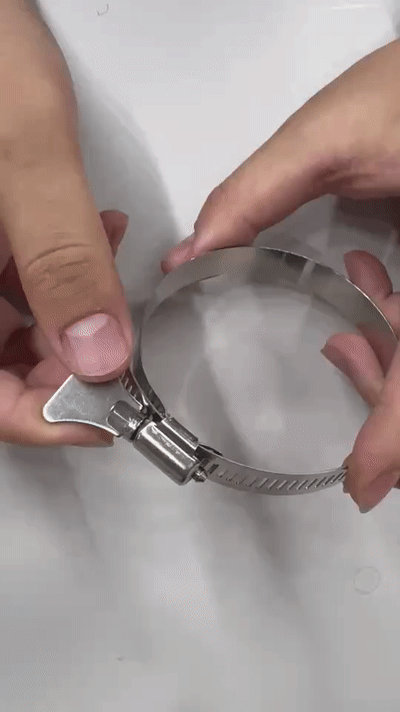

Then install the exhaust hose at the exhaust port and tighten the hose clamp. Gently pull the exhaust hose by hand to check whether it is firmly fixed.
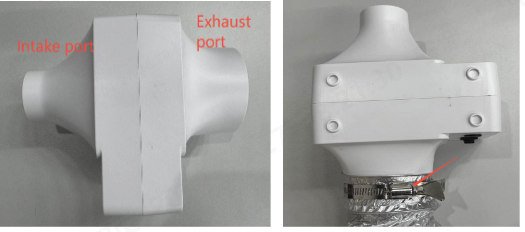
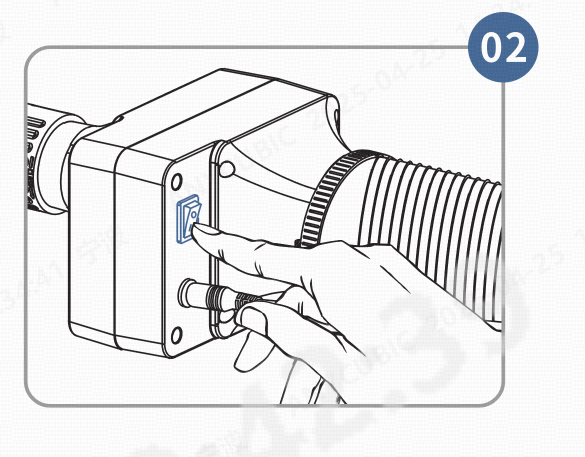
After connecting to the machine, the exhaust hose can be connected to the exhaust port adapter to discharge the gas out of the window.
Window adapter model download(To be uploaded)
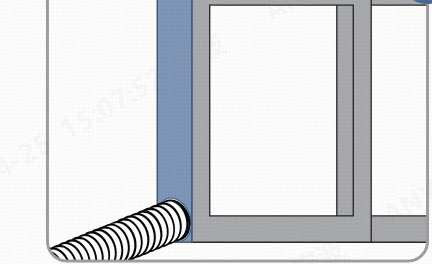
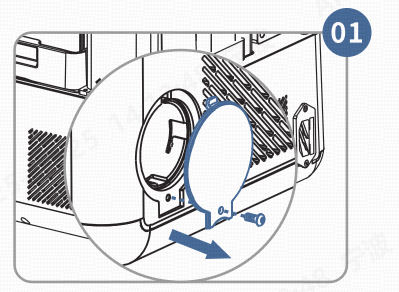
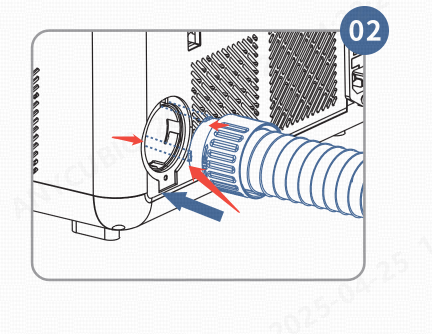
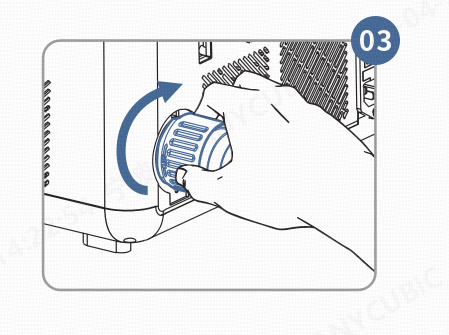
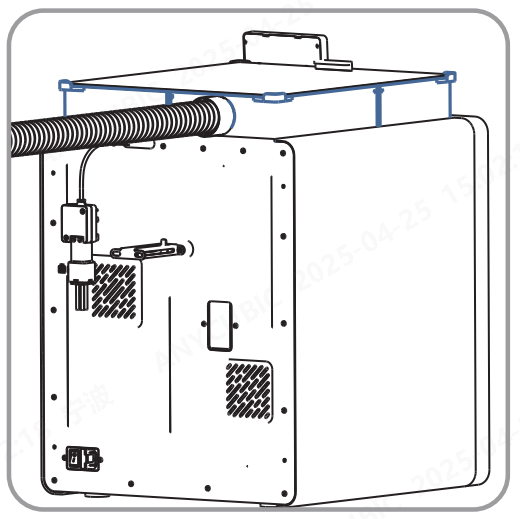
¶ ②Installation of the Inlet hose:
Install the air inlet, note that you need to align the clips of the inlet hose and the air inlet, and then connect it to the machine.
¶ 4. Installation Guidelines for Connecting Different Machines
¶ ①M7 Series Installation Guide
Open the extension port of 3D printer and connect the inlet hose.
After the installation is complete,Connect to the 12V DC power supply, Plug in power supply and switch on.
¶ ②Installation Guide for Other Series Machines
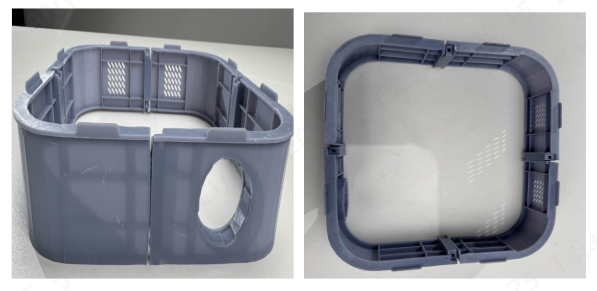
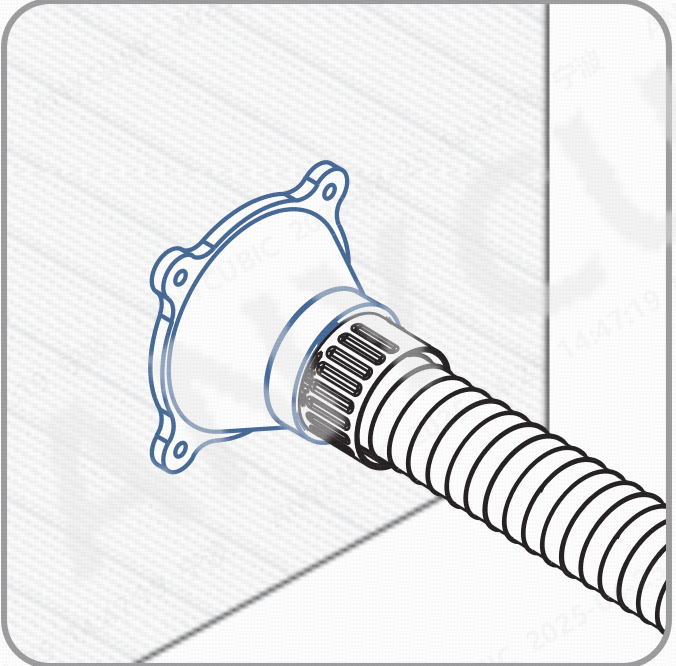
1)The 3D Printer without an Opening
Assemble the printed parts, install them on the machine, and connect them to the purifier for use.
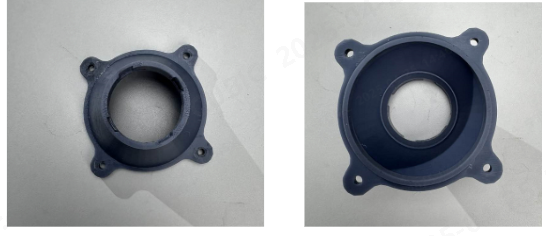
Connector model printing and download:
Other machine models:
2)The 3D Printer withe an Opening
Fix the printed part on the machine with screws and connect it to the purifier for use
3)Enclosed FDM3D Printe
Example: Kobra S1 machine
Assemble the printed parts, install them on the machine, and connect them to the purifier for use.

¶ ③ )DIY Dual Connection(optional)
Connect the dual-interface adapter to the machine and then connect the purifier to use.

¶ 5. Product Parameters
Rated Voltage:100-240V、50/60 Hz
Power Supply:12 V/1 A
Fan Speed:3800(±10%)RPM
Working Environment:Temperature :8°C-40°c、Humidity :20%-90%
Noise decibel:45±3dB for the whole machine