¶ 1. Tools:
- S1.5 Allen key
- S2.0 Allen key
- S2.5 Allen key
¶ 2. Check the quick-release nozzle:
¶ Step 1: Remove the print head air nozzle
Remove the print head air nozzle from the print head module
¶ Step 2: Check the quick disconnecting nozzle
Check that the quick-release nozzle is properly installed. If not, please insert it into the cooling block until it is flush with the cooling block under the throat step, and then press down the handle to secure the nozzle.
¶ 3. Check the strain gauge:
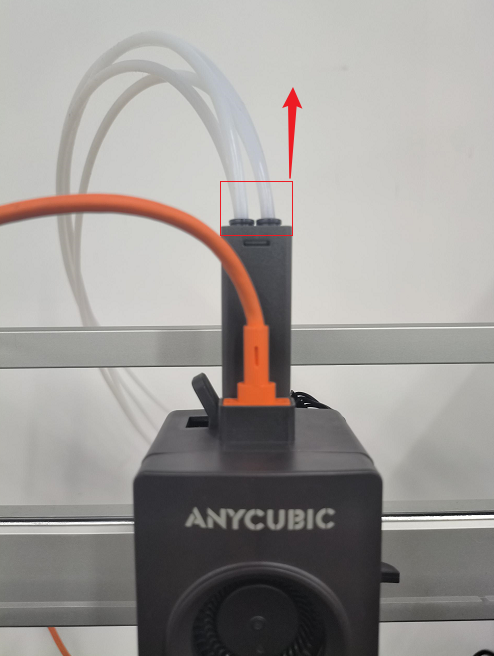
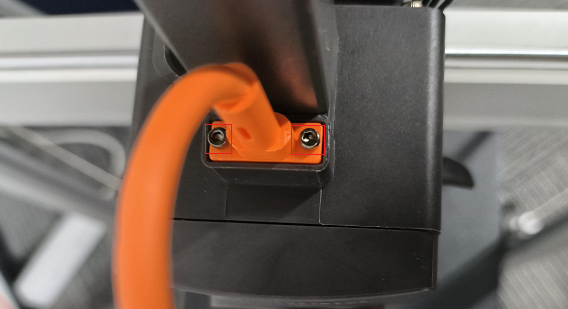
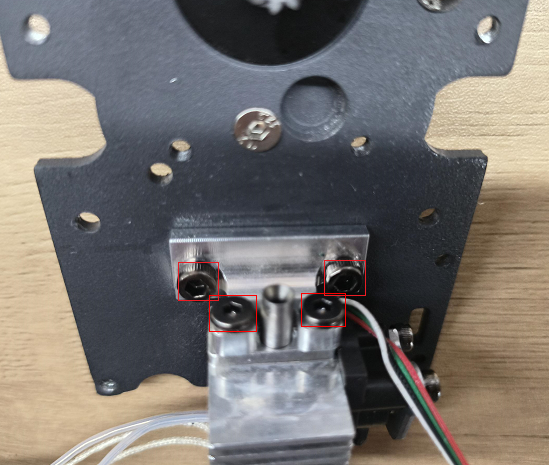
¶ Step 1: Remove the print head module
(1) Return the filament inside the print head to ACE Pro, and then remove the four teflon tubes.
(2) Use the S1.5 Allen key to unscrew the two screws holding the print head cable, and then remove the print head cable.
(3) Use the S2.5 Allen key to unscrew the four screws holding the print head module and remove them from the support.
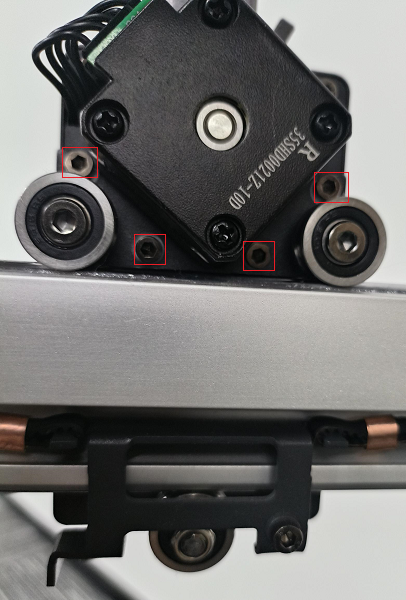
¶ Step 2: Remove print head front cover
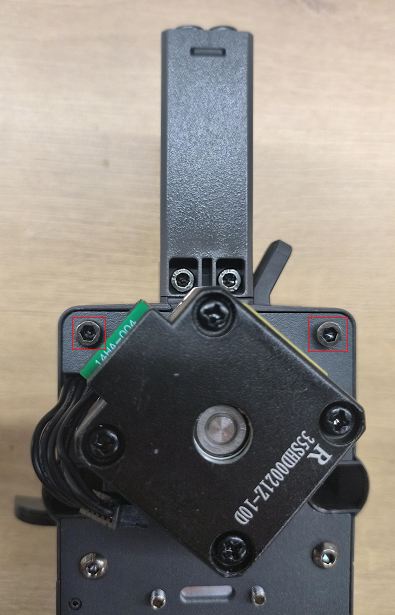
(1) Remove the print head air nozzle assembly, then use the S2.5 Allen key to unscrew the two screws on the back of the print head module.
(2) Press both sides of the print head front cover, and then remove the print head front cover.
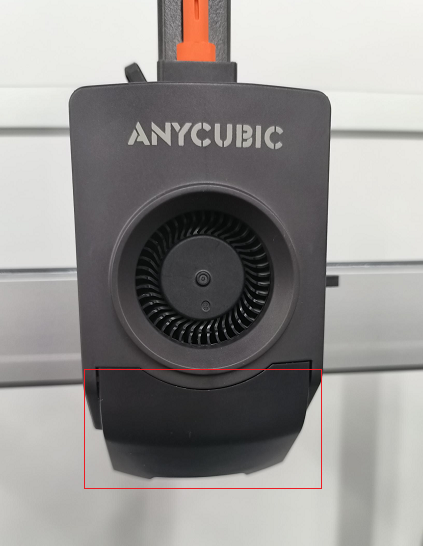
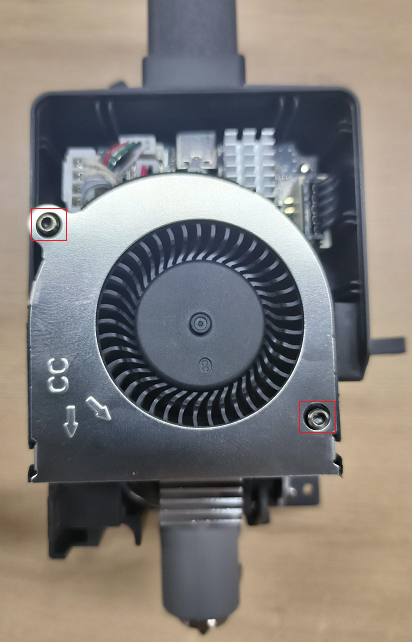
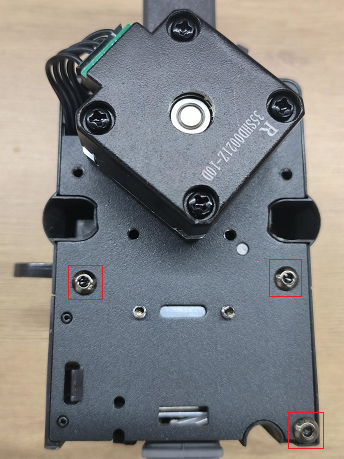
¶ Step 3: Remove the model cooling fan
(1) Use the S1.5 Allen key to unscrew the two screws fixing the model cooling fan.
(2) Check whether the strain gauge cable is loose, then remove the strain gauge cable and the cooling fan cable, and remove the model cooling fan.
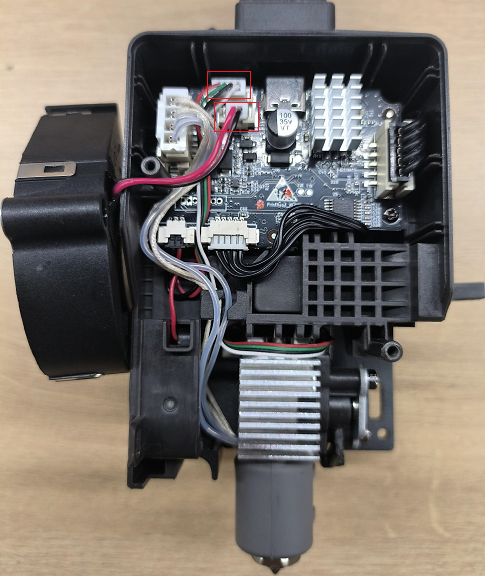
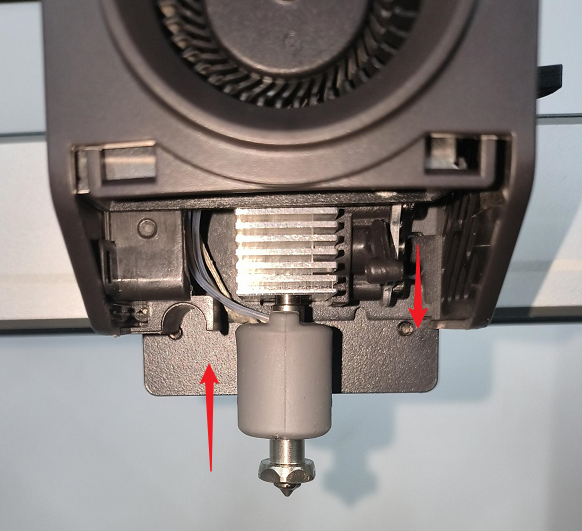
¶ Step 4: Check the strain gauge
(1) Use the S2.0 Allen key to unscrew the three screws fixing the back cover of the print head and remove the back cover of the printer.
(2) Check whether the screws fixing the strain gauge are loose and whether the strain gauge is deformed.
¶ 4. Relevel the printer:
(1) Click "Tools" - "Control" - "Auto-Leveling" to start automatic leveling.

(2) Finish the leveling, try to print the built-in model of the machine for testing, and observe whether there is the error.