¶ 1. Tools:
- S1.5 Allen key
- S2.5 Allen key
¶ 2. Check the print head connection cable:
¶ Step 1: Turn off the printer
Before replacing the print head cable, please turn off the printer and disconnect the power supply to ensure safe operation.
¶ Step 2: Check the print head cable
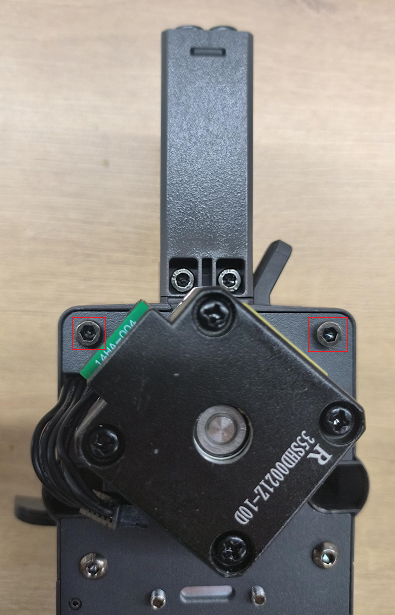
Gently pull the print head connection wire to check whether the print head connection wire is loose. If the print head cable is loose, use the S1.5 Allen key to tighten the two screws holding the print head cable.
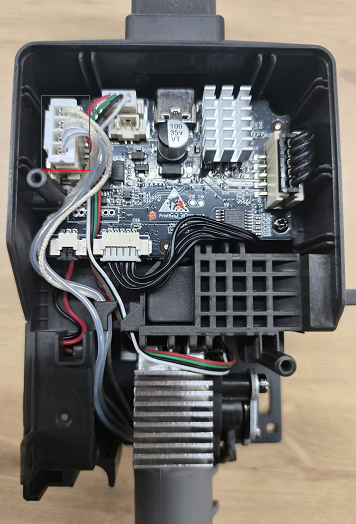
¶ Step 3: Remove the printer base plate
(1) Use the S2.5 Allen key to unscrew the screws fixing the base plate.
(2) Then remove the motherboard cooling fan connection and remove the bottom plate.
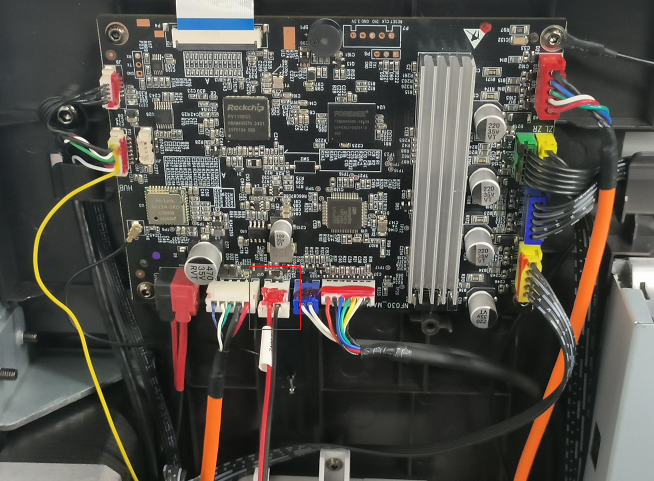
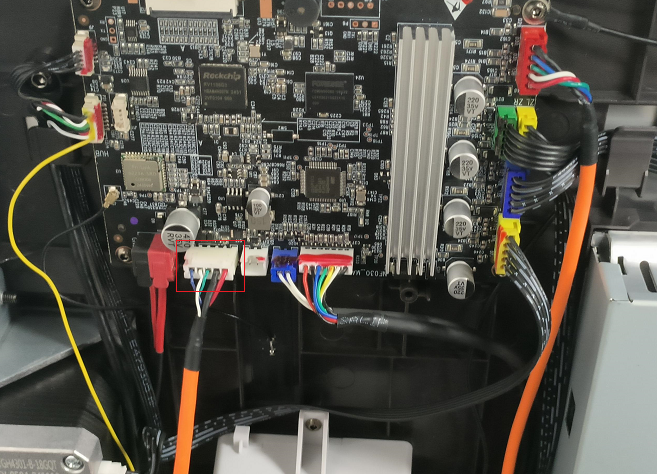
¶ Step 4: Check the print head cable on the mainboard
Check whether the print head cable is loose on the mainboard, and then reinsert the print head cable.
¶ 3. Check the print head NTC cable:
¶ Step 1: Remove the print head module
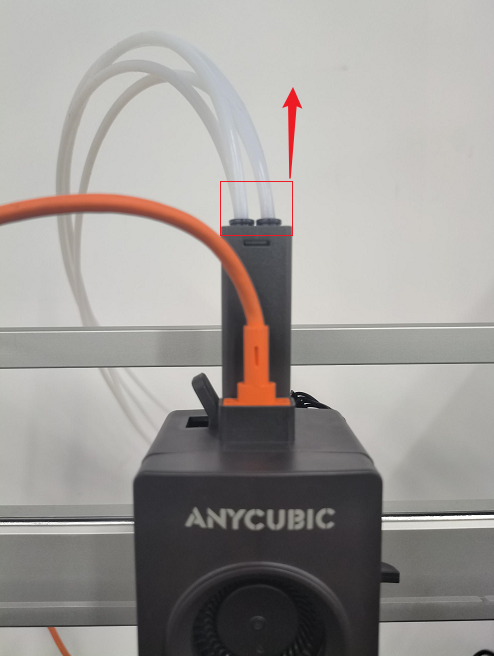
(1) Return the filaments inside the print head to ACE Pro, and then remove the four teflon tubes.
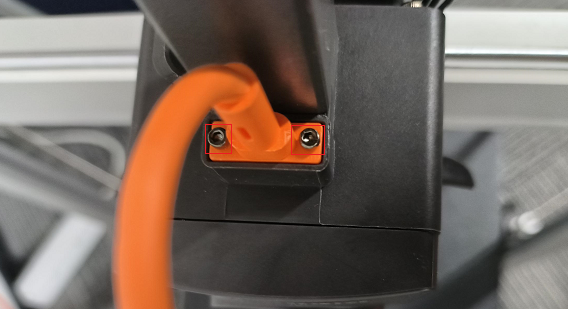
(2) Use the S1.5 Allen key to unscrew the two screws holding the print head cable, and then remove the print head cable.
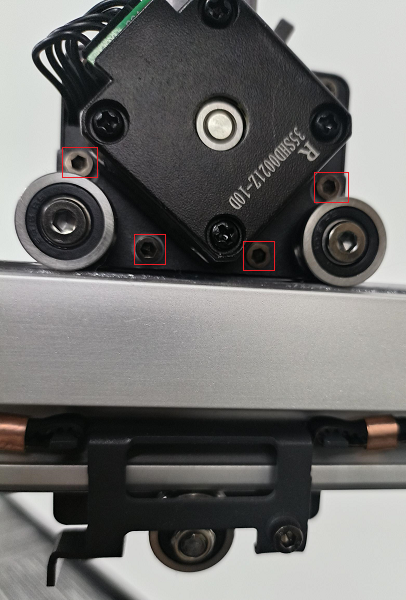
(3) Use the S2.5 Allen key to unscrew the four screws holding the print head module and remove them from the support.
¶ Step 2: Remove print head front cover
(1) Remove the print head air nozzle assembly, then use the S2.5 Allen key to unscrew the two screws on the back of the print head module.
(2) Press both sides of the print head front cover, and then remove the print head front cover.
¶ Step 3: Remove the model cooling fan
(1) Use the S1.5 Allen key to unscrew the two screws fixing the model cooling fan.
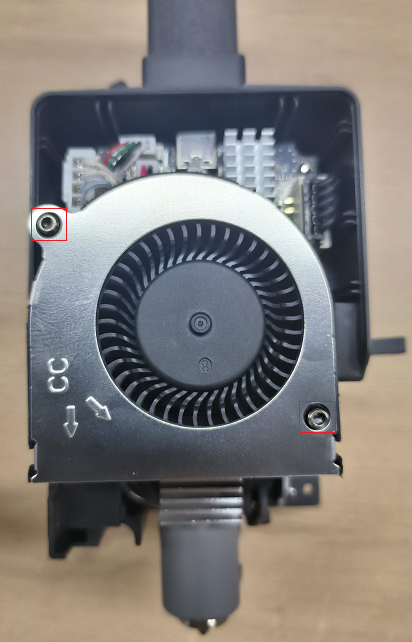
(2) Then remove the cooling fan connection and remove the model cooling fan.
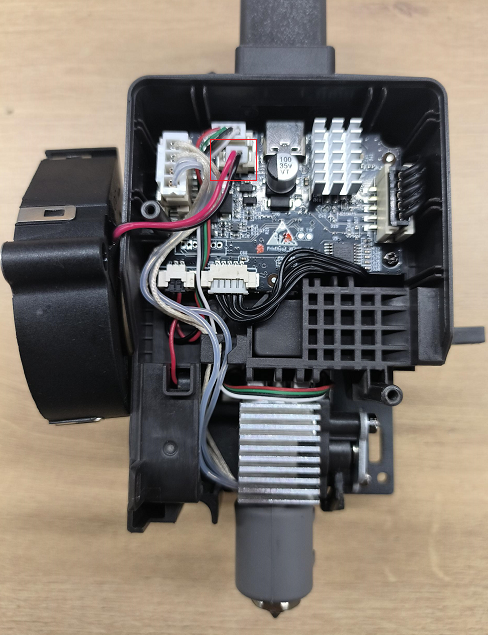
¶ Step 4: Check the print head NTC cable
Check whether the NTC cable of the print head is loose, and reinsert the NTC cable.