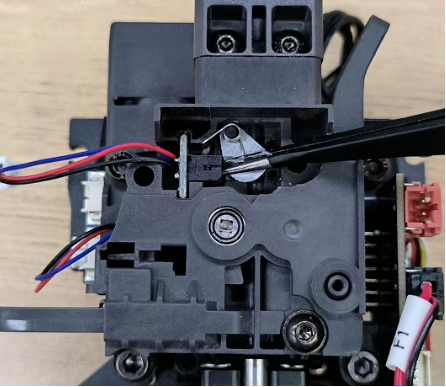
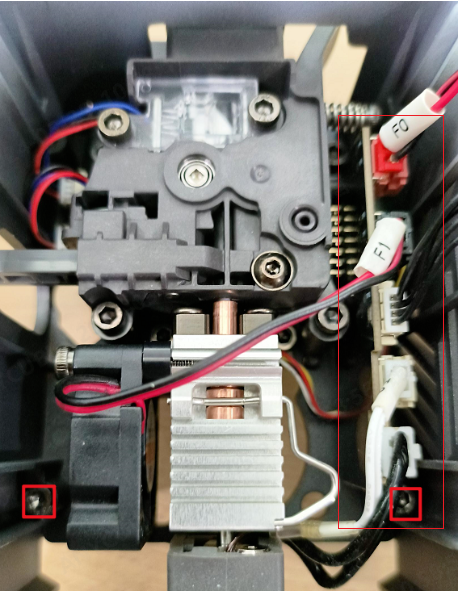
¶ Hot end
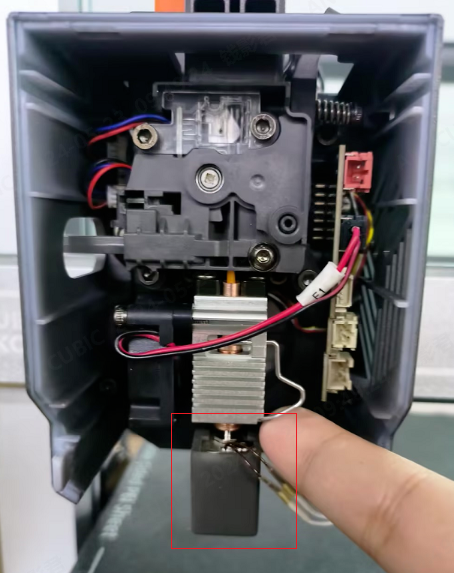
The hot end is responsible for heating the filament to the specified temperature, melting it and depositing it in thin layers to create a model. Different materials require different heating temperatures. The Kobra 3 is equipped with an integrated design of the hot end, integrating the nozzle with the heating block and connecting it to the radiator through a throat pipe to achieve the best performance. Furthermore, the hot end of the Kobra 3 adopts a quick-release design. You can first disassemble the print head housing and then move the handle to replace the new hot end.
¶ Extruder
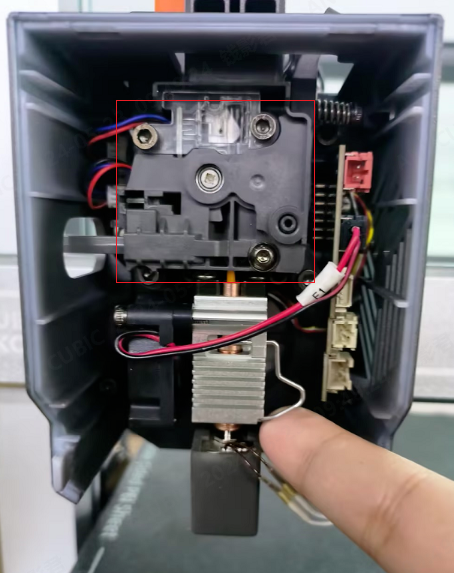
The extruder is responsible for pulling the filament out of the spool and feeding it into the hot end. After heating and melting, it is extruded through the nozzle to generate the printed model. The extruder needs to precisely control the length of the wire extruded through the hot end and is one of the core components of the printer.
¶ Throwing material assembly
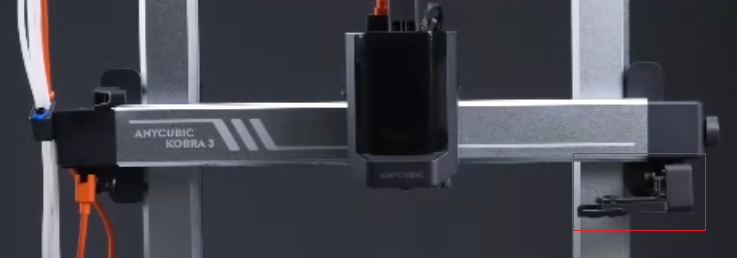
The throwing component is located on the right side of the X-axis. When the printer changes consumables, the throwing mechanism will eject the waste filament squeezed out from the nozzle. You can print waste boxes of the appropriate size and place them on the right side of the printer.
¶ Hot bed

The hot bed is used to heat the printing surface, helping the printing layer adhere better to the frame plate. The hot bed size is 250*250mm, which can meet the daily printing needs.
¶ Z-axis
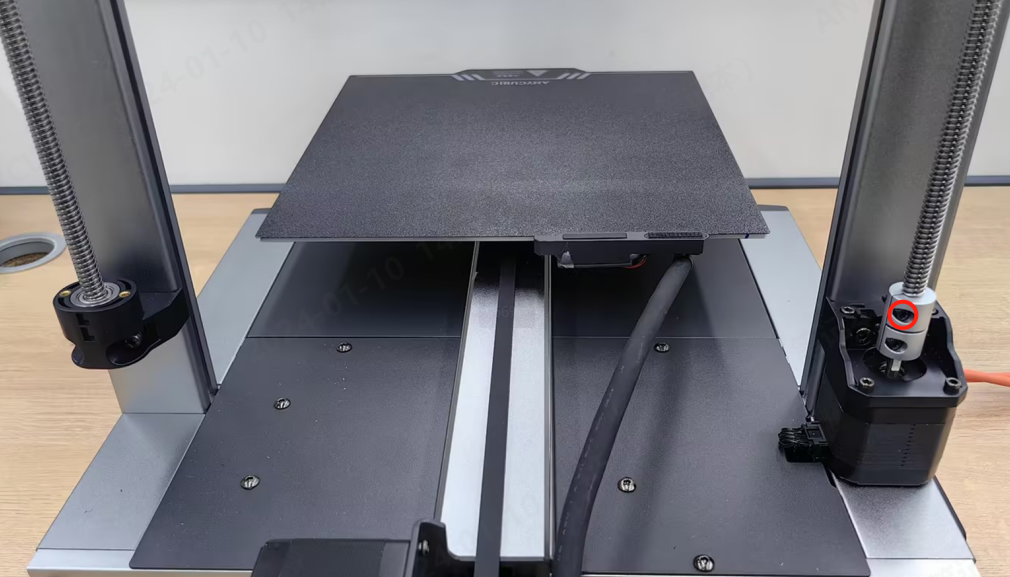
The Z-axis of Kobra 3 is composed of double lead screws, equipped with a Z-axis stepping motor and a clearance elimination component. The two lead screws are connected through a belt, driving the Z-axis to move up and down.
¶ Cooling fan
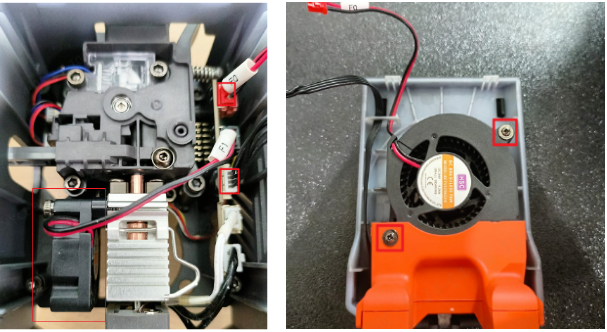
To achieve rapid printing with Kobra 3, good cooling of the printed components is required. Therefore, a model cooling fan is equipped inside the print head. To achieve rapid cooling of the hot end, a hot end cooling fan is also provided.
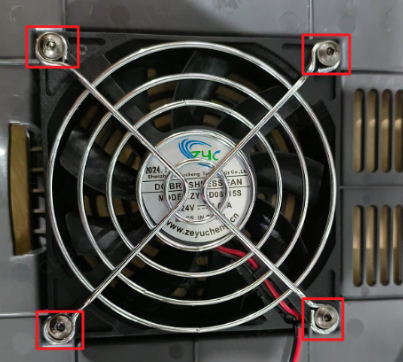
The mainboard of the printer base is also equipped with a mainboard cooling fan to prevent machine failure caused by overheating of the mainboard.
¶ Display screen
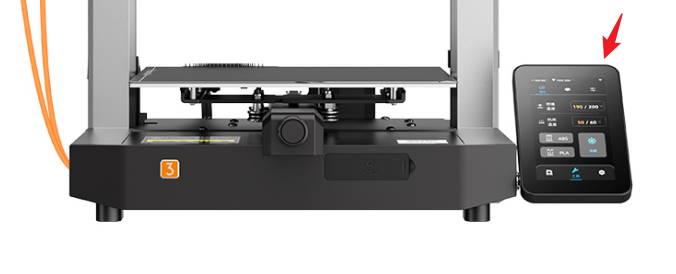
The display screen of Kobra 3 is on the right side of the printer and can be rotated at different angles according to actual use. The display screen is connected to the mainboard through a ribbon cable to achieve communication between the mainboard and the display screen. If the printer's display does not work, you can first check if the display ribbon cable is damaged, and then reinsert the display ribbon cable.
¶ Camera
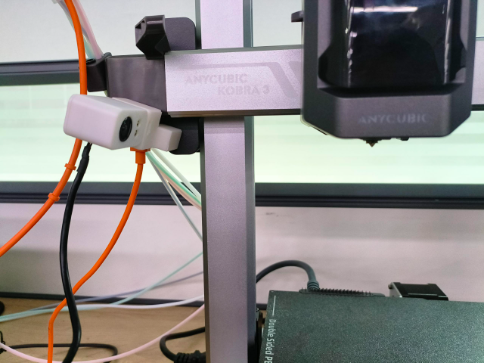
The printer's camera is used for AI detection, but the "Anycubic" APP can also be used to monitor the print in real time. In addition to the monitoring function, the camera can also record the printed video to a USB flash drive and generate time-lapse video.
¶ Power supply
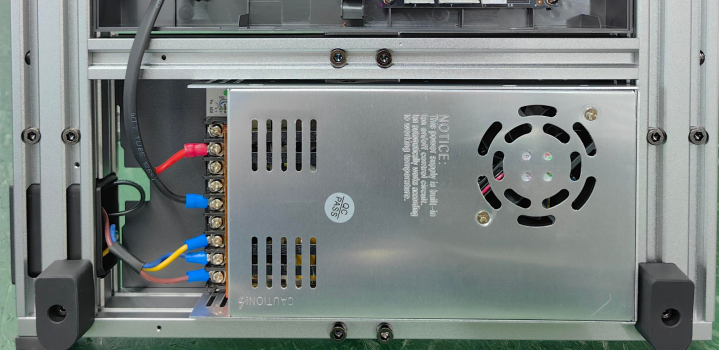
The printer base is also equipped with a power supply to provide electricity for the printer. When replacing the power supply, please do not connect the positive and negative poles incorrectly.
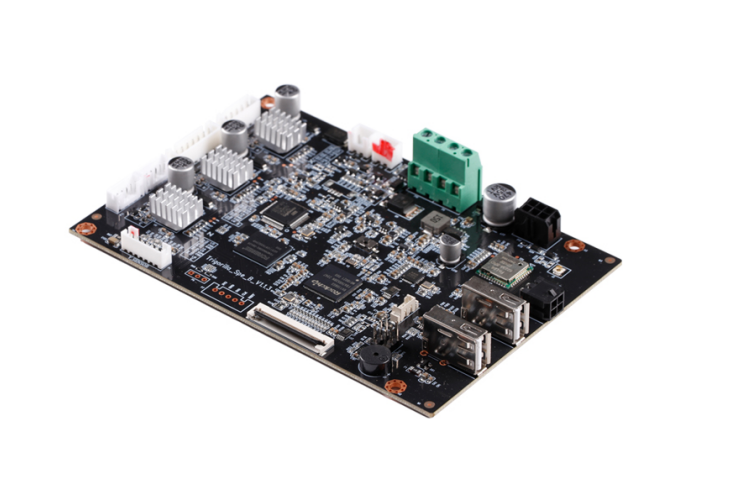
¶ Circuit board
¶ Printer motherboard
¶ Print head adapter board
¶ Material breakage detection board