¶ 1. Tools:
- S1.5 Allen key
- S2.5 Allen key
¶ 2. Disassembly steps:
¶ Step 1: Turn off the printer
Before replacing the print head cable, please turn off the printer and disconnect the power supply to ensure safe operation.
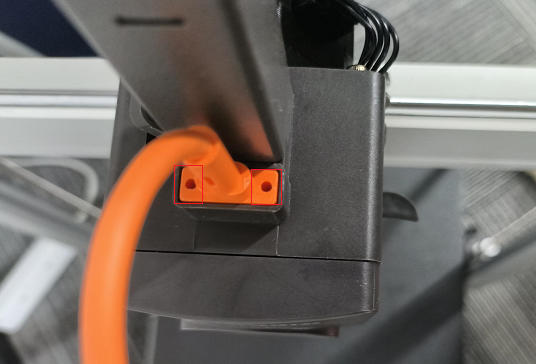
¶ Step 2: Remove the print head cable
Use an S1.5 Allen key to unscrew the two screws holding the print head cable, then remove the print head cable.

¶ Step 3: Remove the printer bottom plate
(1) Use the S2.5 Allen key to unscrew the screws fixing the base plate.

(2) Then remove the motherboard cooling fan connection and remove the bottom plate.
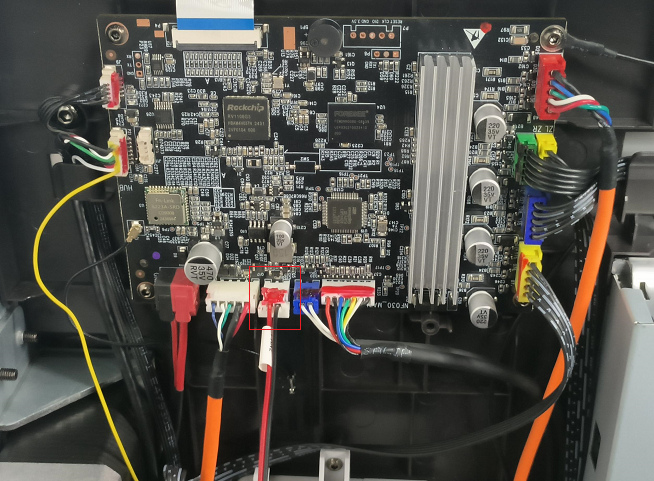
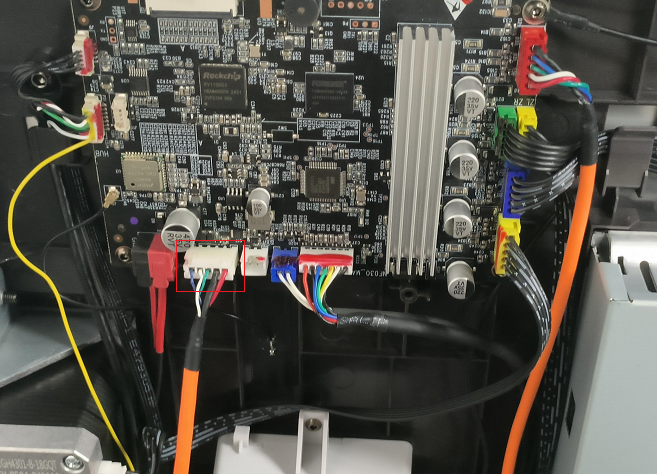
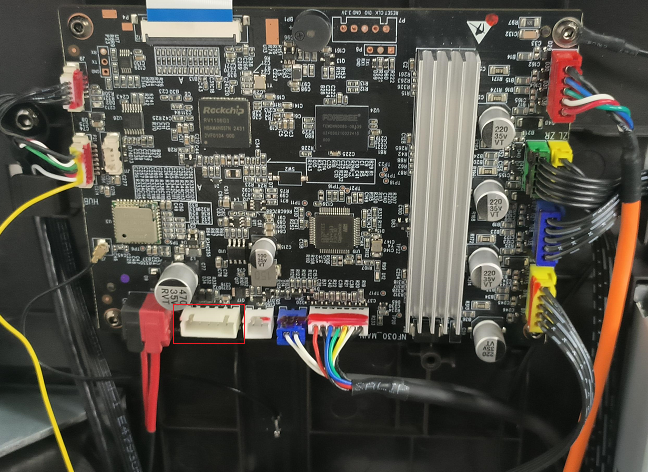
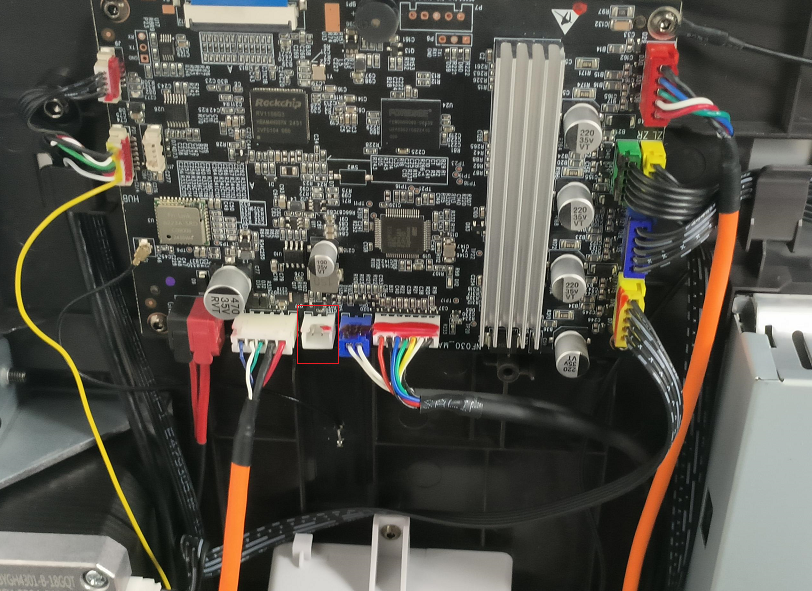
¶ Step 4: Remove the print head cable
Remove the other end of the print head cable from the motherboard.
¶ 3. Installation steps:
¶ Step 1: Replace the print head cable
Replace the new print head cable and plug it back into the motherboard port.
¶ Step 2: Install the printer bottom plate
(1) Connect the mainboard cooling fan to the mainboard port.
(2) Install the bottom plate, then use the S2.5 Allen key to tighten all screws securing the base plate.
¶ Step 3: Install the print head cable
Insert the other end of the print head cable back into the print head module, then use the S1.5 Allen key to tighten the two screws holding the cable.