¶ 1)X-axis limit switch problem
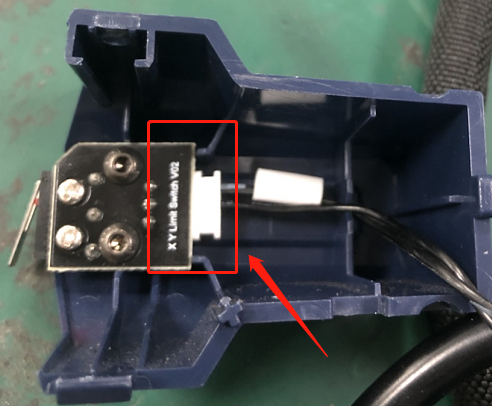
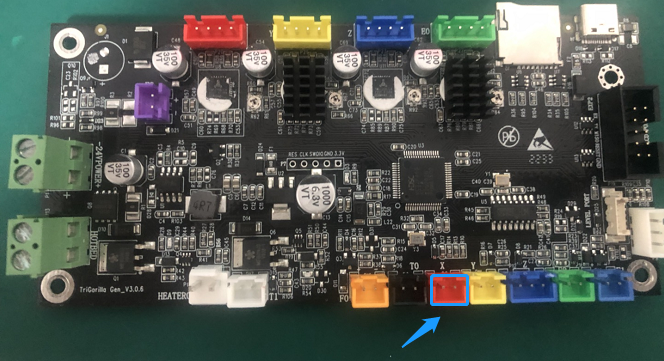
①Please check whether the X-axis limit switch wiring is installed correctly and whether the wiring is disconnected.

②Move the print head module to the far right. When the machine is powered on, click the “Home X”. When the print head module moves to the middle part of the X-axis aluminum profile, then slightly press the X-axis limit switch iron sheet twice with your hand. If the print head module stops, it means that the X-axis limit switch is triggered normally; if the print head continues to move, it means that the X-axis limit switch cannot be triggered, and the power needs to be turned off to prevent the print head from hitting the limit switch all the time.
③Remove the screws at the bottom of the machine, pull out the X-axis limit switch cable by referring to the figure below, use a multimeter to switch to the "buzzer" position, and measure the X-axis limit switch row by aligning the pins of the X-axis limit switch cable. The other hand triggers the X-axis limit switch. If there is a "di" sound when the X-axis limit switch is triggered, there is no sound after the release, it means that the X-axis limit switch cable is connected with the X-axis limit switch. The bit switch is normal. If there is no sound when the X-axis limit switch is triggered, the main board is damaged. For details, please refer to the video link below.

¶ 2)Motor problem
Troubleshooting method:
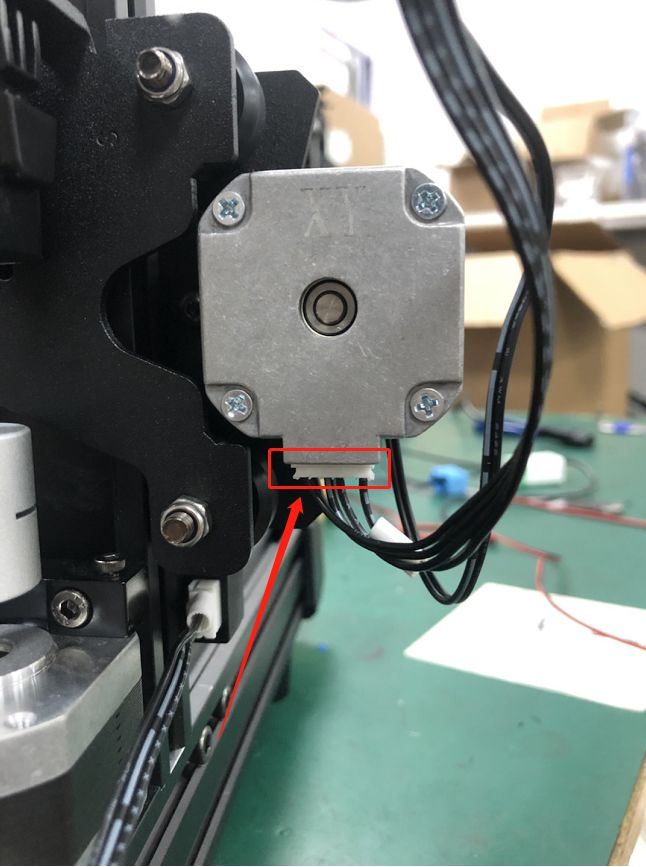
①Please check whether the X-axis motor cable is installed correctly and whether there is any disconnection.

②To check whether the motor is damaged, please refer to the video link below.
Video link:https://www.youtube.com/watch?v=7GG6XK6niLM
¶ 3)Other issues
The above troubleshooting methods cannot solve the problem. We suggest you create an after-sales ticket and our After-sales engineers will help you solve the problem. (Reply time :1 working day)
Please click this link to submit your ticket: