¶ 1. Tools for Removing Models
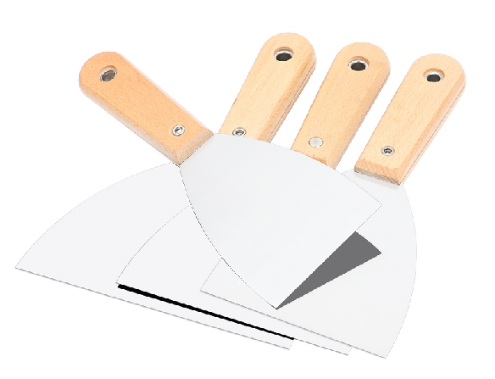
¶ 1) Metal Spatula
Function: Use it to remove the model from the printing platform. (Note the force and direction to avoid damaging the model or injuring oneself.)
Metal spatulas should not be used to handle the cured resin in the vat, as this can easily scratch the FEP film.
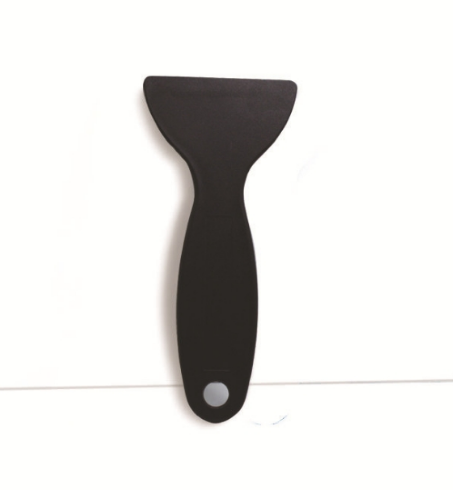
¶ 2) Plastic Spatula
Function: When the model fails to print, the cured resin (model) sticks to the bottom of the vat. Please expose the resin to full screen for 20 seconds first, then use the plastic spatula to remove the cured resin layer to ensure there is no residue in the vat. Otherwise, the remaining cured resin will damage the FEP film or screen during the next print.
¶ 2. Tools for Removing Supports
¶ 1) Ways to Remove Supports from Models
① Manual Removal without Tools
Advantages: Convenient and quick.
Disadvantages: It is easy to damage the surface of the model or delicate parts, and sharp supports may cut the hand. It is difficult to remove supports from small crevices.
② Use of Tools
Advantages: It will not damage the surface of the model or delicate parts, can completely remove supports, and reduce the risk of hand injury.
Disadvantages: It requires more time and patience.
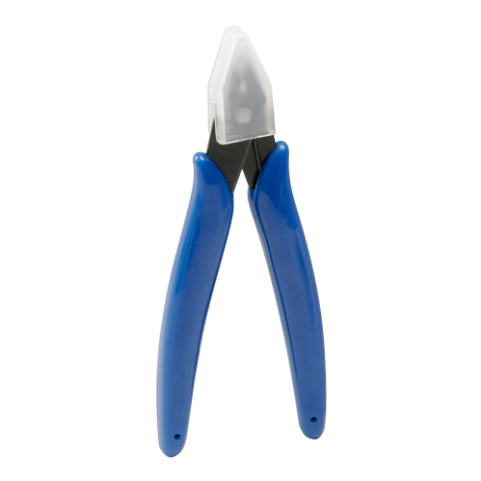
¶ 2) Tool 1: Water Mouth Pliers
Usage: Cut supports against the surface of the model (without damaging the surface of the model).
¶ 3) Tool 2: Tweezers
Usage: Grab the supports of the narrow parts of the model.

¶ 4) Tool 3: Pen Knife
After removing the supports, there will be some small bumps on the surface of the model. Use a pen knife to scrape them off.
Usage: Use a pushing and scraping motion to remove the bumps on the surface of the model. For the curved parts of the model, do not scrape them flat with one stroke, as this can easily cut the model. Instead, gently and repeatedly scrape them off.

¶ 3. Model cleaning tools
¶ 1) Alcohol bucket
Cleaning models (rough cleaning): After filling the bucket with alcohol (95%), immerse the model in the bucket to remove the residual resin from the model.

¶ 2) Alcohol spray bottle
When cleaning the model, we usually soak it in an alcohol bath first. However, due to the repeated use of alcohol, the cleaning effect will gradually decrease. In this case, we can use a spray bottle filled with clean alcohol to perform a secondary cleaning on the model (fine cleaning).
¶ 4. Model polishing tools
After removing the support structure from the model, there will always be some bumps or protrusions left behind. Polishing the model can remove the protrusions on the surface and make the surface smoother. For concave areas, filling (putty treatment) is required before polishing.
¶ 1) Sandpaper
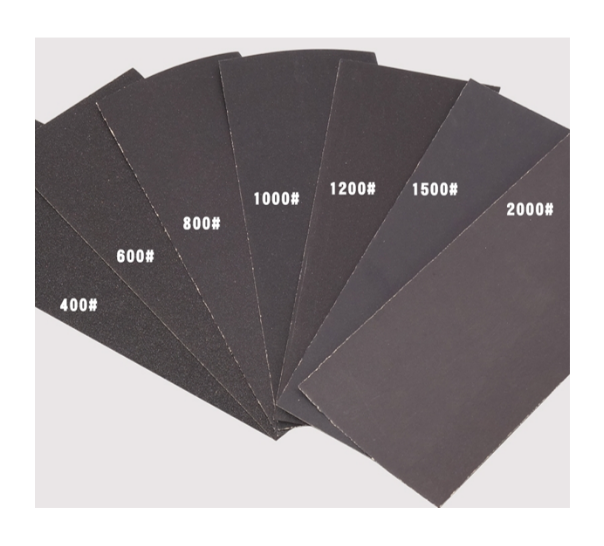
The unit of sandpaper is grit, which represents the coarseness and particle size of the sandpaper. The smaller the grit number, the coarser the sandpaper and the deeper the marks left after polishing. The larger the grit number, the finer the sandpaper and the shallower the marks left after polishing. Common grits for light-cured polishing are: 200/400/800 grit.
¶ ① Ordinary sandpaper
Function: Usually used to polish rough surfaces. It cannot absorb water and is generally used for dry grinding.
¶ ② Sponge sandpaper
Function: Suitable for curved grinding, can absorb water, absorb impurities, reduce dust, and can be used for dry or wet grinding. When using sponge sandpaper for polishing, the pressure is good and the force is even, resulting in better polishing effect.
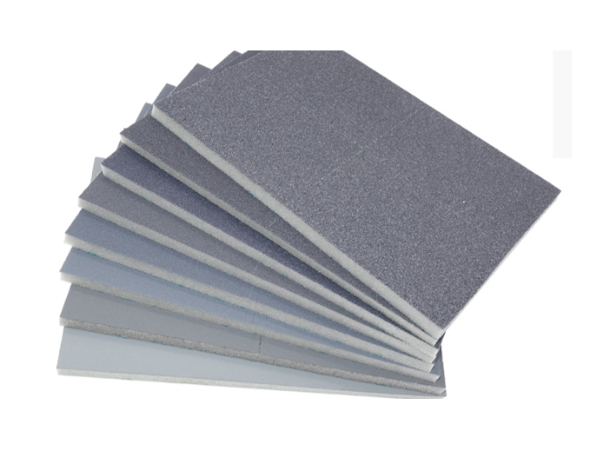
¶ ③ Steps for sandpaper polishing
Start with coarse sandpaper and gradually transition to fine sandpaper to achieve the best polishing effect. During the polishing process, please use gentle movements to avoid damaging the model (especially the detailed corners of the model).
200 grit: Suitable for removing the rough parts, corners, and support structures on the surface of the model to make it smoother.
400 grit: Suitable for further removing small defects and tiny burrs on the surface of the model to make it even smoother.
800 grit and above: Suitable for the final fine polishing and polishing of the model, making the surface smoother.
During the polishing process, dust may appear, it is recommended to wet the sandpaper or model before polishing, which can effectively reduce dust.
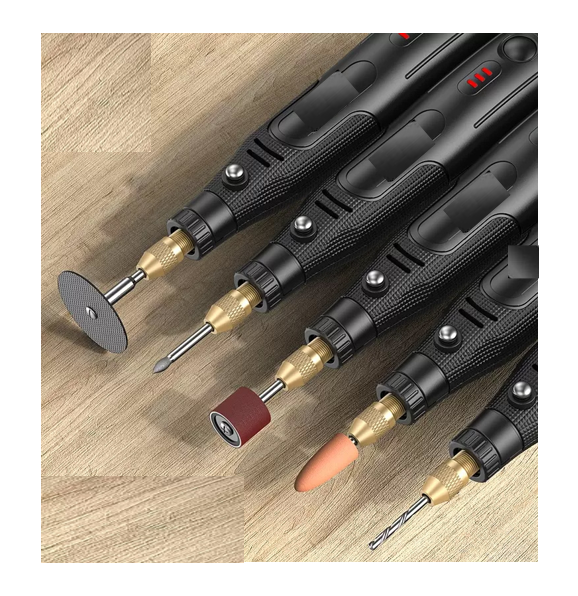
¶ 2) Electric polishing pen
Function: An advanced polishing tool that is efficient and time-saving. When the sandpaper is difficult to polish certain limited areas of the model, the electric polishing pen can be used for polishing. Sandpaper can also be wrapped around the tweezers and then polished with the electric polishing pen.
When using an electric polishing pen, it is important to pay attention to the pressure applied, as otherwise the model may be prone to developing concave pits as a result of over-polishing.
¶ 5. Model Repair
After the model is disassembled the support structures or polished, there may be pits or worn or weakened details on the surface. In this case, it is necessary to fill and repair the surface of the model to restore its shape and details, and make the surface smoother and flatter.
¶ 1) Putty
Putty refers to an operation that needs to be performed in the process of model making and processing in order to eliminate cracks, gaps and other defects on the surface of the model, or to show a certain effect.
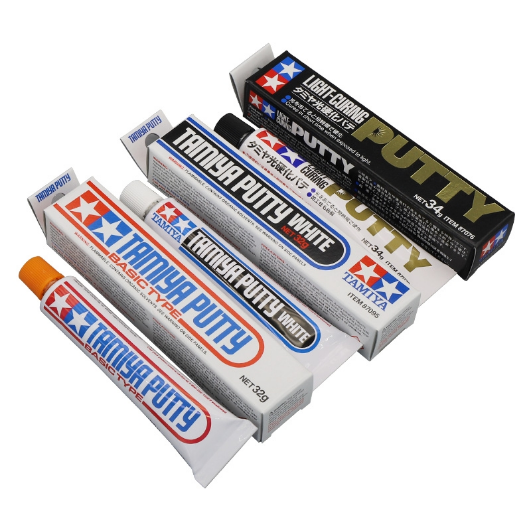
¶ ① Toothpaste Putty
The appearance packaging of toothpaste putty is similar to toothpaste, and the extruded putty is also a paste-like substance, mainly used for repairing holes, filling gaps, etc.
Instructions for use: Apply toothpaste putty on the model's holes, then scrape off excess putty with a pen knife or toothpick, and after the putty is dry, proceed with polishing.
Note: The viscosity of toothpaste putty is relatively high. It may not be able to completely penetrate into small gaps, and because the putty itself contains a large amount of solvent, it will shrink after drying. Therefore, when using toothpaste putty, it is best to carry out patching and inspection.
¶ ② AB Putty
AB putty is an epoxy plastic shaping putty. It can be shaped (kneaded into any shape) and hardened by mixing AB two chemical raw materials.
AB putty has low viscosity and slow hardening speed. Therefore, this type of putty is mostly used for shaping, modification, carving, large-area repair, etc., and is also called "modification putty" or "Epoxy putty".

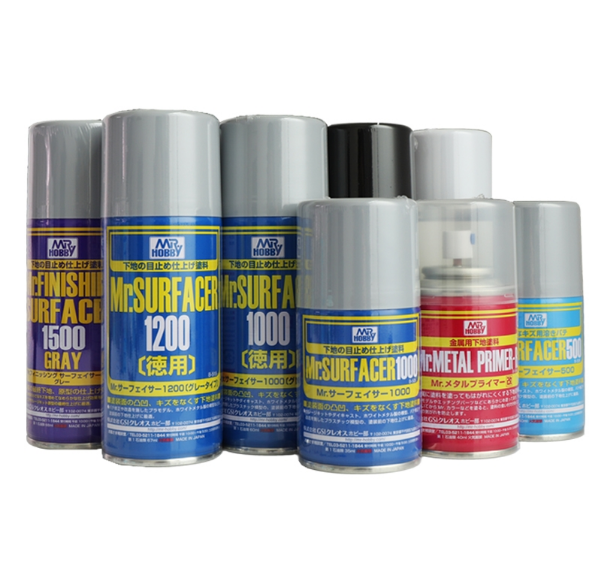
¶ ③ Surfacer
Surfacer is liquid, and spray-type surfacer can be thinly spread on the model to repair small surface defects and make the model surface smoother. Its main function is as a primer, which can check the filling situation, improve the adhesion of the paint on the surface of the parts, and unify the color tone of the model.
¶ 2) Glue
When handling models, some small details are easily broken by touch, and glue is needed for repair.
¶ ① Ordinary Glue
Such as 502 glue, is a strong adhesive with the characteristics of rapid solidification, which can quickly bond and form a high-strength connection. It has strong adhesion and the bonded position cannot be easily changed, otherwise it will damage the model. It should be used with caution to ensure that the fixation is in place, and is suitable for small gaps in models.
Instructions for use: Thinly apply glue on the part to be bonded, and then press it firmly to enhance the adhesion.
¶ ② Runny Glue
The principle of runny glue is to dissolve the surface material of the model to achieve bonding. If it is not bonded in place and needs to change the bonding position, it will damage the surface and details of the model.
Instructions for use: First assemble the parts temporarily, and then use runny glue to penetrate the gap.
¶ 3) Precautions
① 502 glue can be used instead of filling small gaps.
② Putty should be used instead of 502 for cracks or gaps in load-bearing parts of the model.
③ Models with a focus on detailed textures do not need to be sprayed.