¶ 1. Function of Primary and Secondary Cure
In Resin 3D printing, the role of secondary curing is to ensure the stability and strength of the model. During the printing process, the first curing involves using a UV light source in the printer to cure the resin in the vat and form the basic structure of the model. However, this structure may not be stable or strong enough (manifesting as softening of the model surface and blurring of details), requiring a second curing to further reinforce the model.
The second curing process is typically accomplished by placing the model in a UV lamp or other appropriate curing device to cure the model. Secondary curing helps to enhance the stability and strength of the model. Additionally, the second curing process can improve the surface smoothness and detail of the model, thereby enhancing the quality and appearance of the model. In summary, secondary curing is an essential process for models in 3D printing.
¶ 2. Notice
Excessive curing time during the secondary curing may cause over-curing and yellowing of the material, which may affect the final product's appearance and performance.
①Over-curing: Over-curing may occur when the material is exposed to curing for too long. This can cause the material to become brittle, easy to crack, and reduce the mechanical performance of the final product.
②Yellowing: Some materials used for 3D printing, such as photosensitive polymers, may yellow or discolor if exposed to UV light for too long, resulting in a less aesthetically pleasing final product.
Therefore, the secondary curing time should be determined based on the material type, thickness, and size to ensure appropriate curing. Additionally, when performing secondary curing, it is important to follow the material manufacturer's recommendations and select the appropriate curing time based on the material's characteristics. Care should also be taken to avoid excessively long curing times to ensure the final product's quality and performance.
¶ 3. Steps for Secondary Cure
¶ Step 1:
Taking the Anycubic Wash&Cure Plus as an example, the steps are as follows:
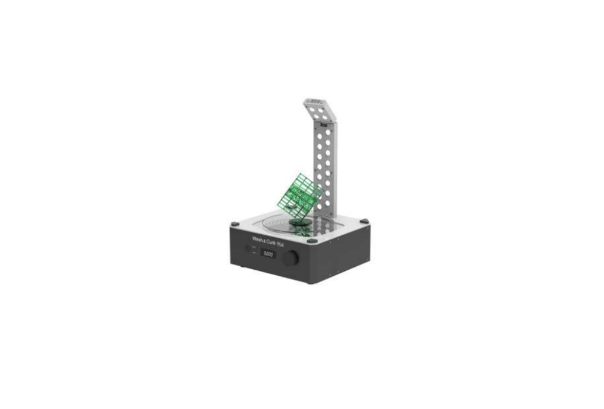
Install the reflector and curing platform on the Wash&Cure machine.
Refer to the unboxing video:
https://www.youtube.com/watch?v=tOKguB7AqSo&list=PLTTNICMYOsx1klngMRXjSstA4l_tCreLJ&index=4

¶ Step 2:
Place the cleaned and air-dried model on the curing platform.

¶ Step 3:
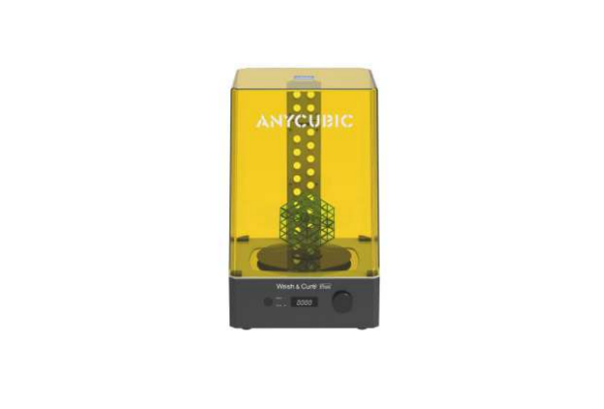
Cover the machine with the lid, with the "ANYCUBIC" logo facing forward. Anycubic Wash&Cure Plus has a sensor that detects if the lid is removed, which pauses the curing process. Therefore, the white logo must face forward.

¶ Step 4:
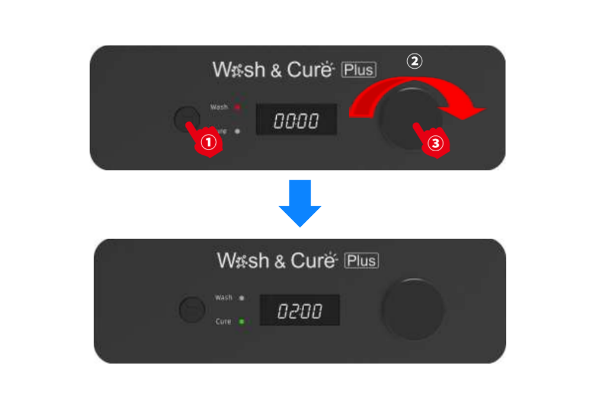
Press the mode selection button to switch the working mode to "Cure" mode, rotate the knob to select the required curing time (increasing the curing time by 2minutes each time the knob is turned).
And press the knob to start curing the model (the recommended curing time is 2 minutes , and for models with complex surface structures, the curing time can be increased appropriately).
¶ Notice:
when curing, attention should be paid to the model's placement angle; otherwise, uneven curing due to the light source may cause the model to crack or deform.
For example, if the bottom of the model fails to cure, the model should be rotated (or reoriented) to allow the bottom to be directly illuminated.

If you have further questions, we suggest you create an after-sales ticket and our After-sales engineers will help you solve the problem. (Reply time :1 working day)
Please click this link to submit your ticket: