¶ 1. Tools:
- S2.0 Allen key
- S2.5 Allen key
- ACF film
- Dust-free cloth
- Scissors
- Alcohol
- Scraper
- Funnel
¶ 2. Disassembly Steps:
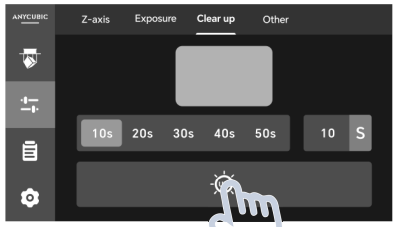
¶ Step 1: Clean the Resin Tray
1. If there is residual resin in the tray, click “Tray Cleaning” and select “10s” exposure.
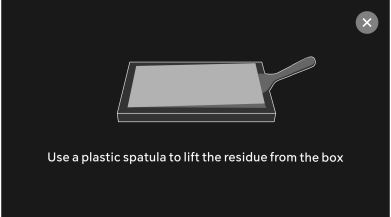
2. Wear gloves and use a plastic scraper to remove debris from the tray.
Note: Be careful not to scratch the release film to prevent resin leaks.
3. Remove the resin tray and pour the remaining resin from the front angled side, using a sieve and funnel to filter it. A funnel model file is available on the included USB if needed.
Note: Do not pour from the back to avoid damaging the tray.

4. Spray alcohol on the release film surface and gently wipe with a dust-free cloth until no resin drips when the tray is inverted.
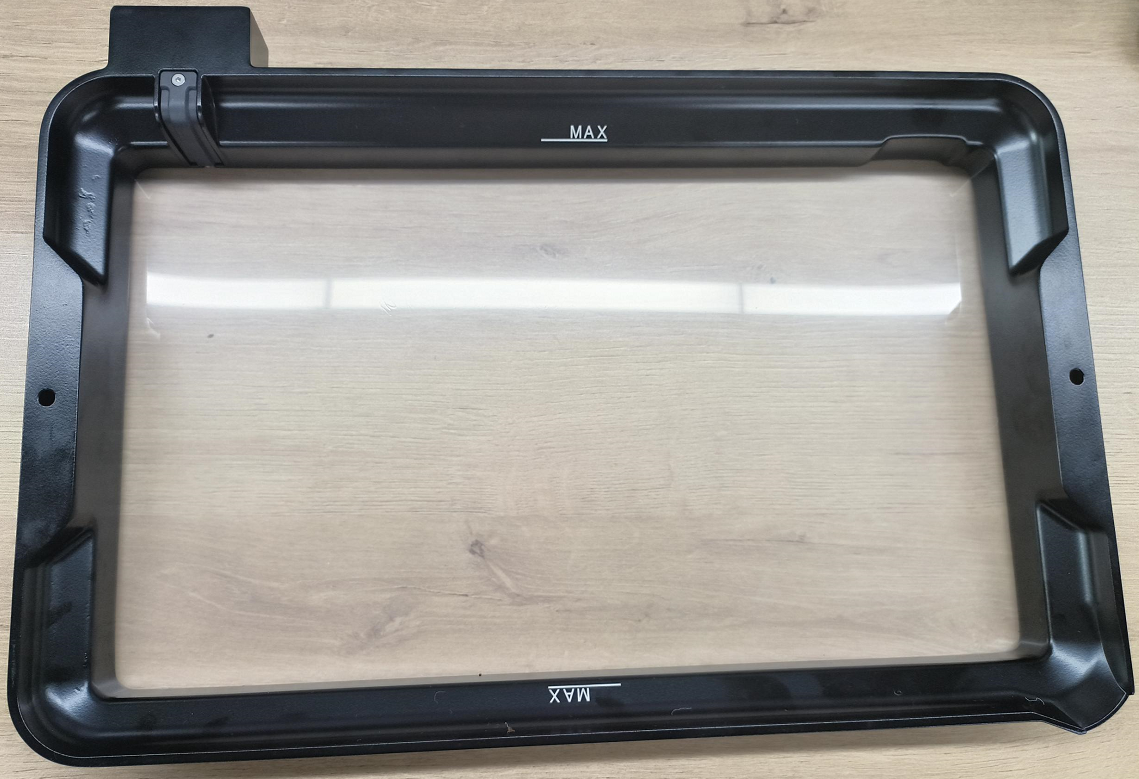
¶ Step 2: Remove the Steel Ring
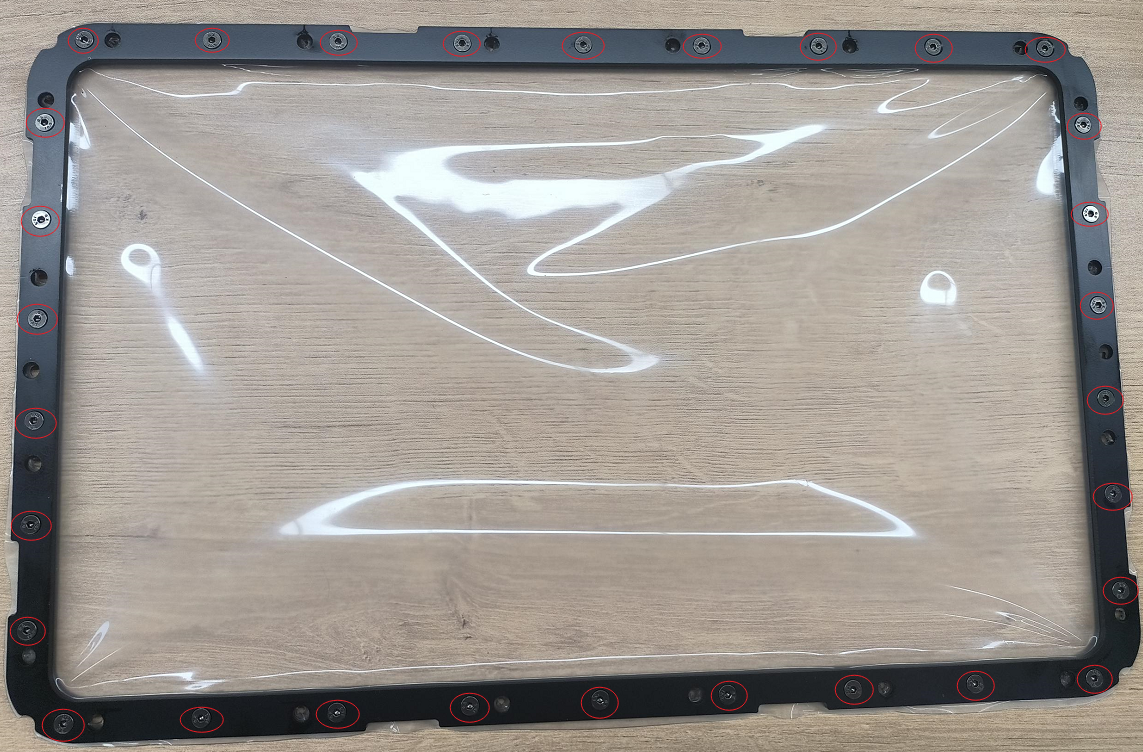
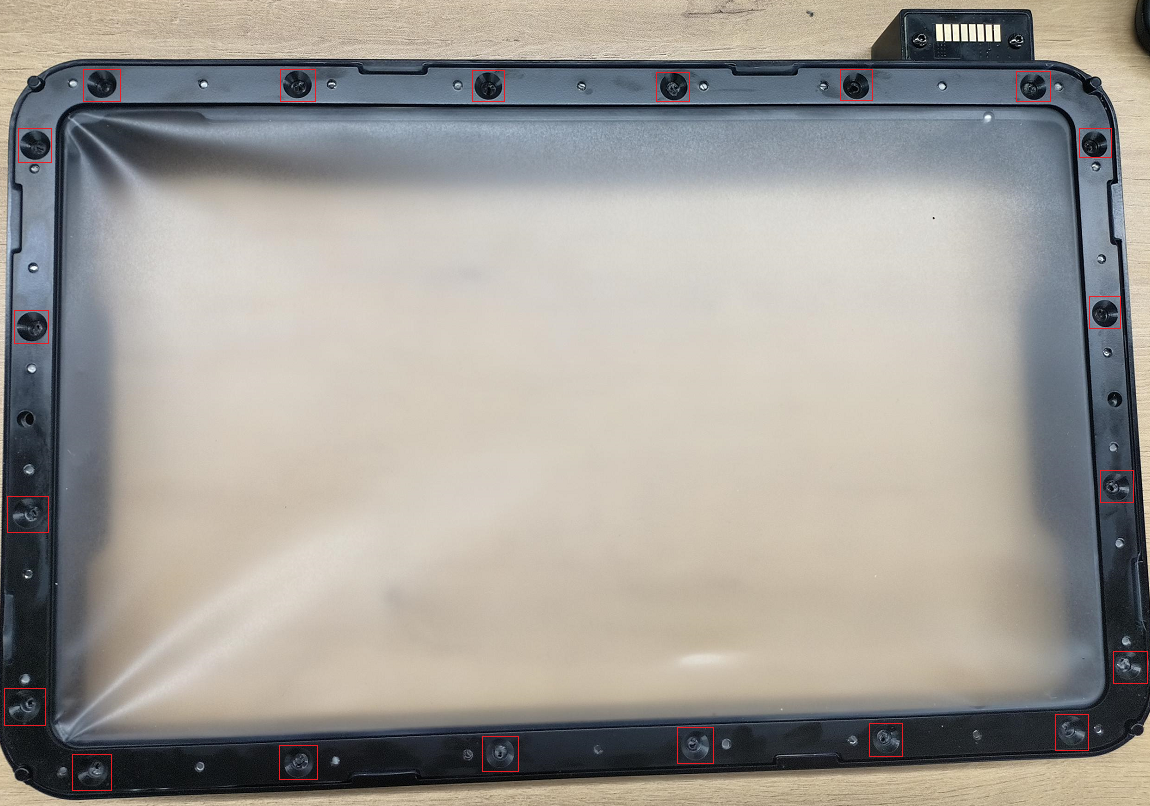
Please invert the resin tray and use the S2.5 Allen key to remove the 20 screws securing the steel ring.
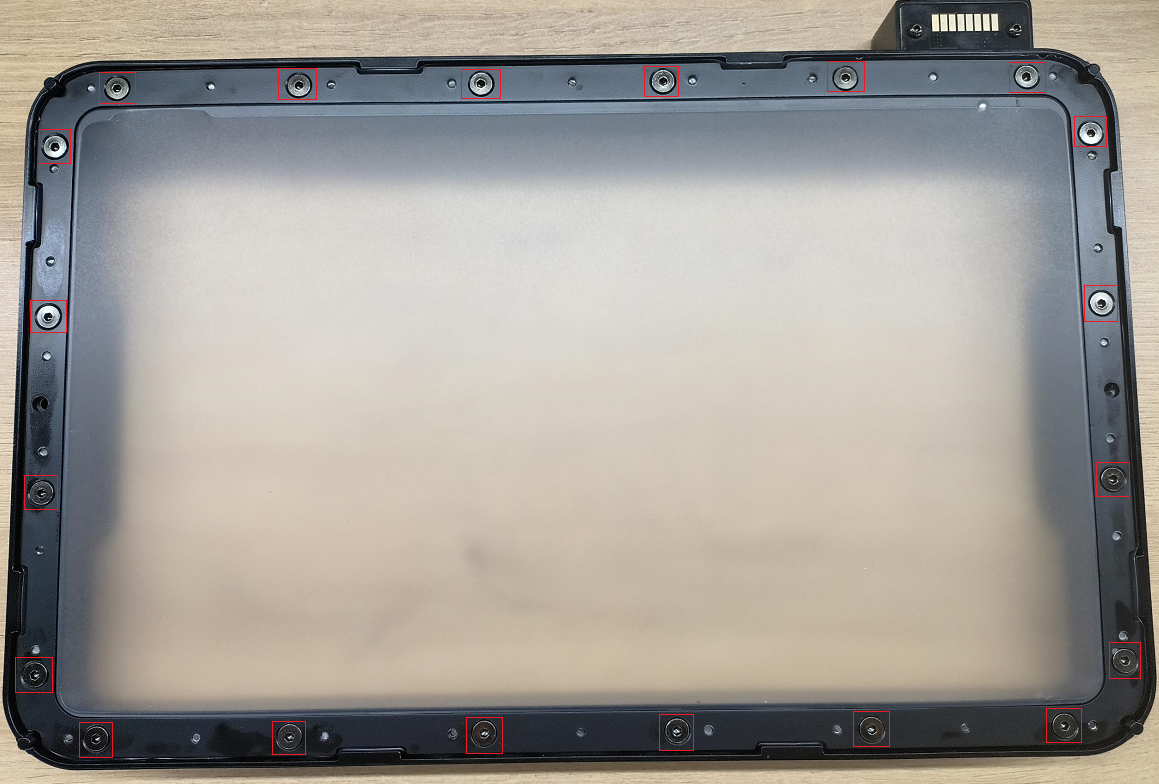
¶ Step 3: Remove the Release Film
Take off the steel ring, then use the S2.0 Allen key to unscrew the 30 screws holding the release film.
¶ Step 4: Clean the Steel Ring
After removing the old release film, spray alcohol on the steel ring surface and wipe off any remaining resin with a dust-free cloth.

¶ 3. Installation Steps:
¶ Step 1: Install the Release Film
1.First please put the lower steel ring of the release film on the table, tear off the protective film of the ACF film, and then place the ACF film on the lower steel ring, paying attention to the frosted surface downward.
2.Place the upper steel ring on the ACF film according to the figure below, so that the notch of the steel ring is aligned, and then use a wrench to tighten all the screws.
Note: Before tightening the screw, please ensure the smoothness of the ACF film, wrinkles will affect the printing effect.
¶ Step 2: Install the Steel Ring
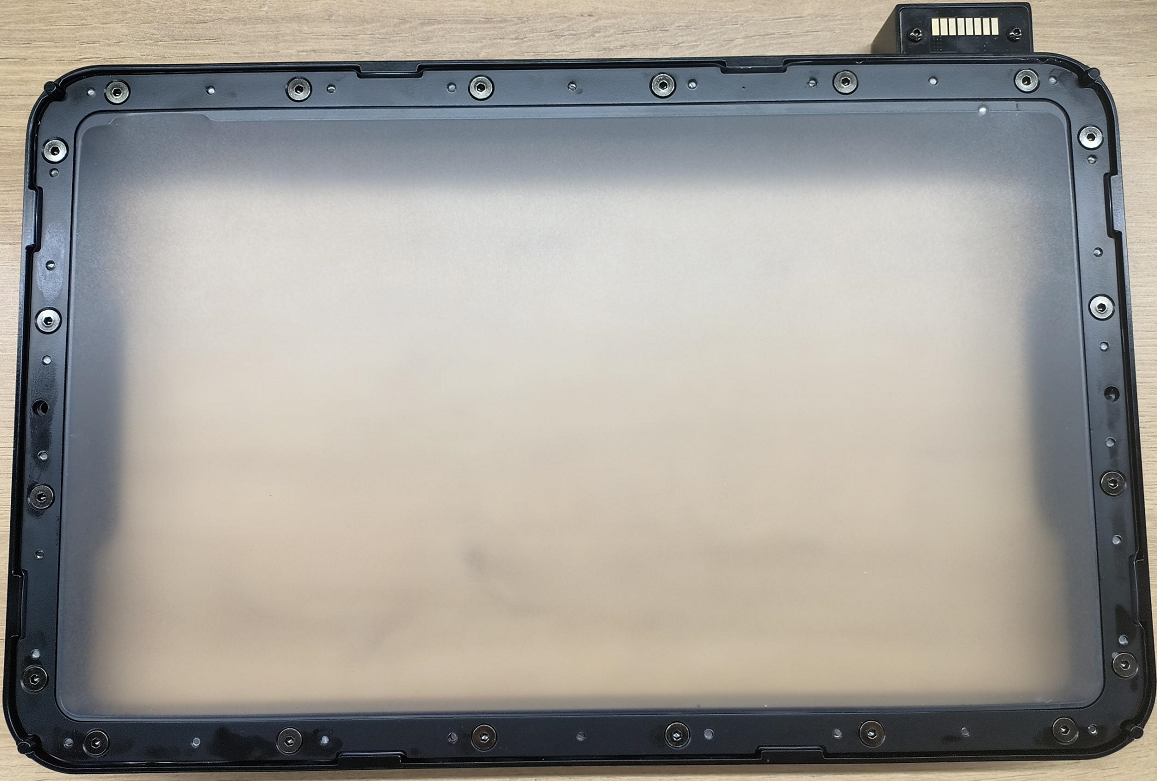
1. Install the assembled steel ring and align it with the screw holes on the resin vat according to the picture below, and then use the S2.5 Allen key to secure 20 screws.
2. Use a utility knife to trim any excess release film along the steel ring.
Note: Be careful not to cut yourself during this process.
¶ 4. Check Replacement Effect:
After replacing the release film, inspect its surface for any wrinkles or damage.