¶ 1. Tools:
- S2.5 Allen Key
¶ 2. Disassembly Steps:
¶ Step 1: Turn off the Printer
Before disassembly, please turn off the printer and disconnect the power supply to ensure safety operation.
¶ Step 2: Remove the front cover of the printer
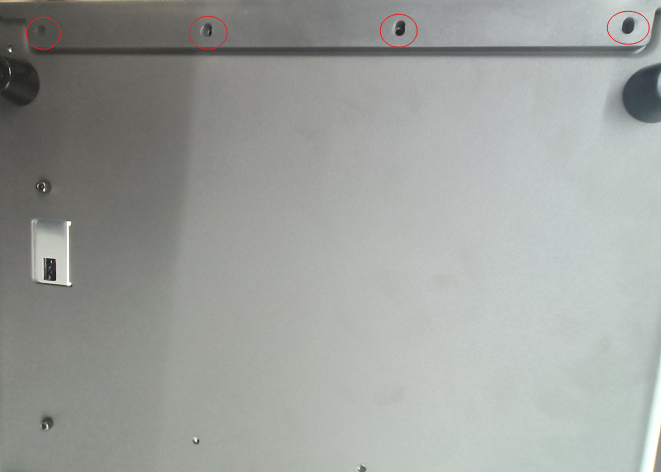
1. Use the S2.5 allen key to loosen the four screws securing the front cover of the printer, remove the cable between the screen and the fan, and remove the front cover of the printer.
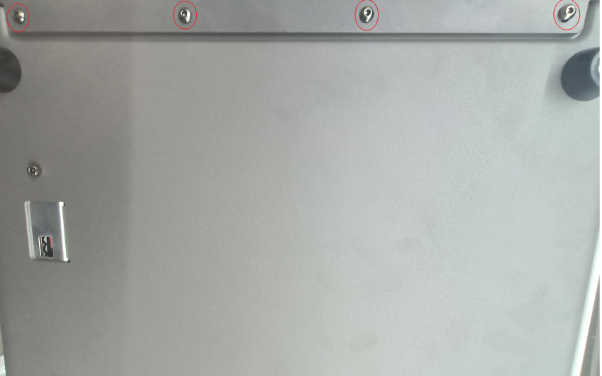
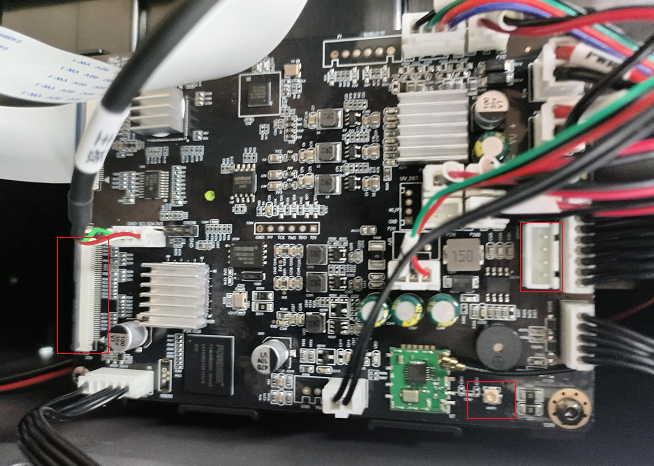
2. Remove the cable to the WiFi antenna connected to the mainboard.

¶ Step 3: Remove the back cover of the printer
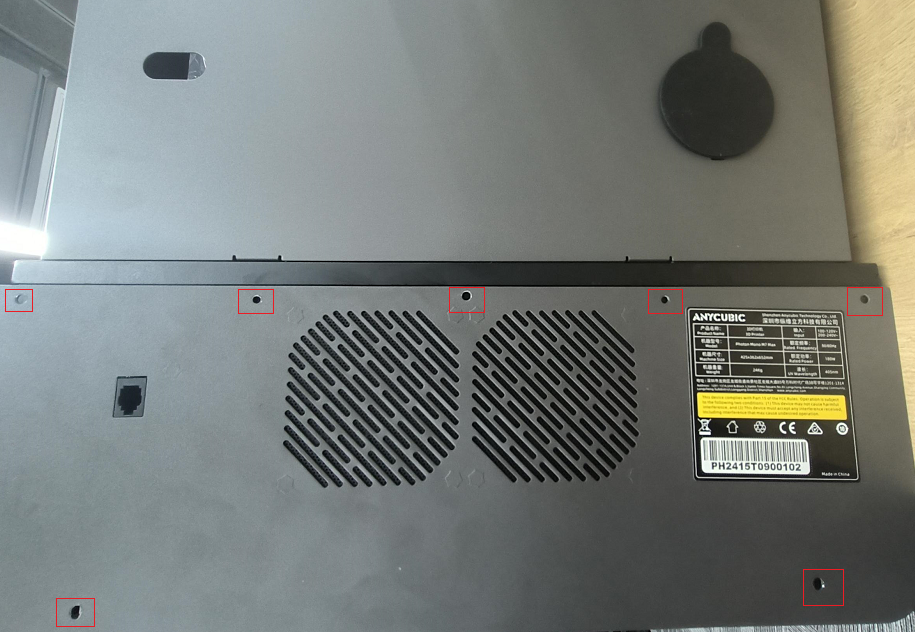
Use an S2.5 allen key to unscrew the seven screws holding the back cover of the printer.

¶ Step 4: Remove the WiFi antenna
1. Rotate the WiFi fixing nut and remove the WiFi antenna.

2. Loosen the fixing nut and gasket using a wrench, and remove the WiFi fastener.

¶ 3. Installation Steps:
¶ Step 1: Install the New WiFi Antenna
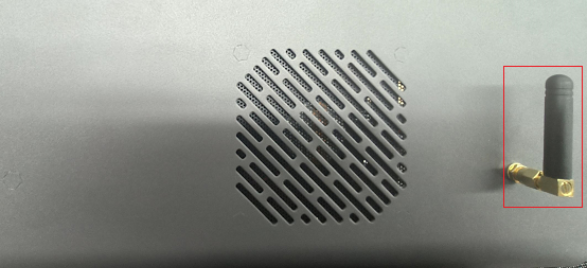
1. Insert the antenna’s connection screw through the side hole of the machine, then install the washer and securing nut.

2. Rotate the fixing nut to secure the WiFi antenna in place.
¶ Step 2: Install the Back Cover
Use the S2.5 allen key to tighten the 7 screws and secure the back cover.
¶ Step 3: Install the Front Cover
1.Reconnect the WiFi antenna cable to the motherboard, and plug in the fan and display screen cables.
2.Install the front cover, and tighten the 4 screws using the S2.5 allen key.
