¶ 1. Tools :
S2.0 Allen key
S3.0 Allen key
Tweezers
¶ 2. Disassembly Steps:
PS: When disassembling components, please remove the build platform and resin vat first and place them aside.
¶ Step 1: Turn off the Device
Before replacing the UV lamp, make sure to turn off the device and disconnect the power to ensure safe operation.
¶ Step 2: Remove the Machine Back Cover
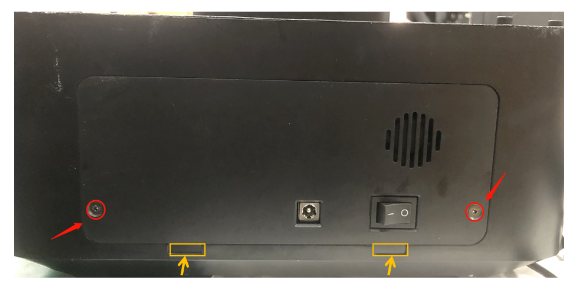
Use the S2.0 Allen key to unscrew the two screws fixing the back cover.
Then, lift the yellow marked part at a certain angle and unplug the fan cable on the mainboard to remove the machine back cover.

¶ Step 3: Disconnect Cables
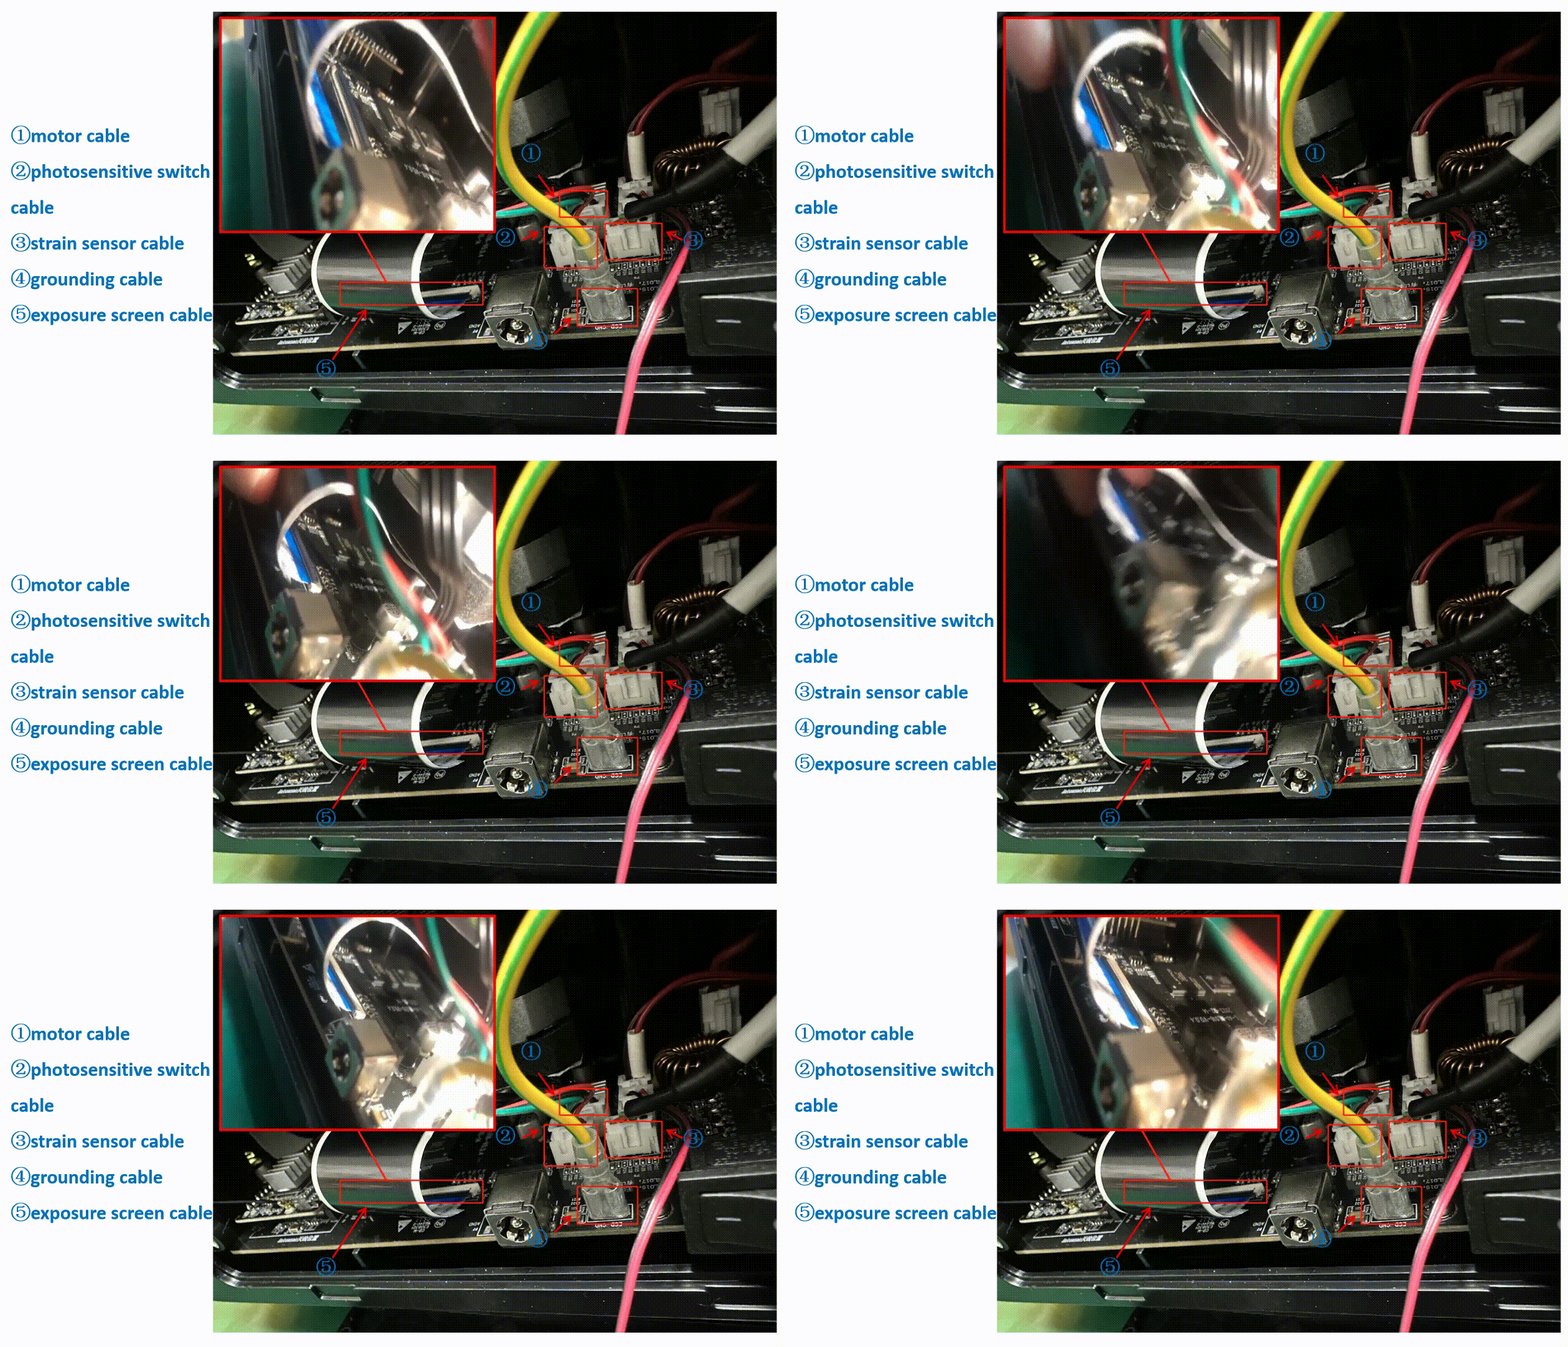
Refer to the diagram and disconnect the cables as marked.
Remove the motor cable, exposure screen cable (use tweezers to lift the end cap at a certain angle while disconnecting),
optoelectronic switch cable, and strain sensor cable from the mainboard.
¶ Step 4: Separate the Upper Base and Base
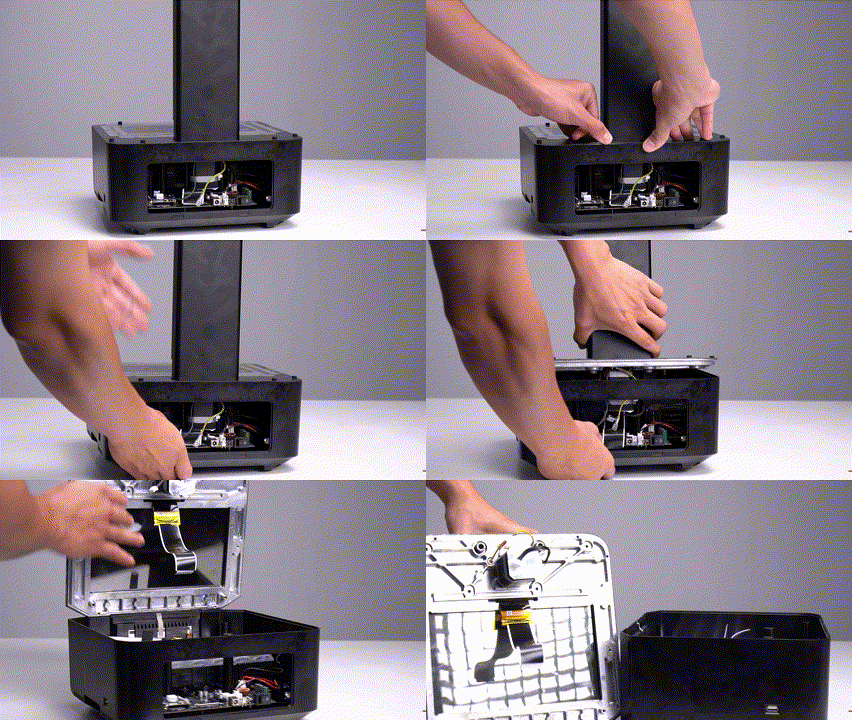
Lay the machine down, use a long enough S3.0 Allen key to unscrew the six screws fixing the upper base,
slightly pry open the edge of the upper base sticker, and finally separate the upper base from the base.


¶ Step 5: Disassemble the Lens Holder
Use the S2.0 Allen key to unscrew the four screws fixing the lens holder on the base.
Take out the lens holder from the base and place it aside to avoid damaging its appearance for subsequent installation.

¶ Step 6: Disassemble the UV Lamp
Disconnect the cable of the UV lamp on the mainboard and remove the cable from the groove.

Then, use the S2.0 Allen key to unscrew the eight screws fixing the UV lamp on the base and take out the UV lamp.

¶ 3. Test the New UV Lamp:
Take out the new UV lamp . You can first place it in the designated position and plug the cable into the mainboard.
Install the upper base onto the base.
(Do not connect other cables at this step; the purpose of installing the upper base is to test whether the replacement of the new lamp can function normally,
and installing the upper base prevents direct exposure to your eyes during subsequent exposure tests).

Connect the power cord to the machine base, power it on, and ignore the abnormal prompt during the self-test. On the main interface, click "Tools" -> "Exposure" -> select any exposure pattern and click "Exposure." Observe whether the UV lamp can light up normally after clicking.
¶ 4. Installation Steps:
¶ Step 1: Install the UV Lamp
Align the UV lamp with the base hole, take out the eight screws removed when disassembling the UV lamp,
and use the S2.0 Allen key to tighten the screws to fix the UV lamp on the base. Place the plugged and unplugged cables in the cable groove.


¶ Step 2: Install the Lens Holder
Take out the screws for the lens holder and fixed bracket placed aside after disassembly.
Align the bracket with the base hole, use the S2.0 Allen key to tighten the screws to fix the bracket on the base.

¶ Step 3: Install the Upper Base
Insert the upper base onto the base, lay the machine down, take out the screws previously removed during disassembly,
use the S3.0 Allen key to align the screw holes, tighten the screws, and smooth out the upper base sticker.

¶ Step 4: Connect Cables
Reconnect the motor cable, and exposure screen cable (Ensure that the blue side and end cap are aligned during assembly,
and arrange the exposure screen cable to prevent interference with UV lamp exposure, which may cause foreign objects to obstruct the screen display),
optoelectronic switch cable, and strain sensor cable to their original positions.
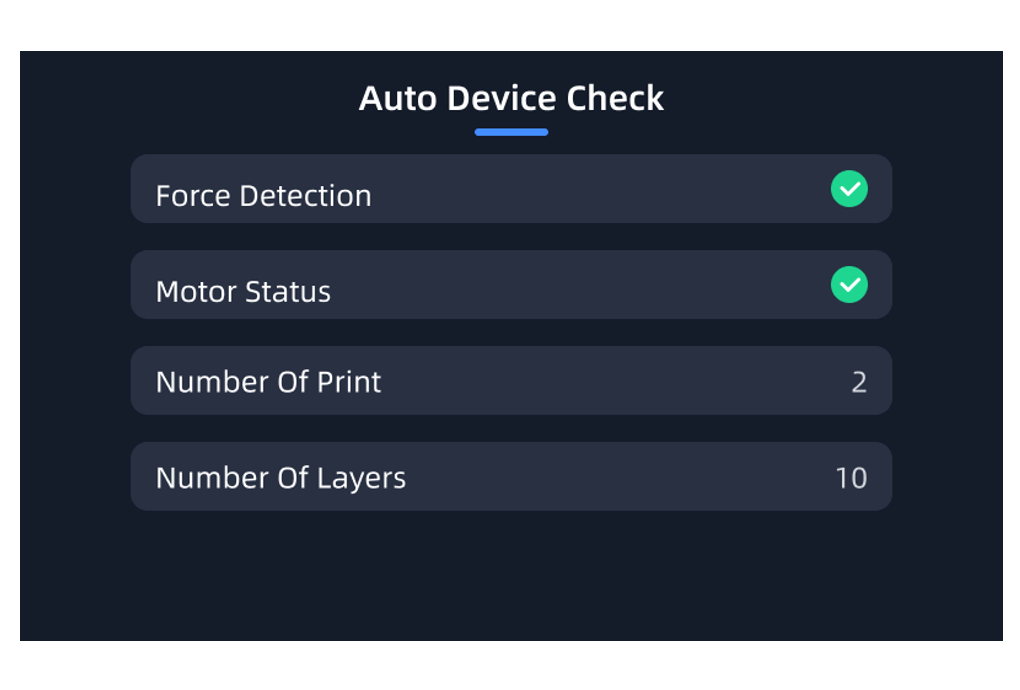
You could then plug in the power and power on the printer for self-check to see if any issues remain.


¶ Step 5: Install the Machine Back Cover
During installation, pay attention to first fitting the upper side of the back cover into place before fitting the lower side.
Finally, use the S2.0 Allen key to tighten the two screws fixing the printer back cover.


¶ 5. Calibration Steps:
After replacing the UV lamp, it is recommended to recalibrate the device according to the following steps.
Note:
The calibration function is only supported for devices with version V1.0.4.7 and above.
If your device is below the required version, you can perform an OTA upgrade on the device to update it to the latest version.
¶ Step 1: Turn on the Device
Connect the device adapter power cord to the device, press the power switch on the back of the device, and start the device.
¶ Step 2: Calibrate the LCD Screen
On the device's main interface, click the following menus in order:
"Tools" -> "Exposure" -> consecutively click 10 times to select a full-screen exposure pattern -> the device will automatically calibrate the LCD screen ->
successful calibration of the LCD screen parameters.
|
|
|
|
|
|
|
|
|