¶ 1. Tools:
- S1.5 Allen key
- S2.5 Allen key
¶ 2. Disassembly steps:
¶ Step 1: Turn off the printer
Before disassembly, please turn off the printer and disconnect the power supply to ensure safe operation.
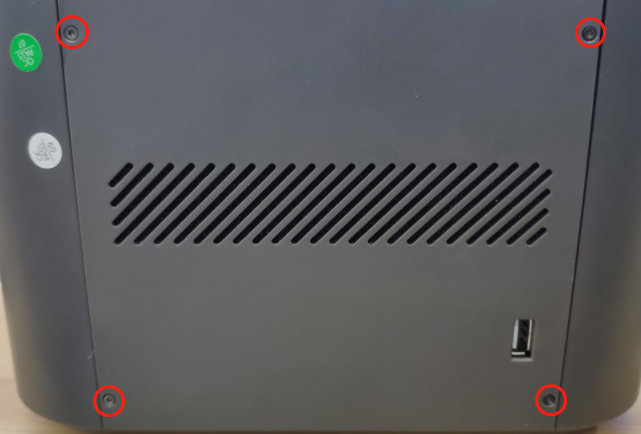
¶ Step 2: Disconnect the mainboard cable
1. Remove the four screws securing the rear cover using the S1.5 allen key.
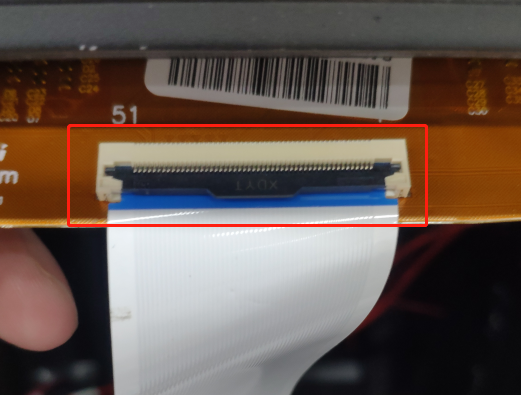
2. Then remove the cable from the motherboard in the order shown in the following picture.

¶ Step 3: Remove the base
1. Loosen the eight screws securing the base using the S2.5 allen key.

2. Remove the cable of the exposure screen, and then separate the base.

¶ Step 4: Remove the Fresnel lens
Use an S2.5 Allen key to unscrew the 12 screws holding the Fresnel lens in place, then remove the Fresnel lens.

¶ 3. Installation steps:
¶ Step 1: Install the Fresnel lens
Replace the Fresnel lens with a new one, then use the S2.5 Allen key to tighten the 12 screws that hold the Fresnel lens in place.
¶ Step 2: Install the base
1. Connect the cables on the mainboard and the exposure panel to the ports, and press the ports on the exposure panel.

2. Tighten the eight screws securing the base using the S2.5 allen key.

¶ Step 3: Install the rear cover
Finally, please use S1.5 allen key to tighten the four screws holding the rear cover.
