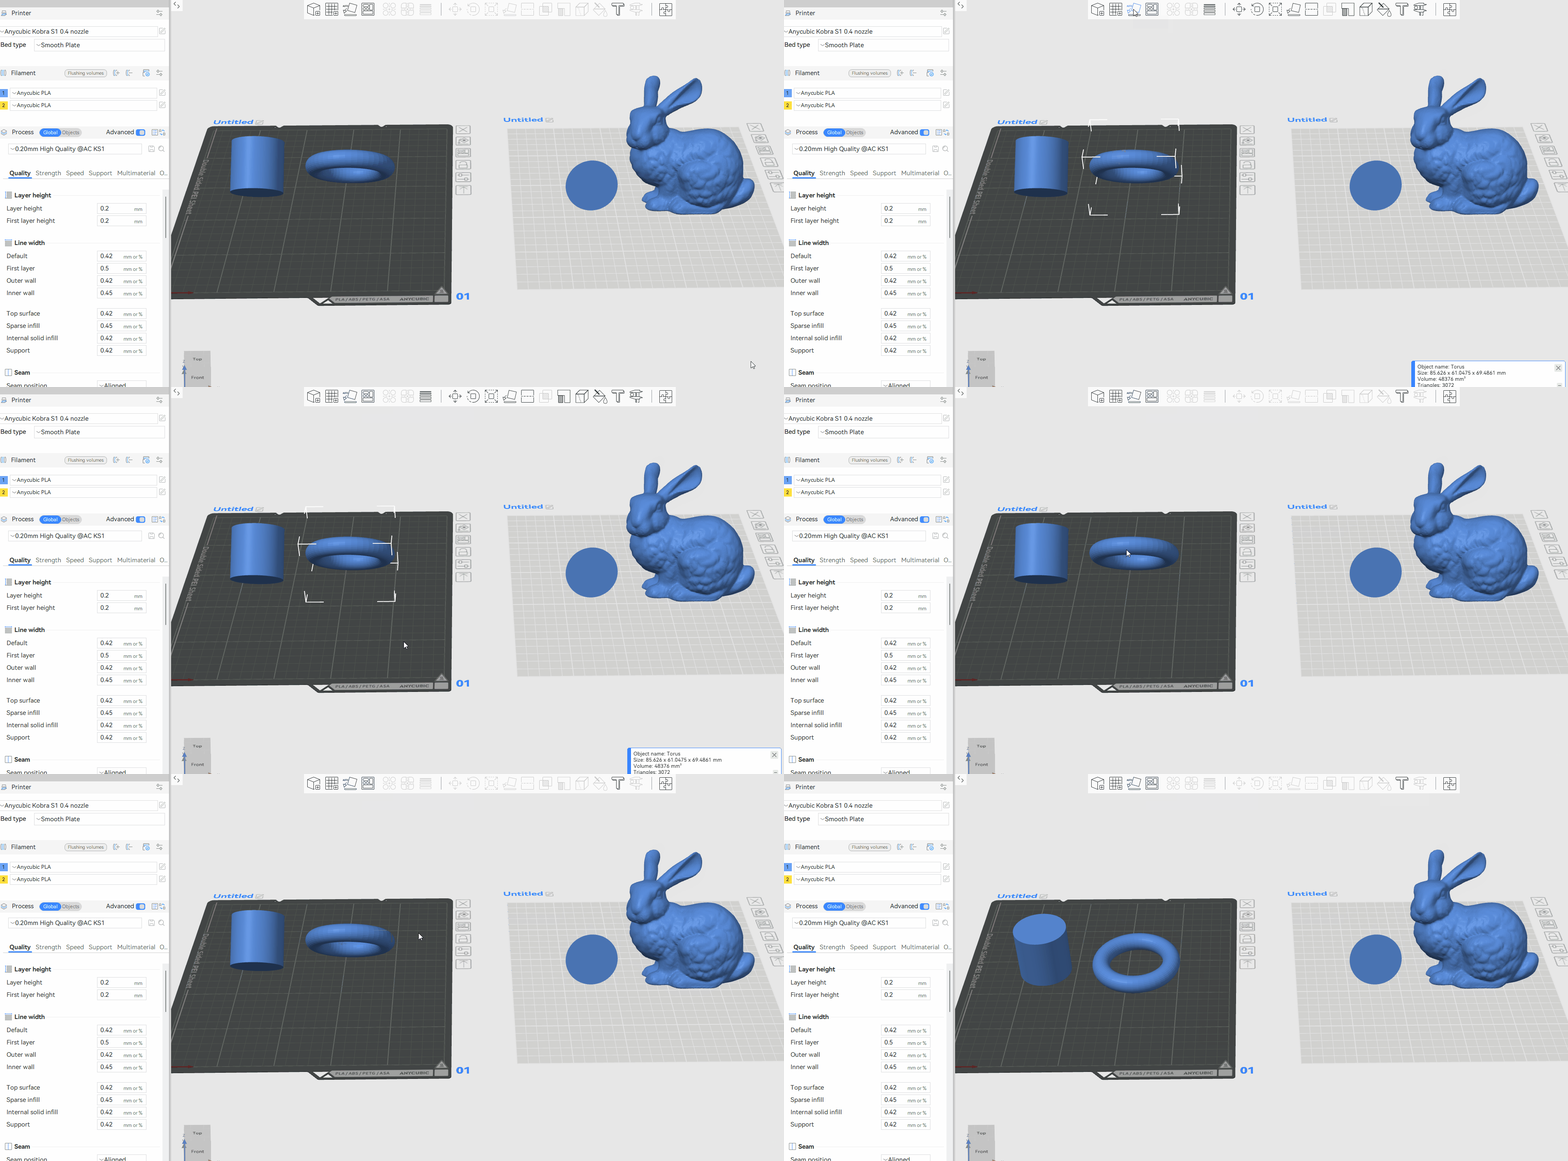
¶ Feature Introduction:
The Auto-Orient feature in Anycubic Slicer Next is a powerful intelligent tool that uses algorithms to automatically calculate the optimal rotation angle for a model on the print platform. Its core objectives are to minimize support requirements, maximize bed adhesion, optimize model stability, and protect critical surfaces. It significantly improves printing efficiency and quality, especially for beginners and complex geometries.
¶ Usage Instructions:
¶ 1. Load the Model:
Import the model into the workspace of Anycubic Slicer Next, then click to select the model you want to adjust in the platform view or the object list on the left.
¶ 2. Execute Auto-Orientation:
a. Method 1 (Toolbar Icon): Without selecting any object, click the "Auto-Orientation" icon in the top toolbar, and all objects will be automatically oriented. Select one or more objects, then click the button, and the selected objects will be automatically oriented.
b. Method 2 (Right-Click Menu): Right-click a plate, then select "Auto Rotate" from the context menu, and all models on that plate will be automatically oriented.
c. Method 3 (Print Panel): Select a plate and click the Auto-Orientation icon next to it, and all models on that plate will be automatically oriented.

¶ 3. Evaluate and Fine-Tune:
a. Auto-Orient is not omnipotent! The algorithm is primarily based on geometric calculations and may not fully understand your design intent.
b. Always manually check:
i. Use the "Slice Preview" function to confirm whether support requirements are reduced to your satisfaction.
ii. Verify if the automatically selected bottom surface is truly the one you want in contact with the platform (sometimes the largest face is not the best choice).
iii. Check if the orientation of critical features (e.g., text, holes, mating surfaces) is reasonable.
c. Manual Fine-Tuning: If unsatisfied with the automatic results, use the manual rotation tool for precise adjustments.