Note: This article is written based on Anycubic slicer Next version 1.3.5.3. There may be some discrepancies if the software version is inconsistent.
¶ Definition of Seam
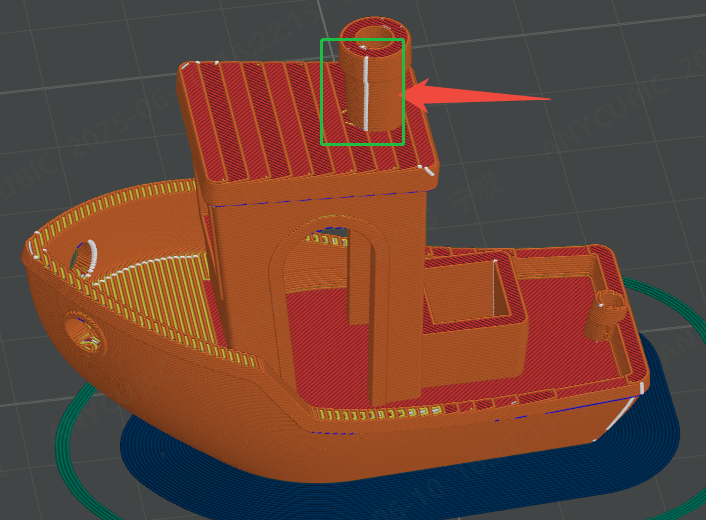
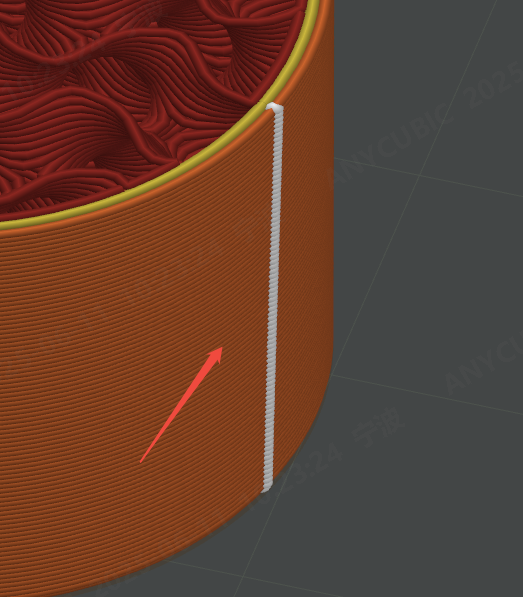
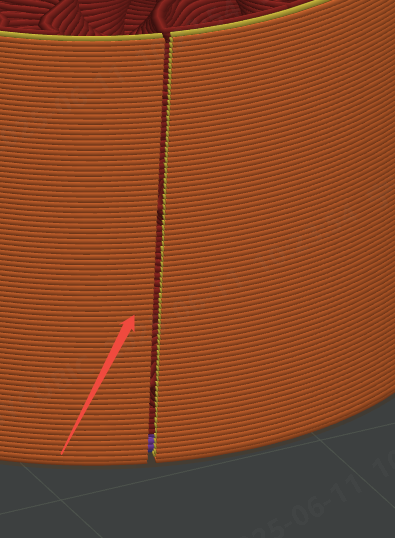
Seams refer to the tiny gaps created when the starting and ending positions of each trace meet during the printing process, which usually form vertical marks on the surface of the model. Due to the structural limitations of FDM-type printers, seams can hardly be completely eliminated and are usually slightly visible. However, by optimizing the printing parameters reasonably, the visual effect of the seams can be greatly reduced. For models with complex surface shapes, bumps or corners, seams can often be effectively hidden; while for models with smooth surfaces and uniform curvature (such as cylinders), seams are more obvious and difficult to cover up.
¶ How to set the seam
The seam setting interface is as follows
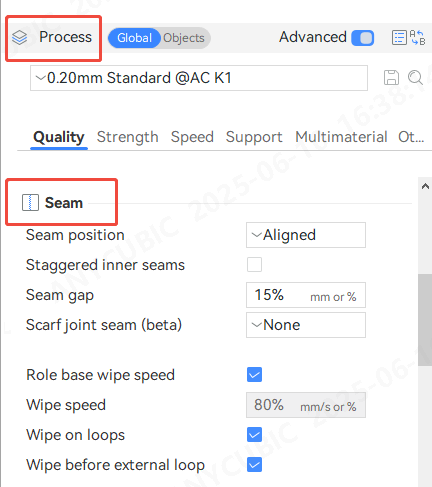
¶ Seam position
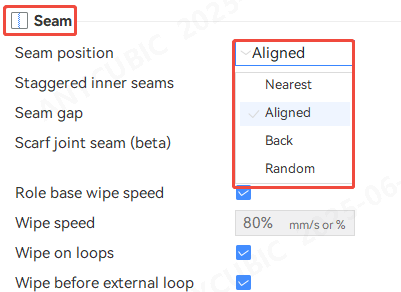
In order to obtain a more ideal printing effect, the seam position can be set in the process preset. Currently, four seam modes are available: nearest, aligned, back and random. Users can flexibly choose according to the characteristics of the model to optimize the distribution and visual effect of the seams.
¶ Nearest
The Nearest mode selects the seam location based on the following priority: Concave non-overhanging vertices > Convex non-overhanging vertices > Normal non-overhanging vertices > Overhanging vertices. In other words, it prioritizes setting seams in concave or convex non-overhanging areas to more effectively hide seams and improve the appearance quality of the print.
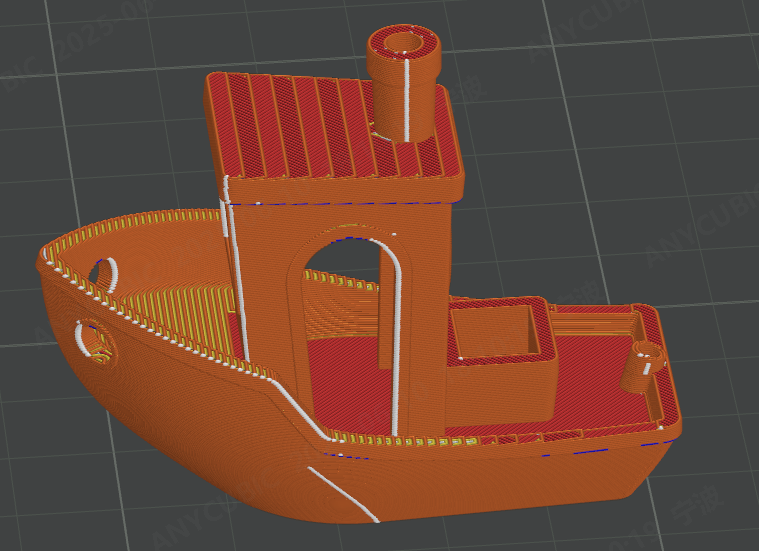
¶ Aligned
The selection logic of candidate seam positions is consistent with the 'nearest' principle, but the position closest to the previous layer's seam will be prioritized to ensure the alignment of the overall seam of the model.
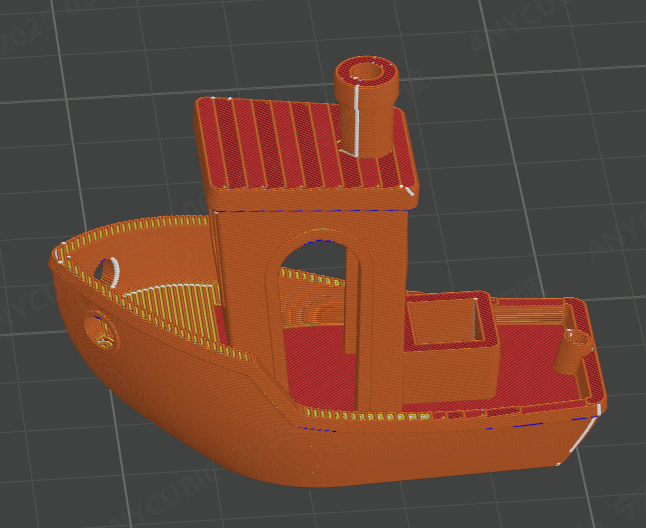
¶ Back
The seam is placed on the back of the model by default to keep the appearance clean
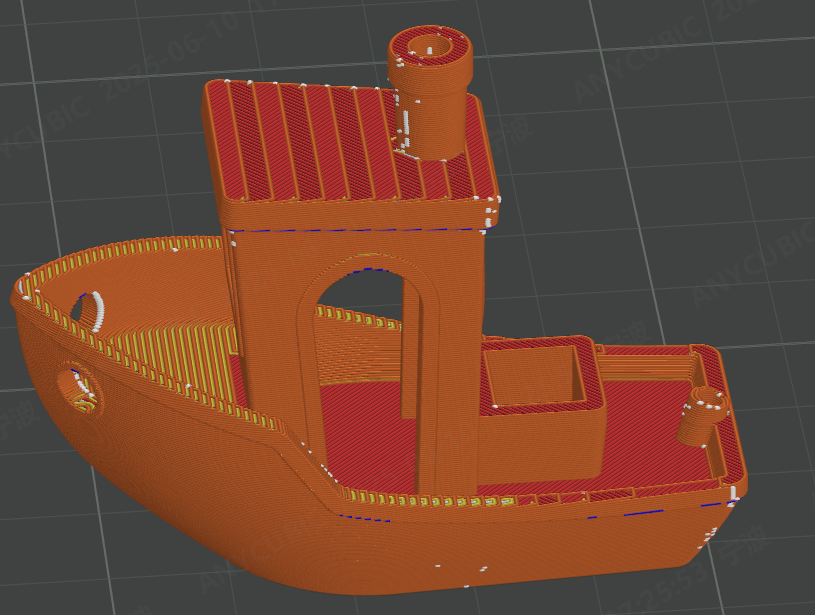
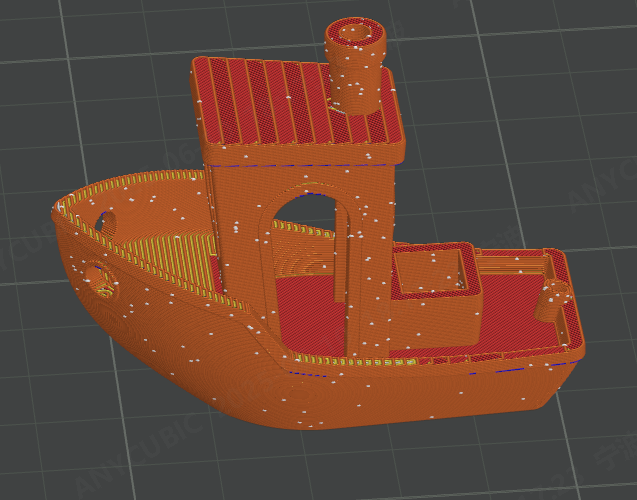
¶ Random
The random seam mode will generate seams at different locations on each layer, making them more dispersed. Visually, it is not as uniform as the "aligned" or "back" modes, but it can reduce the obviousness of the seams. This method will form a scatter plot-like texture effect on the surface of the model.
¶ Staggered inner seams
This option moves the seams back based on the interior wall depth, creating a zigzag pattern.
 |
| The "Stagger interior wall joints" option is not turned on |
 |
| Turn on the "Stagger interior wall joints" option |
¶ Seam gap
In order to reduce the visibility of the seam in a closed loop extrusion, the loop is interrupted and shortened by a specified amount.This amount can be specified in millimeters or as a percentage of the current extruder diameter, The default value for this parameter is 10%.
| Default 10% parameter | Change the parameter to 80% |
 |
 |
¶ Role base wipe speed
This option is checked by default, and the wiping speed is determined by the speed of the current extrusion type. For example, if the wiping action follows the exterior, the wiping speed will use the speed of the exterior wall.
¶ Wipe speed
The default value of this parameter is 80% mm/s, which is a suitable parameter and does not need to be modified.
¶ Wipe on loops
To minimize the visibility of the seam in a cosed loop extrusion, a small inward movement is executed before the extruder leaves the loop.
¶ Wipe before external loop
To minimize visibility of potential overextrusion at the start of an external perimeter when printing with Quter/lnner or Inner/Outer/Inner wall print order, the de-retraction is performed slightly on the inside from the start of the external perimeter. That way any
potential over extrusion is hidden from the outside surface.This is useful when printing with Quter/lnner or Inner/Outer/lnner wall print order as in these modes it is more likely an external perimeter is printed immediately after a de-retraction move.
Without this option turned on, the print head movement trajectory
Turn on this option, the print head movement trajectory