Note: This article is written based on the Anycubic Slicer Next slicing software version 1.3.5.3. There may be some differences due to inconsistent software versions.
¶ Function Introduction:
Setting "Slow down for overhangs" in the slicing software is one of the key methods to solve the poor print quality of the overhang part of the model (such as collapse, stringing, and edge curling). Its core idea is to slow down the movement of the print head when printing the hanging area, allowing the filament more time to cool and solidify, thereby maintaining the shape.
The speed of the interior and exterior walls has a significant impact on the surface quality of the printed model, especially for the hanging surface. Generally speaking, when the overall printing speed is relatively slow, there is usually no problem with the quality of the overhang surface. However, for high-speed printing scenarios, even if the layer area is large, the single-layer printing time is long, and the cooling is sufficient, an overly fast wall speed may still result in the quality of the hanging surface falling short of expectations. To strike a balance between print time and print quality, it is necessary to inspect the overhang area and print at a slower speed. Therefore, we introduced the "Slow down for overhangs" function in Anycubic Slicer Next to control the wall speed of different overhang parts.
¶ Operating Guide:
¶ Slow down for overhangs:
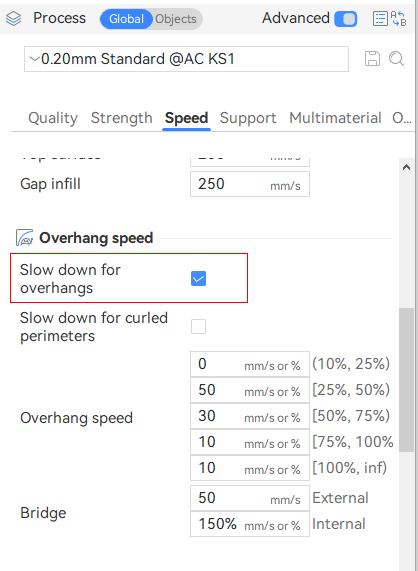
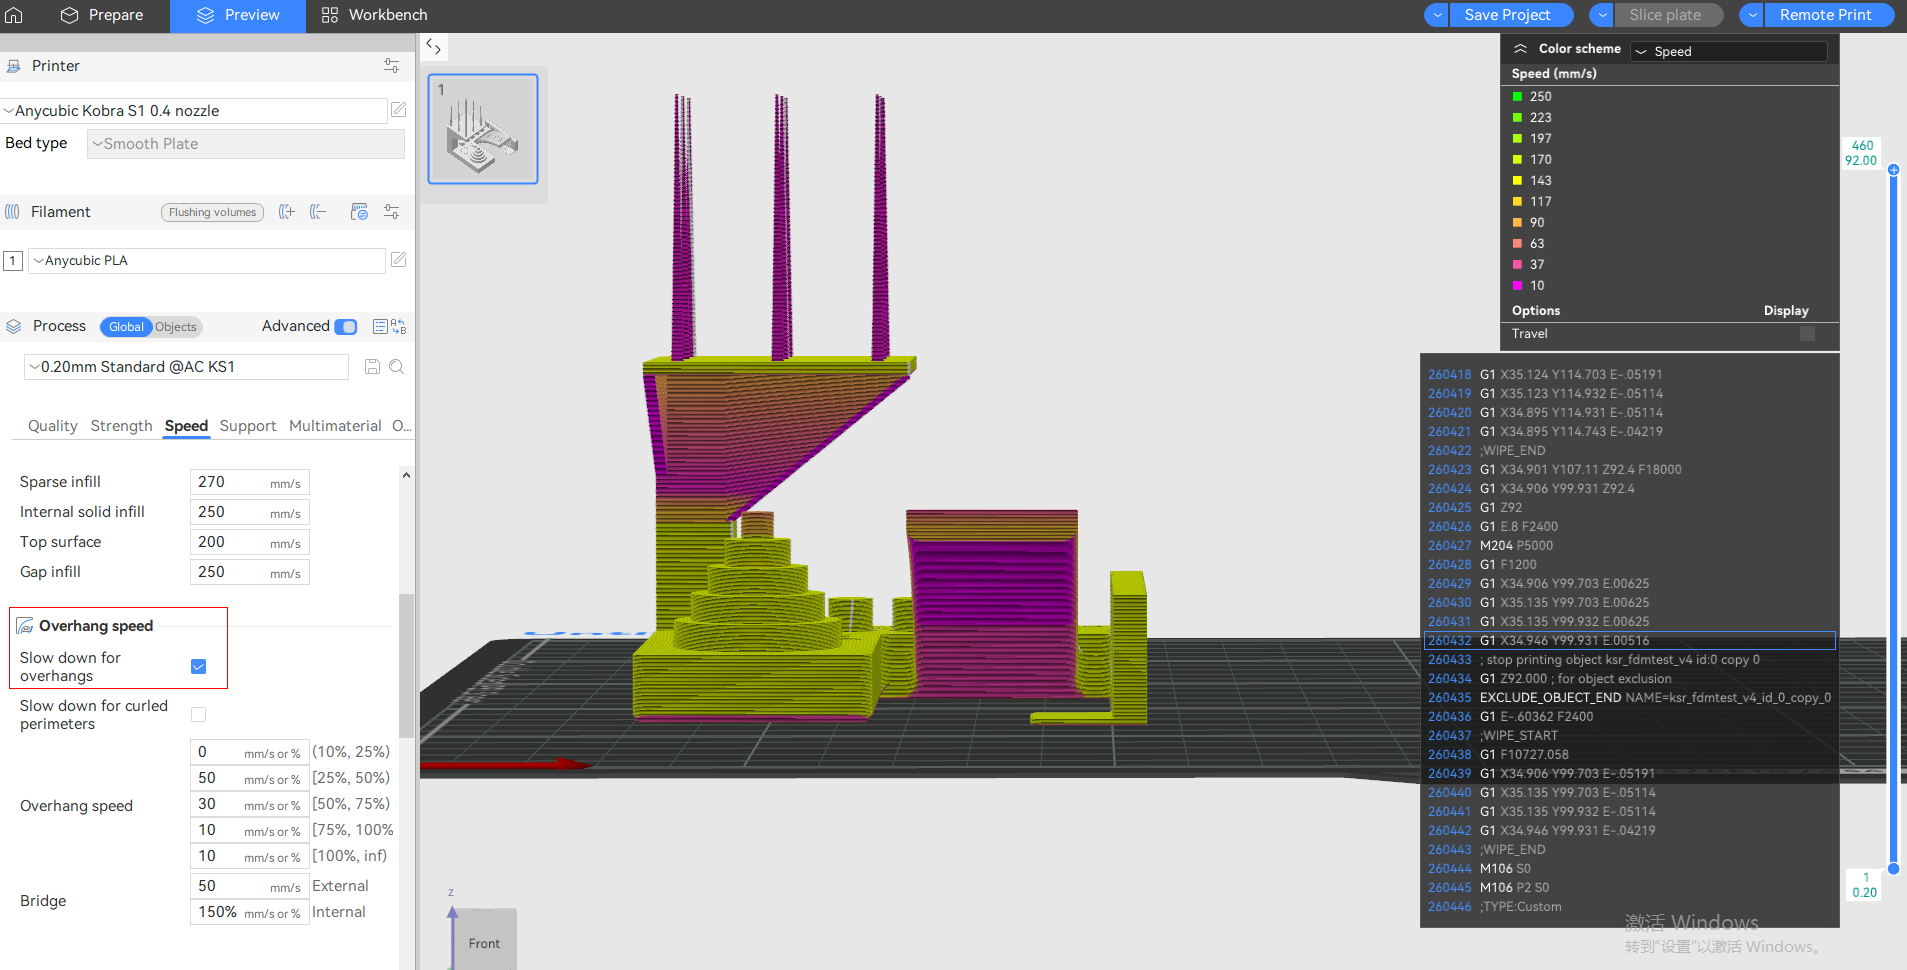
"Slow down for overhangs" function is enabled by default in Anycubic Slicer Next. You can modify the wall velocity in different intervals at the position shown in the following figure.
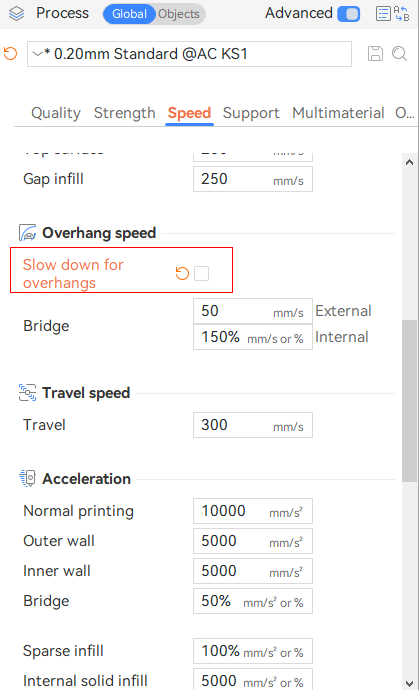
When you do not need this function, you can uncheck "Slow down for overhangs". At this time, the suspension speed will be hidden and ineffective.
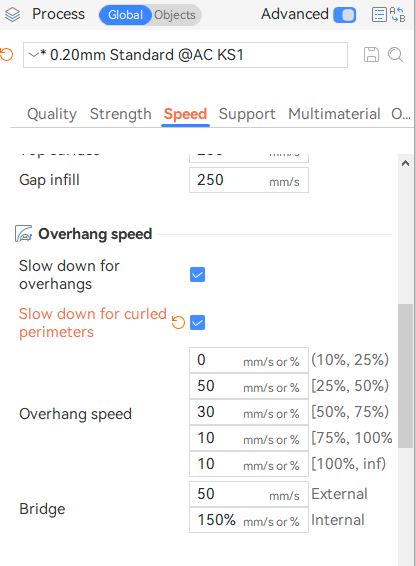
¶ Slow down for curled perimeters:
Enable this option to slow down printing in areas where perimeters may have curled upwards.For example, additional slowdown will be applied when printing overhangs on sharp corners like the front of the Benchy hull, reducing curling which compounds over multiple layers.
When this option is enabled, overhang perimeters are treated like overhangs, meaning the overhang speed is applied even if the overhanging perimeter is part of a bridge. For example, when the perimeters are 100% overhanging, with no wall supporting them from underneath, the 100% overhang speed will be applied.
¶ Application case:
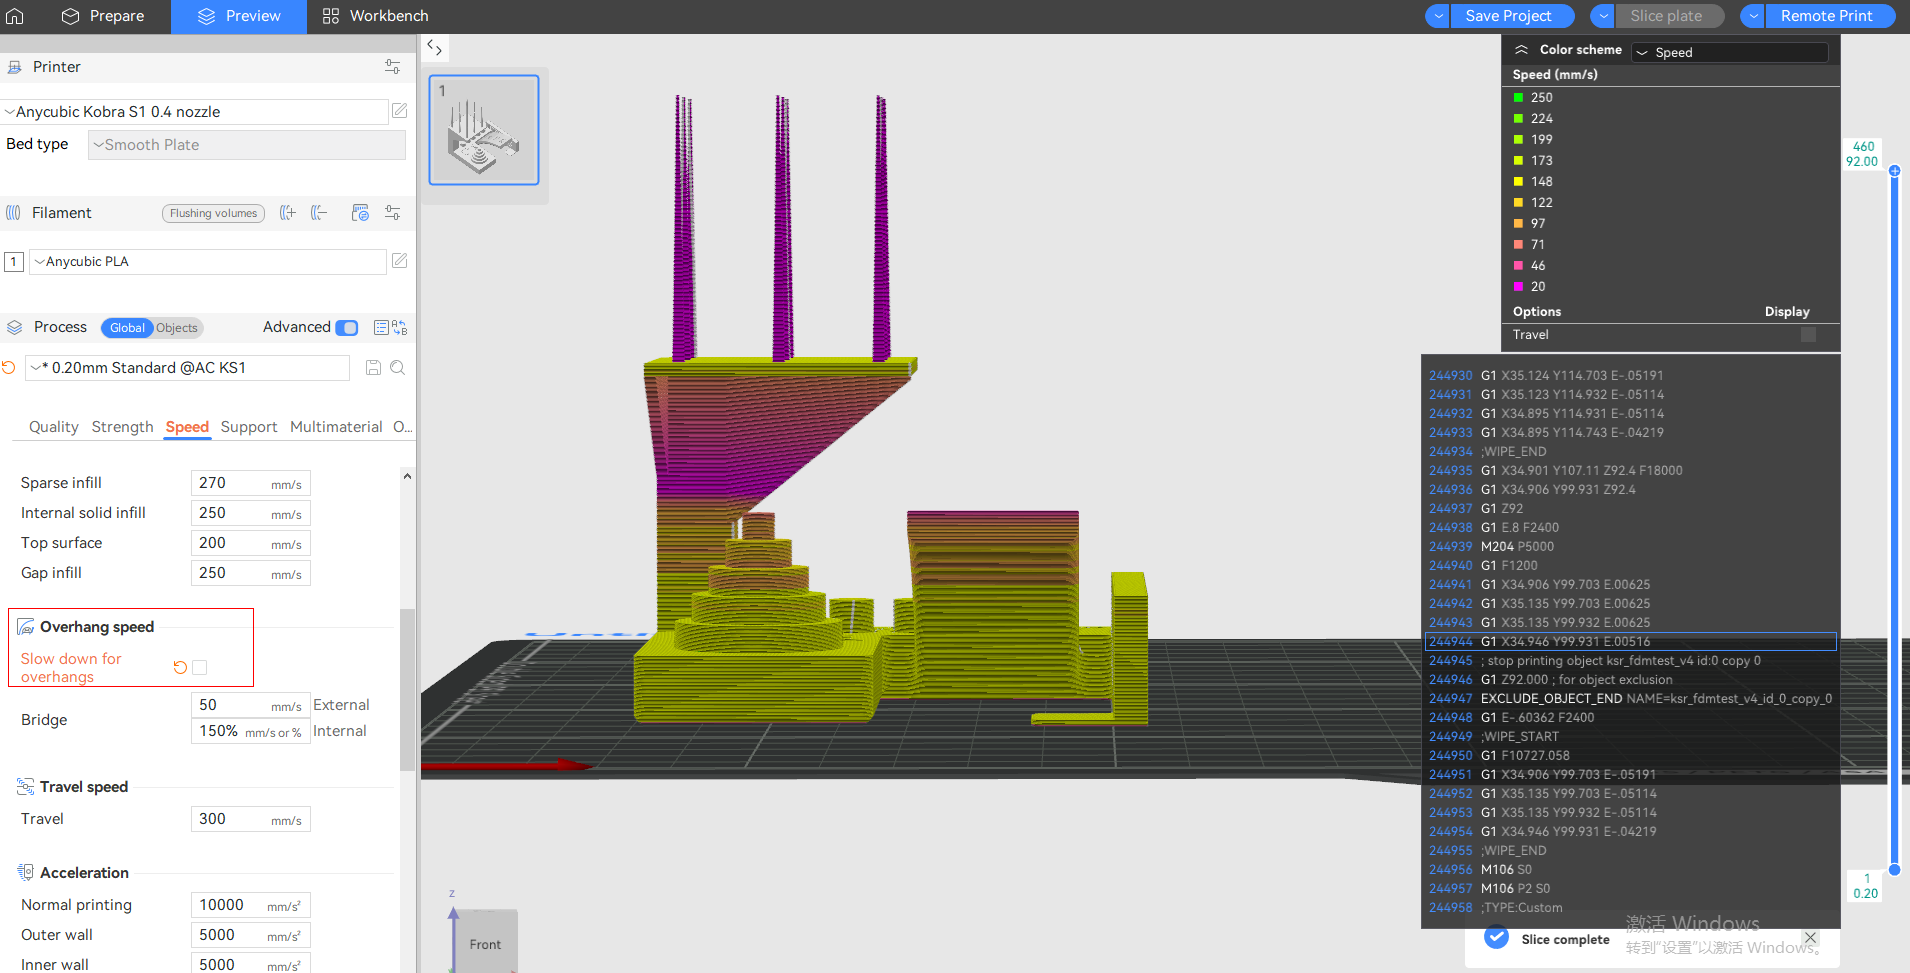
Take the following model as an example. By enabling and disabling the vertical deceleration respectively, different vertical printing speeds can be seen on the speed preview page.
Enable "Slow down for overhangs":
Turn off "Slow down for overhangs":