¶ 1.tools:
M2.0 Allen key
M2.5 Allen key
¶ 2.Disassembly Steps:
¶ Step 1: Power off the device
Before replacing the motor, ensure that the device is powered off and disconnected from the power source for safe operation.
¶ Step 2: Remove accessories
Remove the device's cover, Washing bucket, curing table, and gooseneck light to facilitate device disassembly.
¶ Step 3: Remove the device's bottom cover
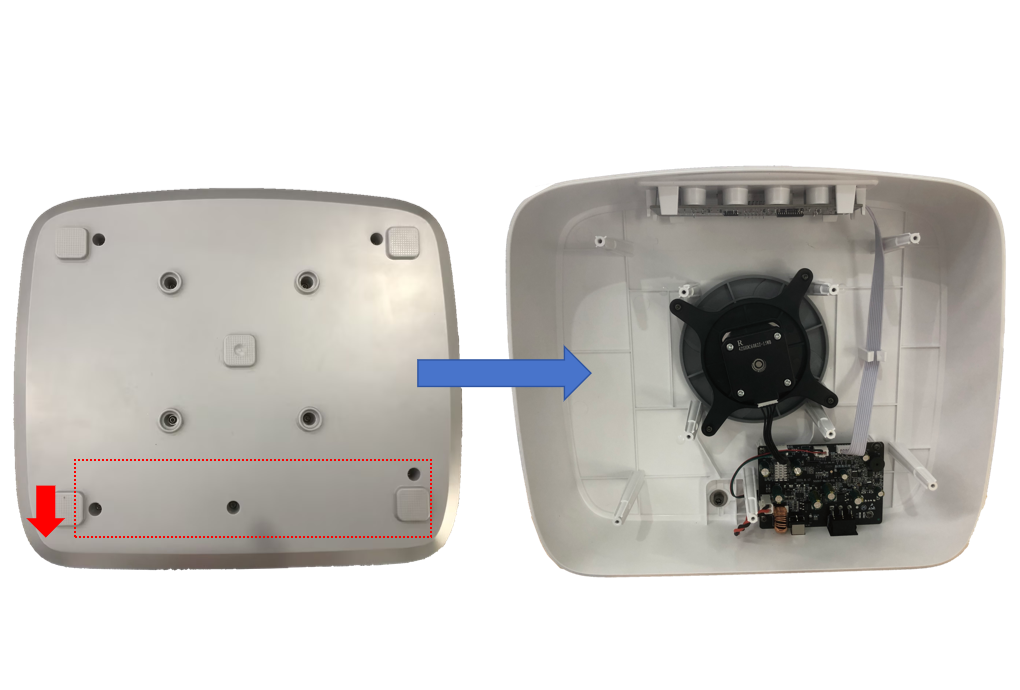
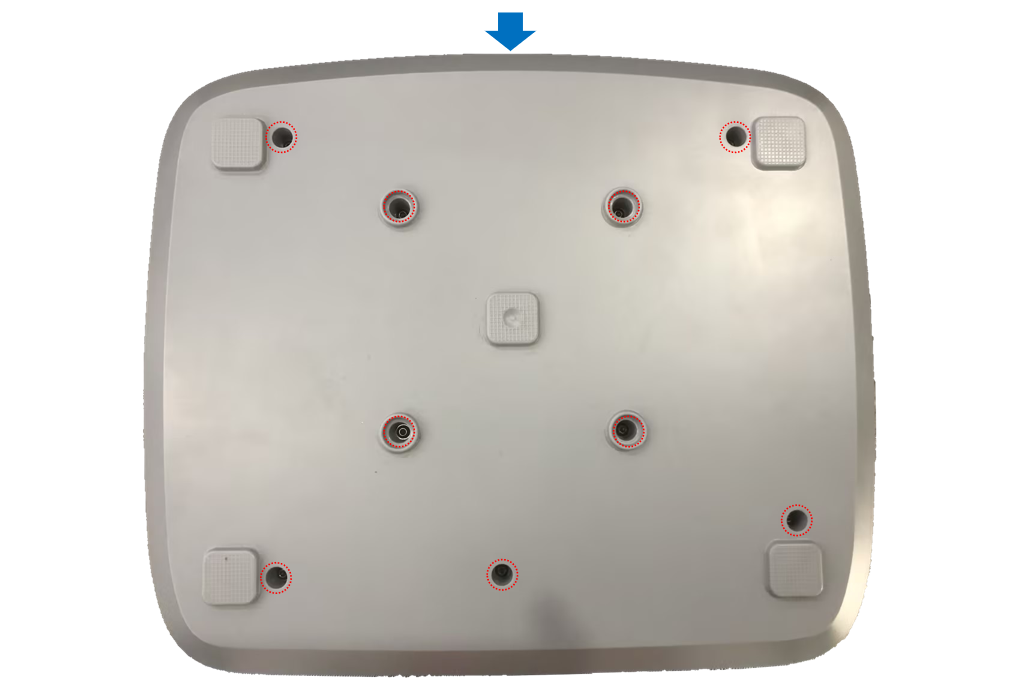
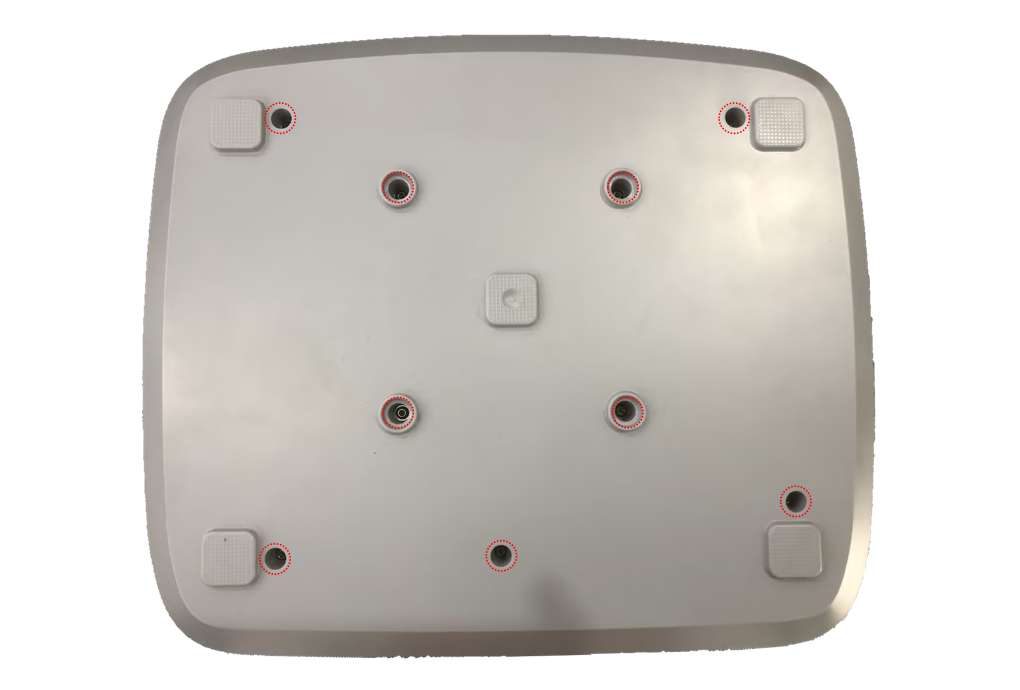
Lay the machine down with its bottom facing you. Use an M2.0 Allen key to remove the 9 self-tapping screws that secure the device's bottom cover. Place the removed parts aside for later reinstallation.
¶ Step 4: Disconnect cables
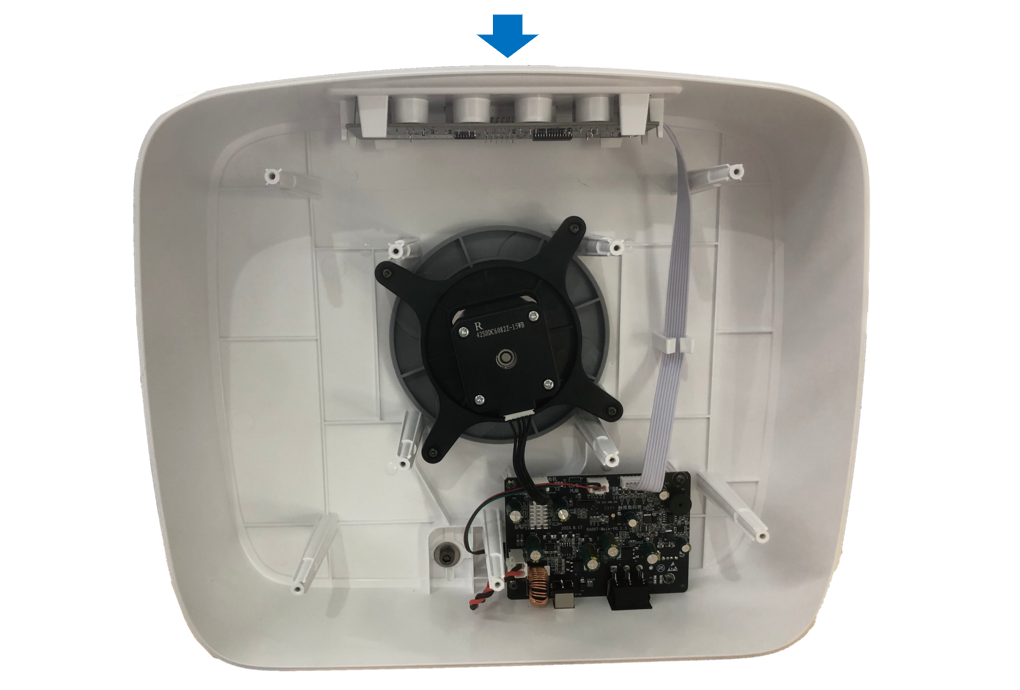
Disconnect the cables from the motor. If there is any adhesive securing the cable connectors, such as red or hot melt glue, remove it before unplugging the cables.
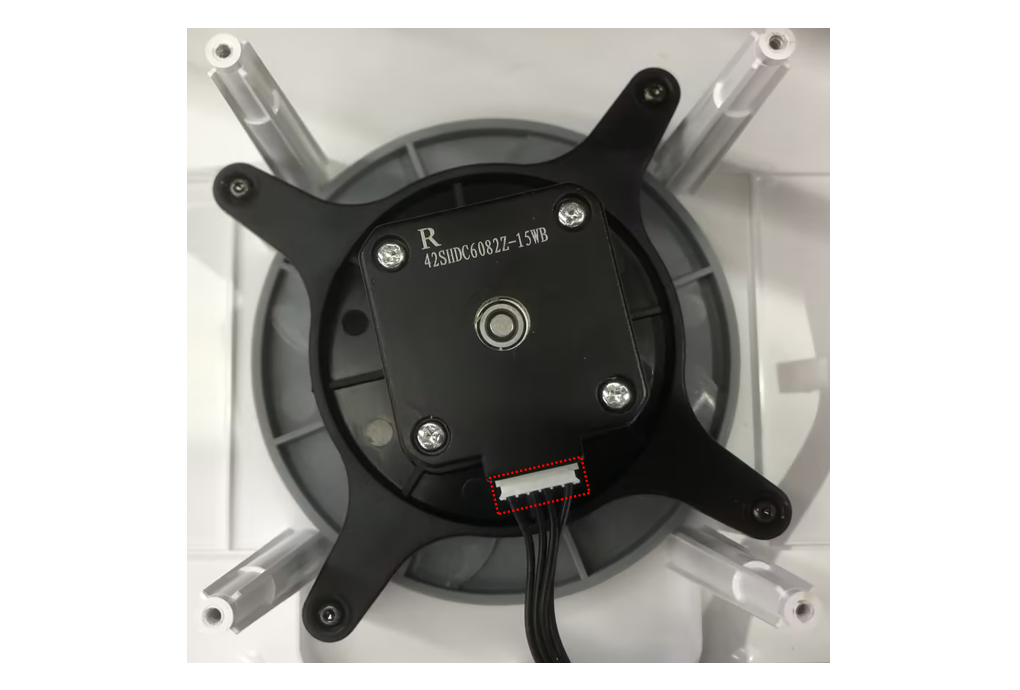
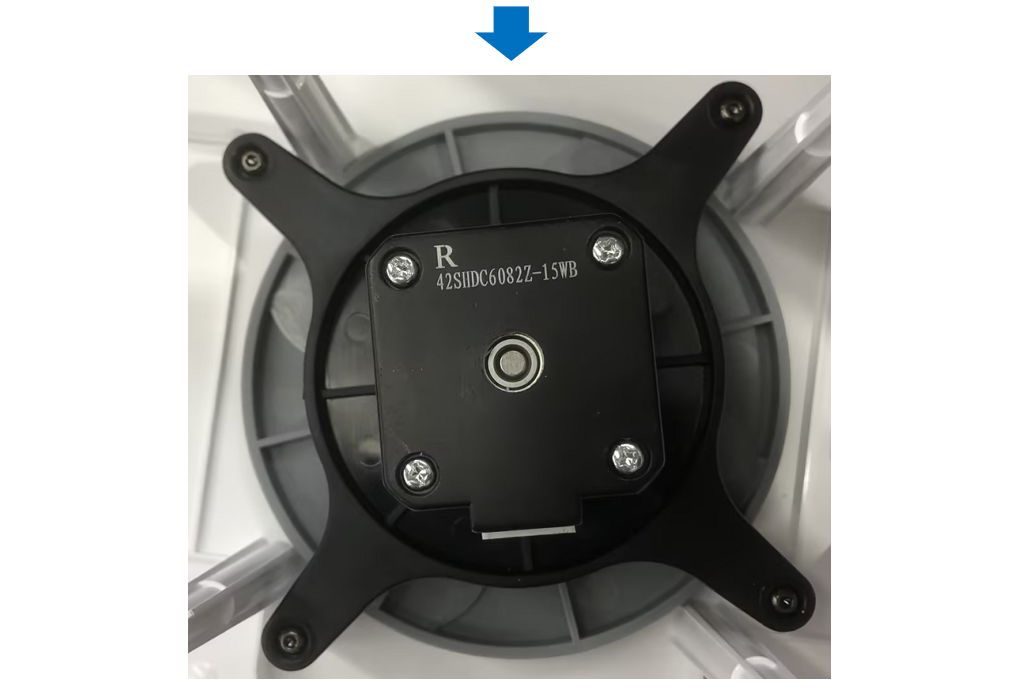
¶ Step 5: Remove the motor
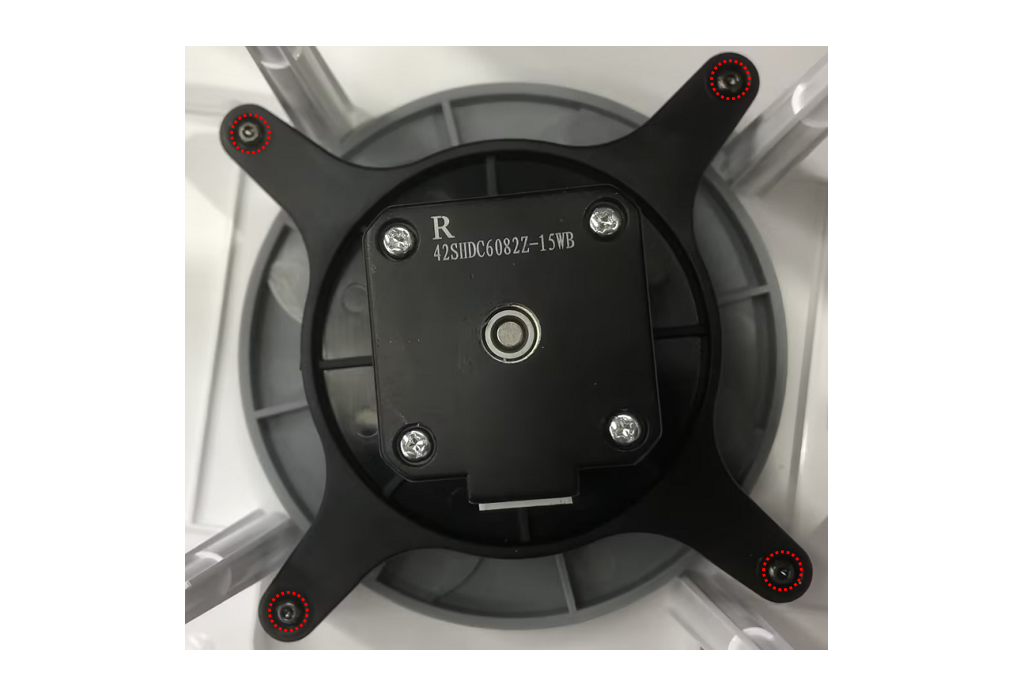
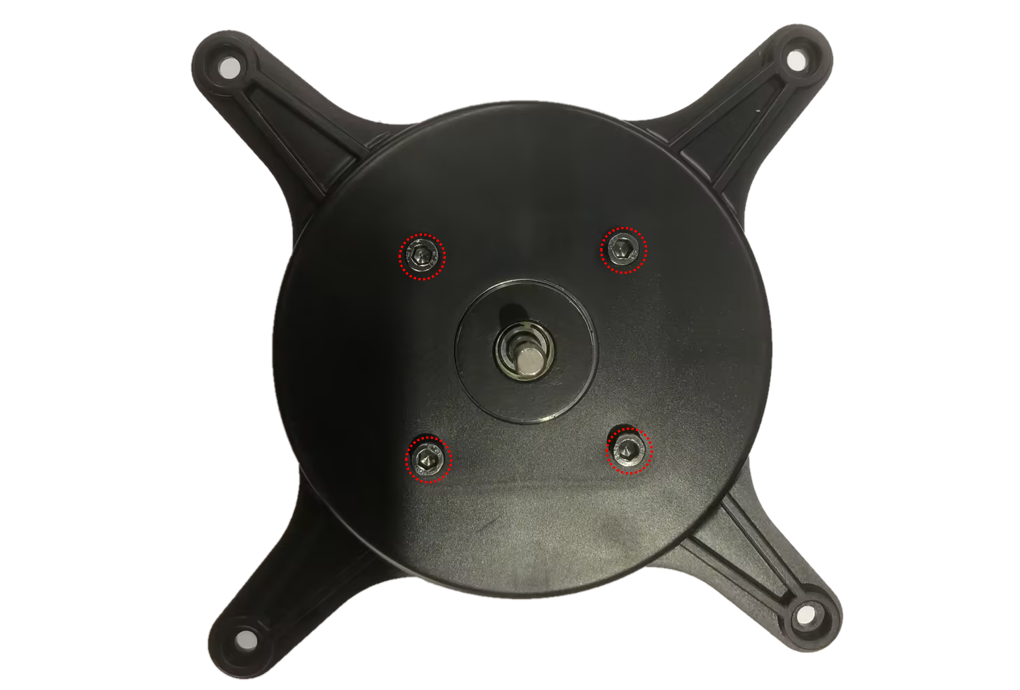
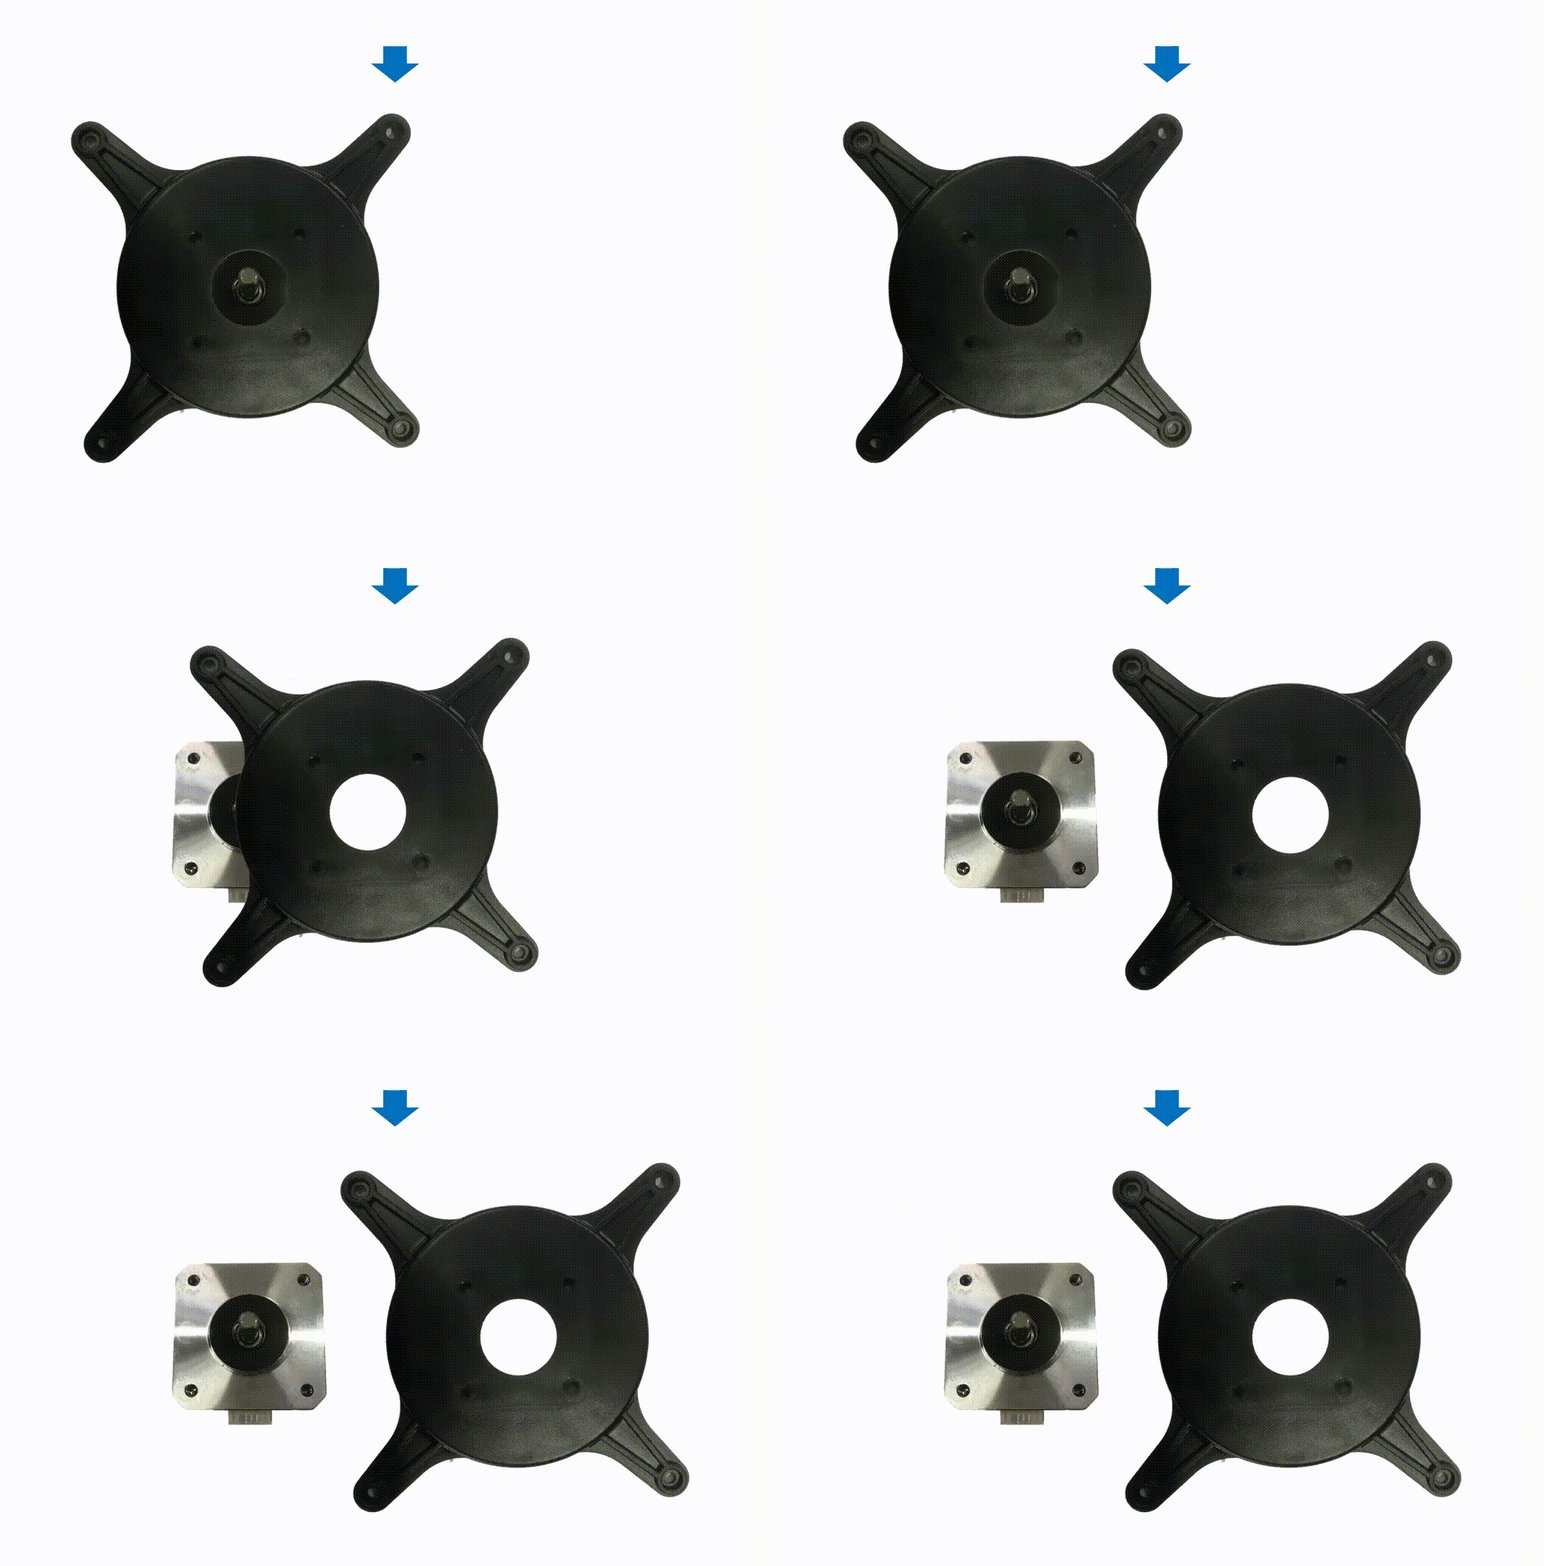
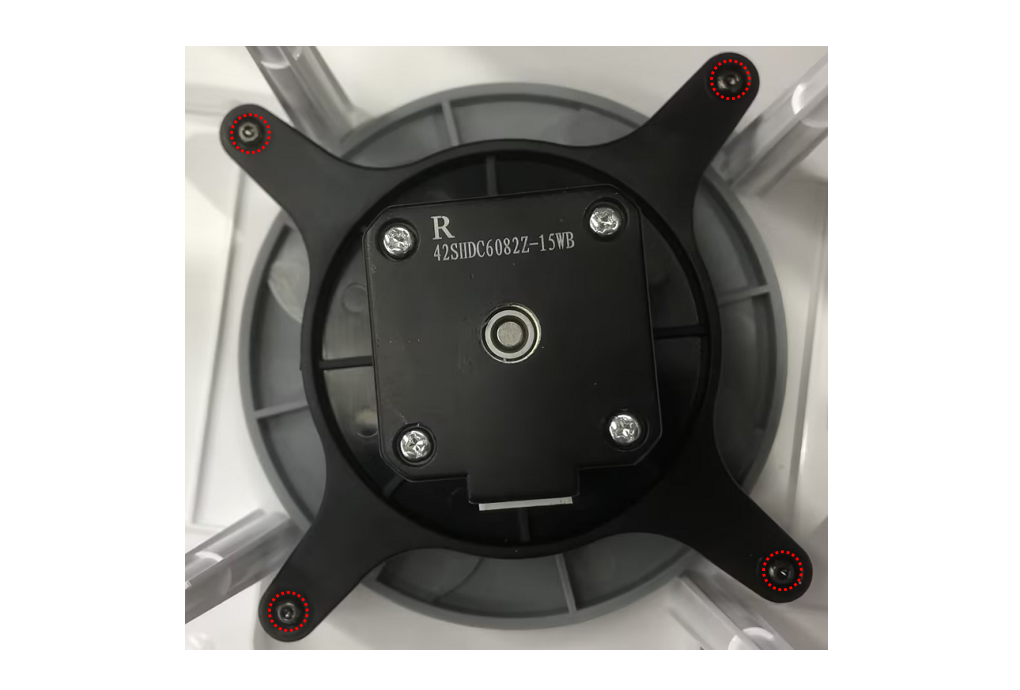
①Use an M2.0 Allen key to remove the 4 self-tapping screws that secure the motor bracket and take out the motor module.
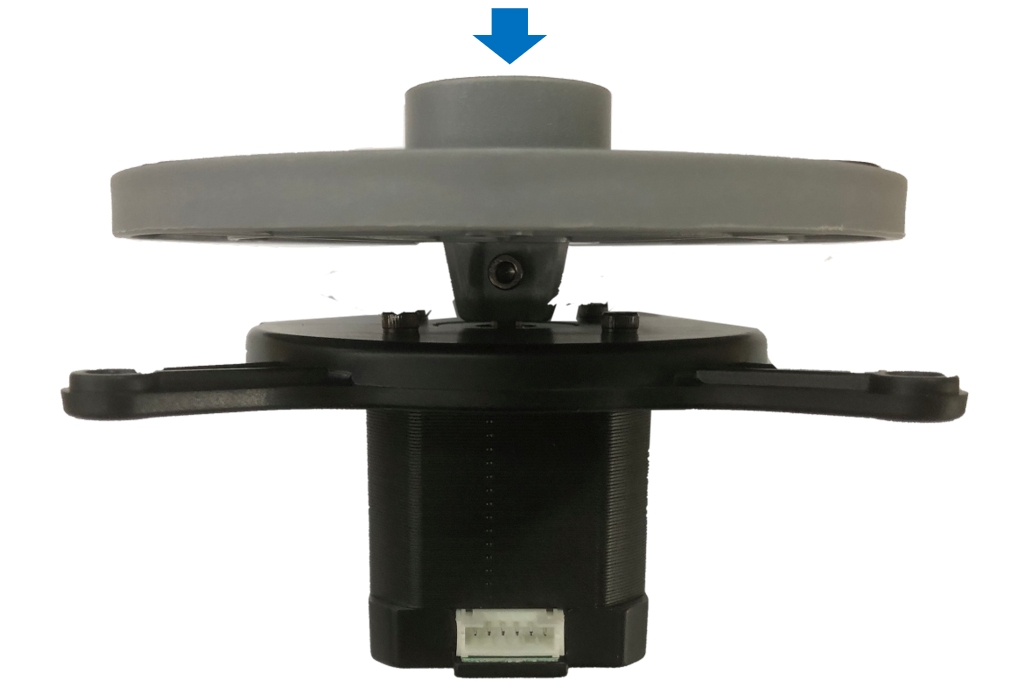
②Use an M2.5 Allen key to remove the screw that secures the motor rotor to the motor and then take off the motor rotor.
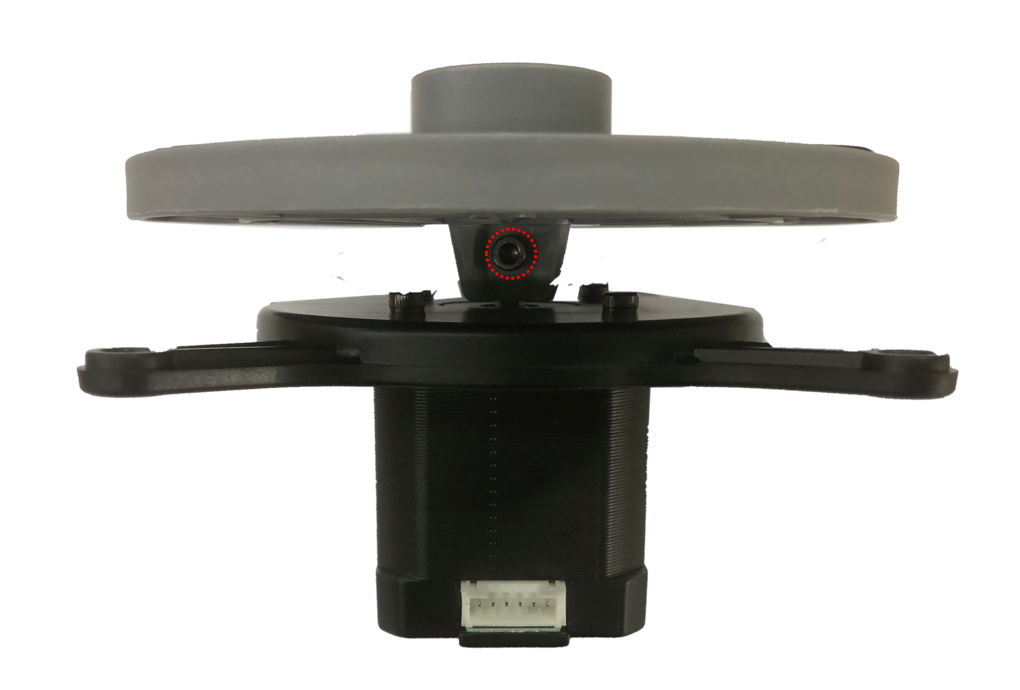
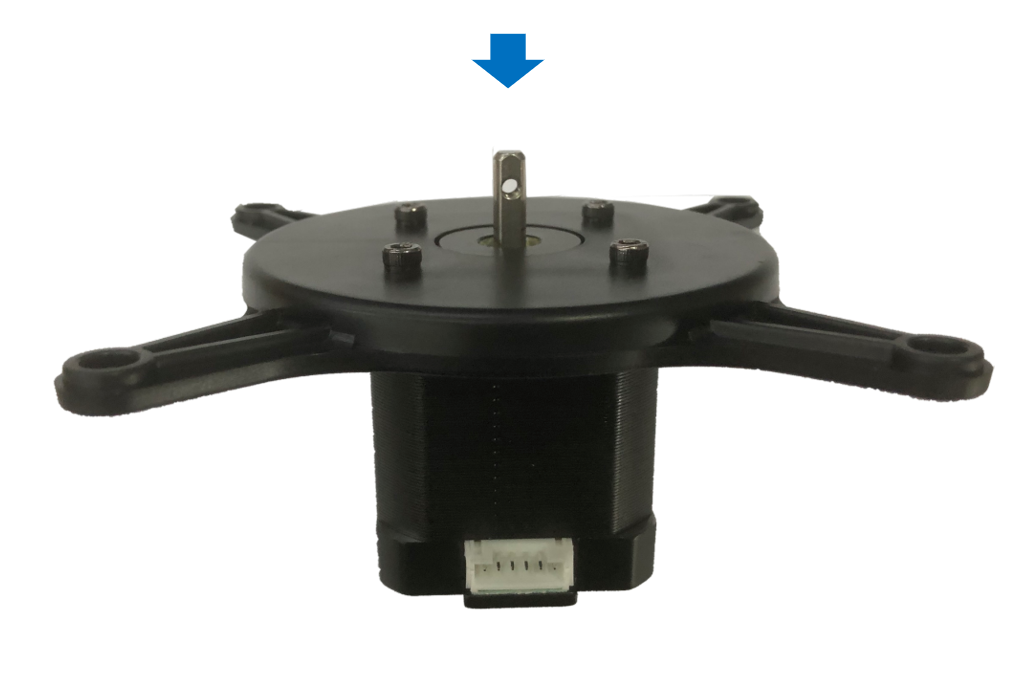
③Use an M2.5 Allen key to remove the 4 screws that secure the motor bracket to the motor, then take off the motor bracket.
¶ 3.Installation Steps:
¶ Step 1: Install the motor
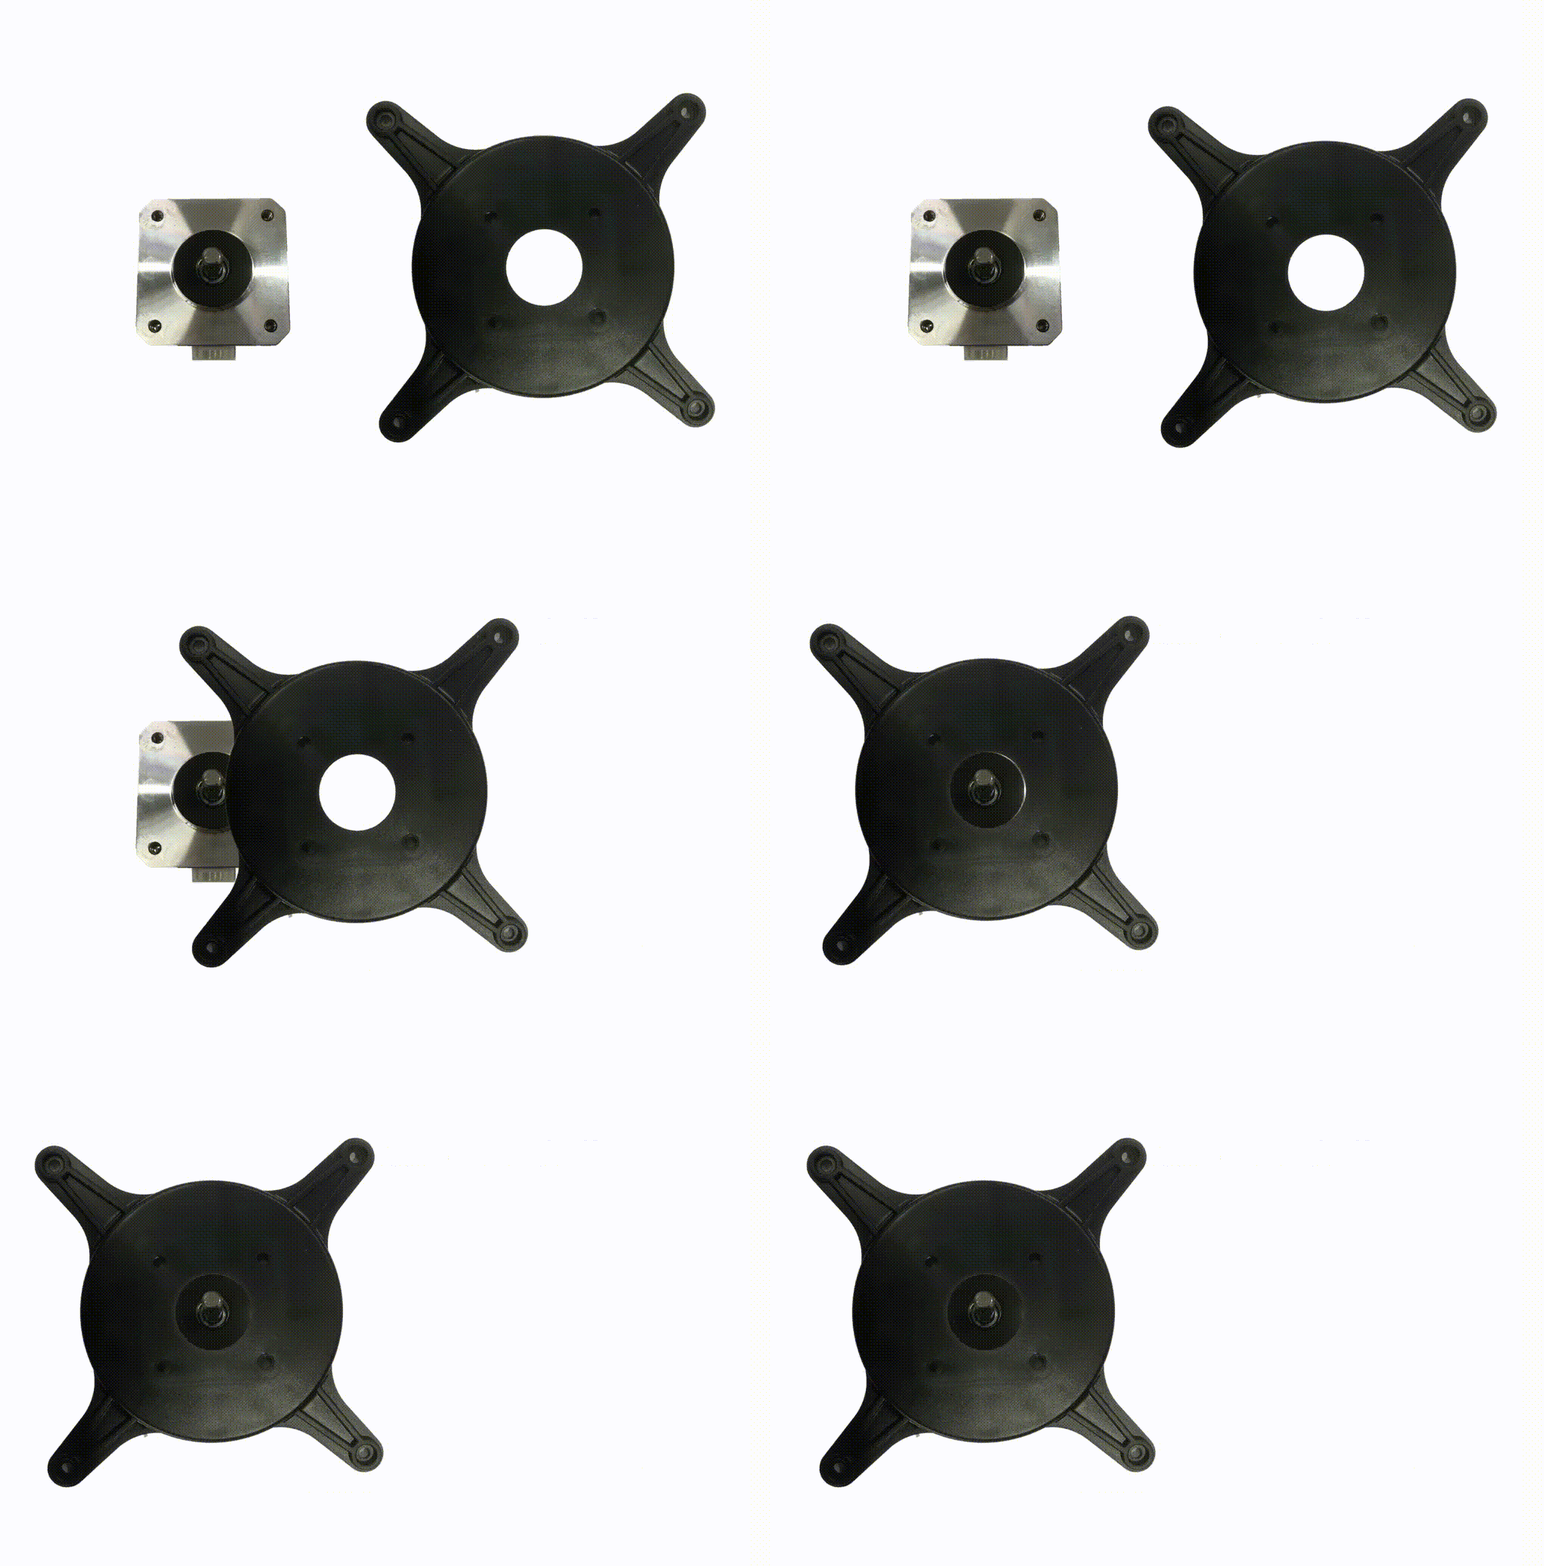
①Take out the new motor and the previously removed motor bracket and screws. Align the screw holes on the motor bracket with those on the motor and use an M2.5 Allen key to tighten the 4 screws securely.
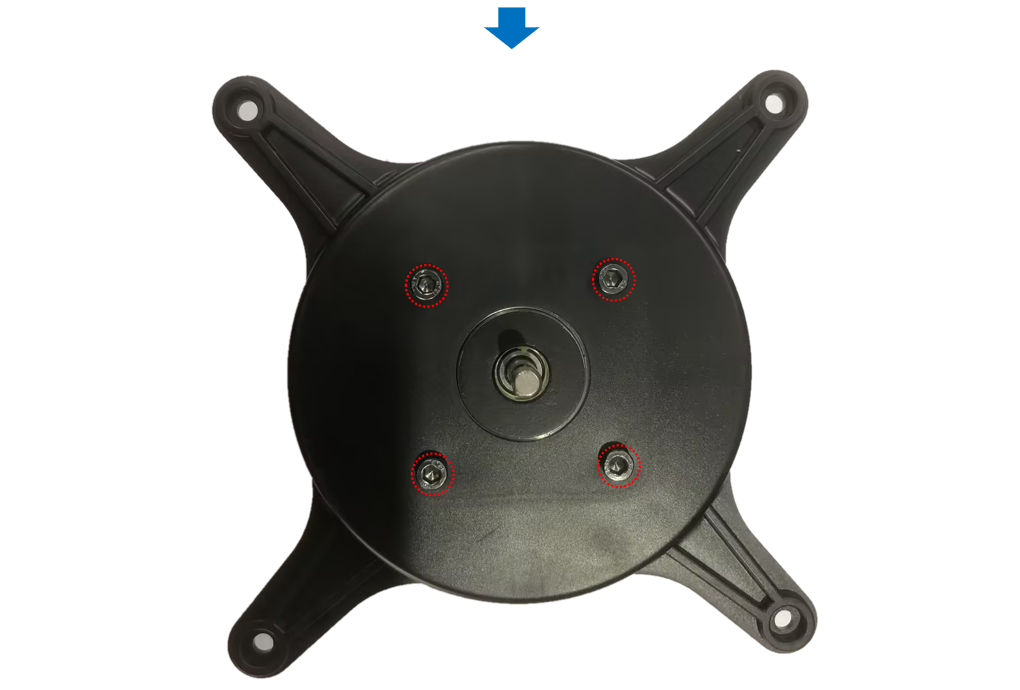
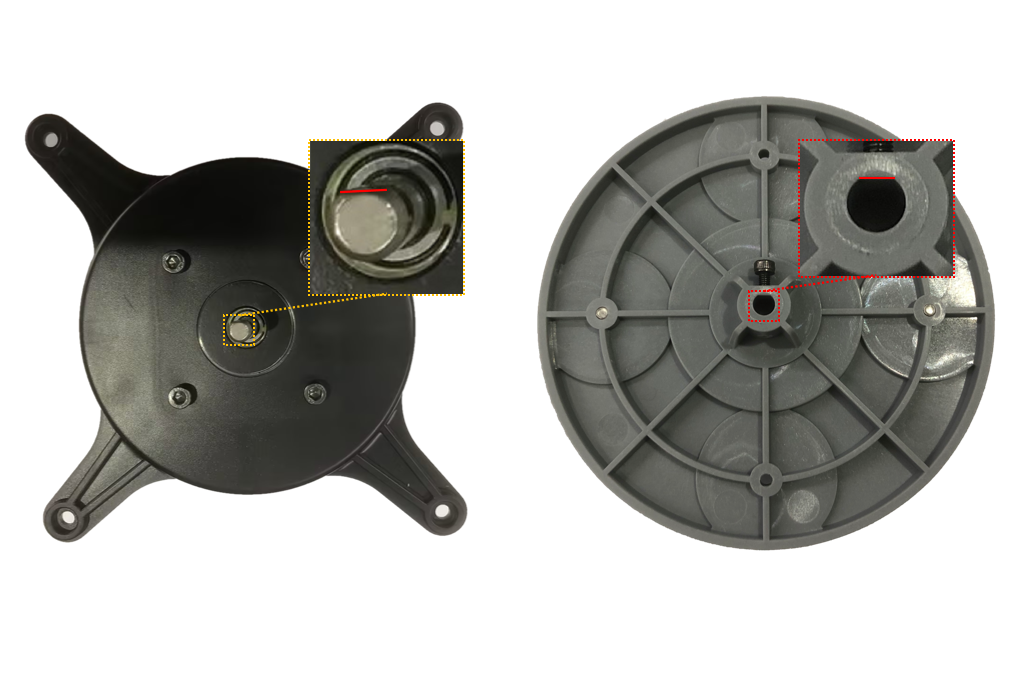
②Take the previously removed motor rotor, screw the screw onto the motor rotor hole (tighten it slightly), align the flat section of the motor with the flat section on the motor rotor, and finally, use an M2.5 Allen key to tighten the screw.
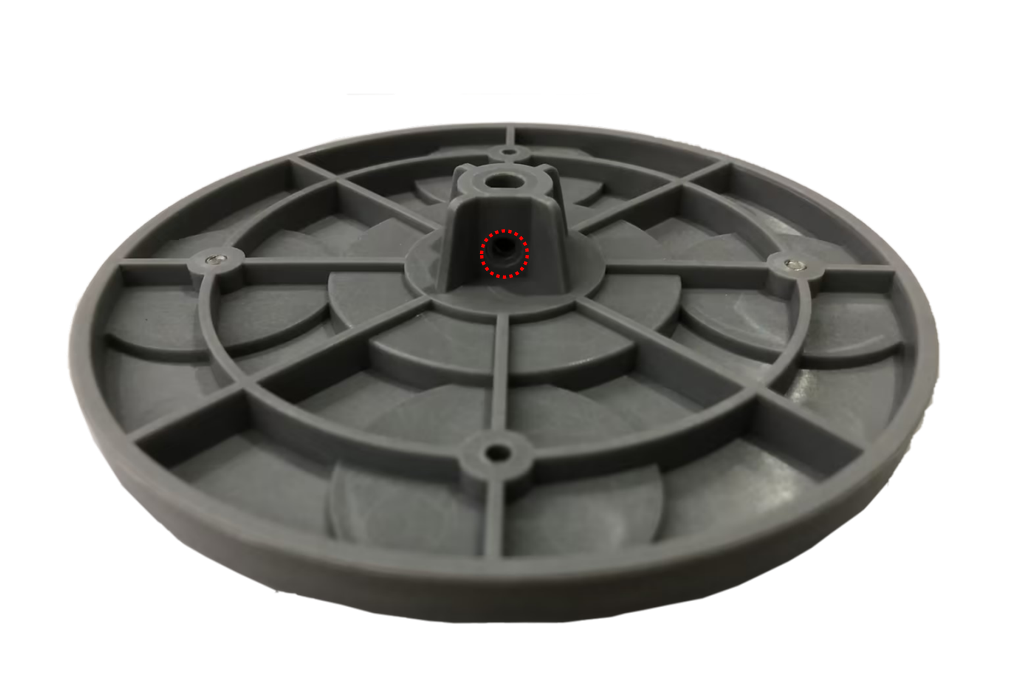
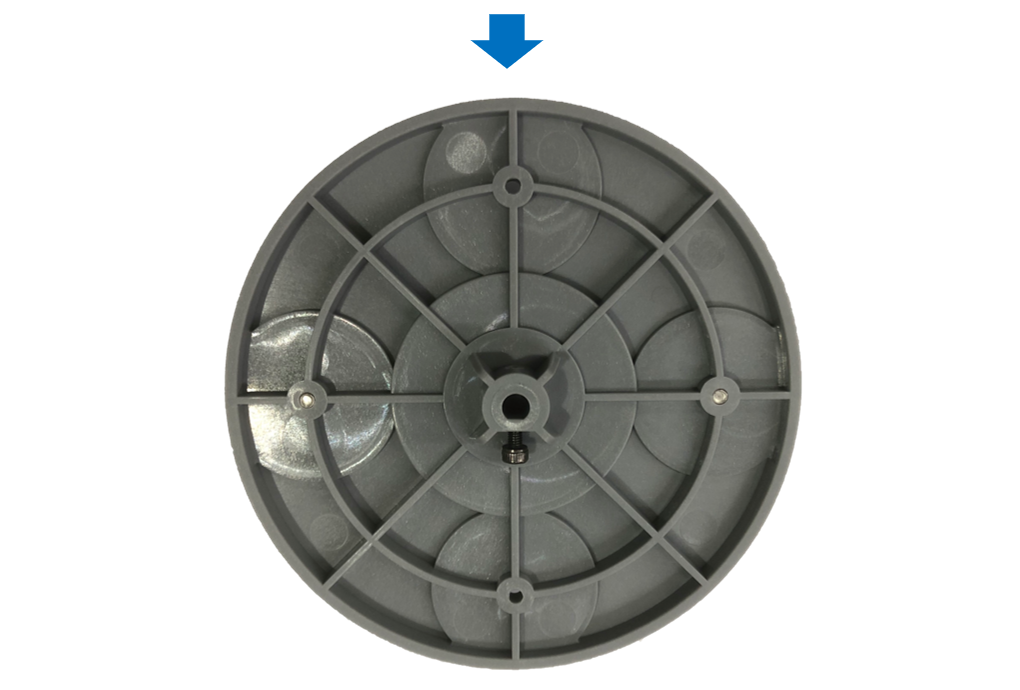
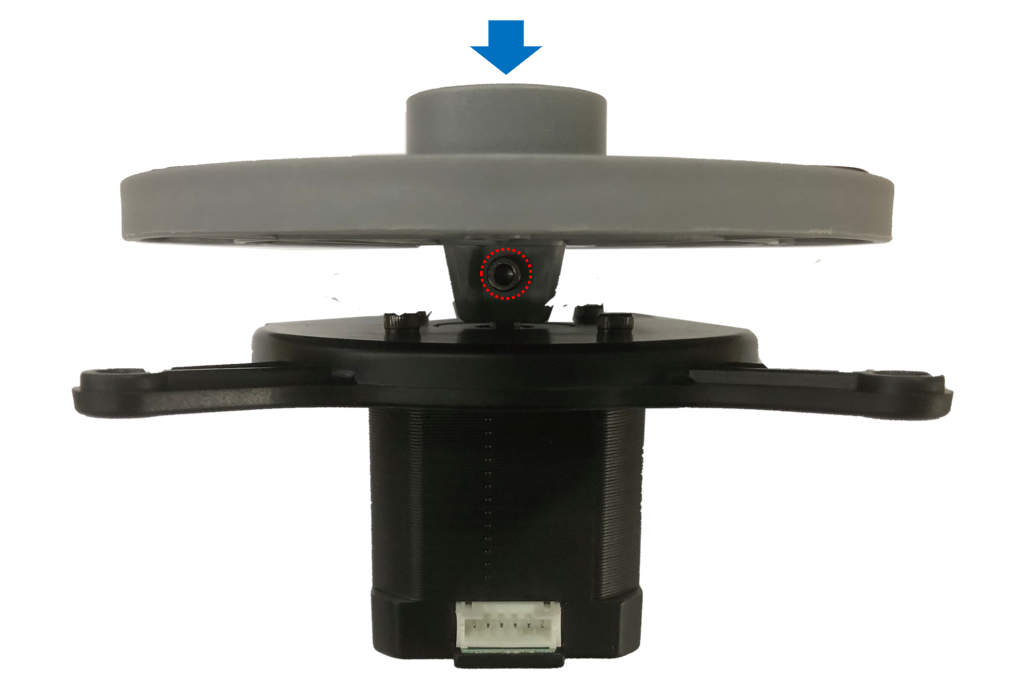
③Install the motor module onto the device, align it with the screw holes, and use an M2.0 Allen key to tighten the 4 screws securely.
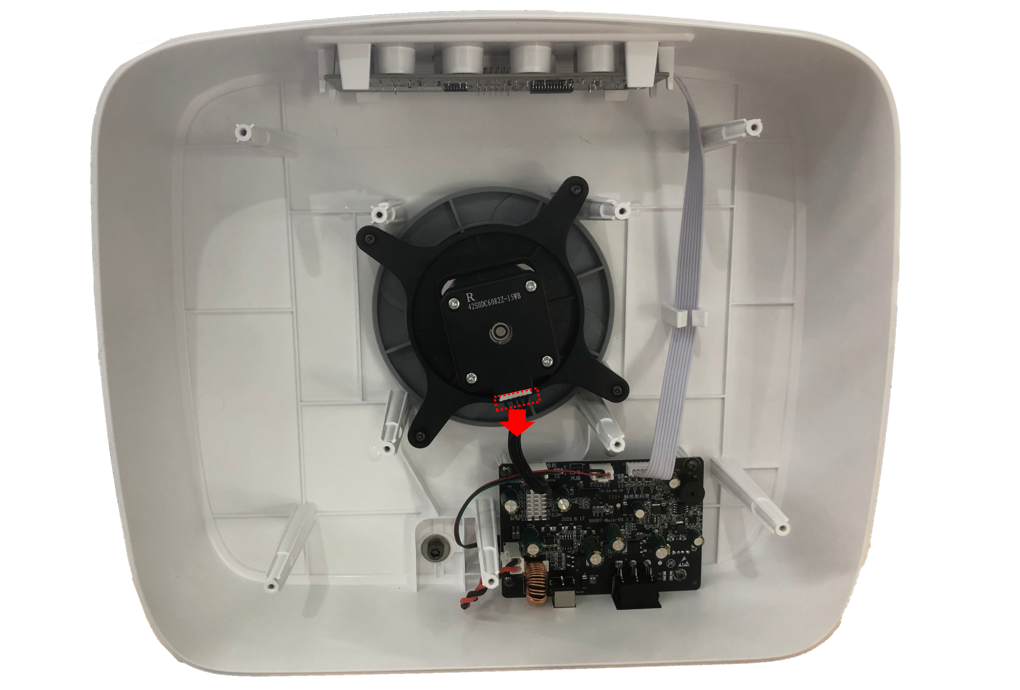
Note that during installation, the motor connector port should face towards the mainboard.
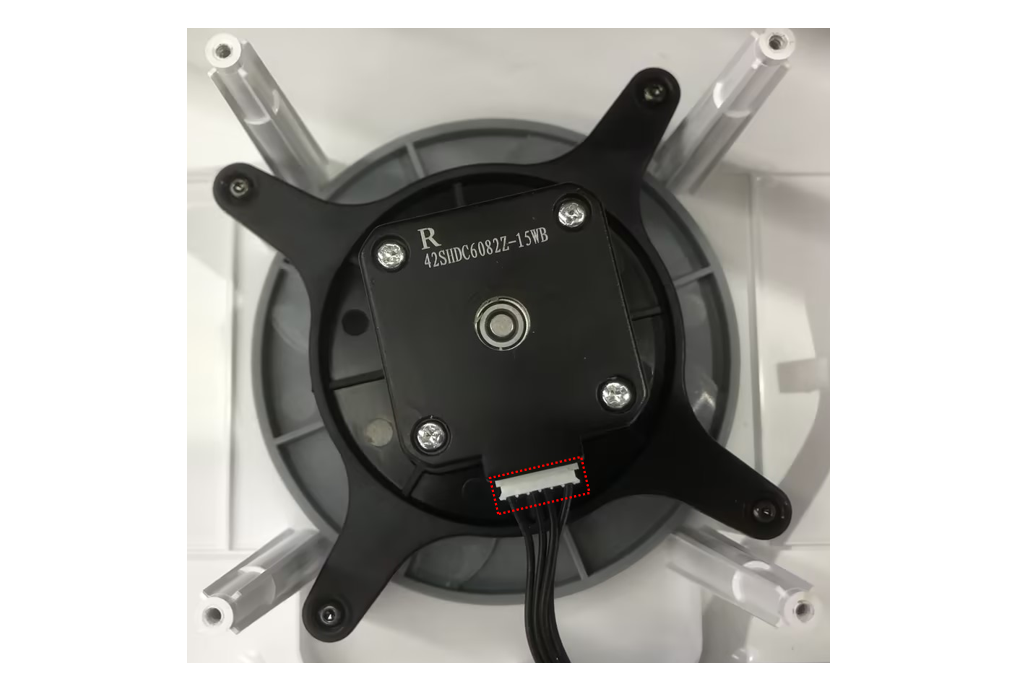
¶ Step 2: Connect the cables
Plug the motor cables into the motor connector port.
¶ Step 3: Test the functionality
Connect the device to the power source and turn it on. Install the machine's curing table, then close the cover and test if the cleaning and curing functions work, and check if the motor rotates normally.
¶ Step 4: Reinstall the device's bottom cover
Take the previously removed bottom cover, align it with the three screw holes facing the mainboard, and use the M2.0 Allen key to securely fasten the 9 self-tapping screws.
