¶ Background:
The "E11" error on the Wash & Cure Max is triggered when the liquid level sensor detects insufficient water in the clear water tank, leading to the display of this error message on the screen. Possible causes of this issue include low water level in the tank, loose connections of the liquid level sensor, or a damaged sensor.
¶ Tools:
M2.5 Allen Wrench
M4.0 Allen Wrench
Phillips Screwdriver
Mask
Gloves
Ensure that the wash bucket is filled with water before using the function to avoid machine errors due to insufficient water during operation.
¶ 1.Low Water Level in the Tank
Troubleshooting Steps:
Since this error occurs during the cleaning process, we recommend removing the lid of the clear water tank, adding water to it, and then pressing the "START/PAUSE" button. The machine will resume the previous process.
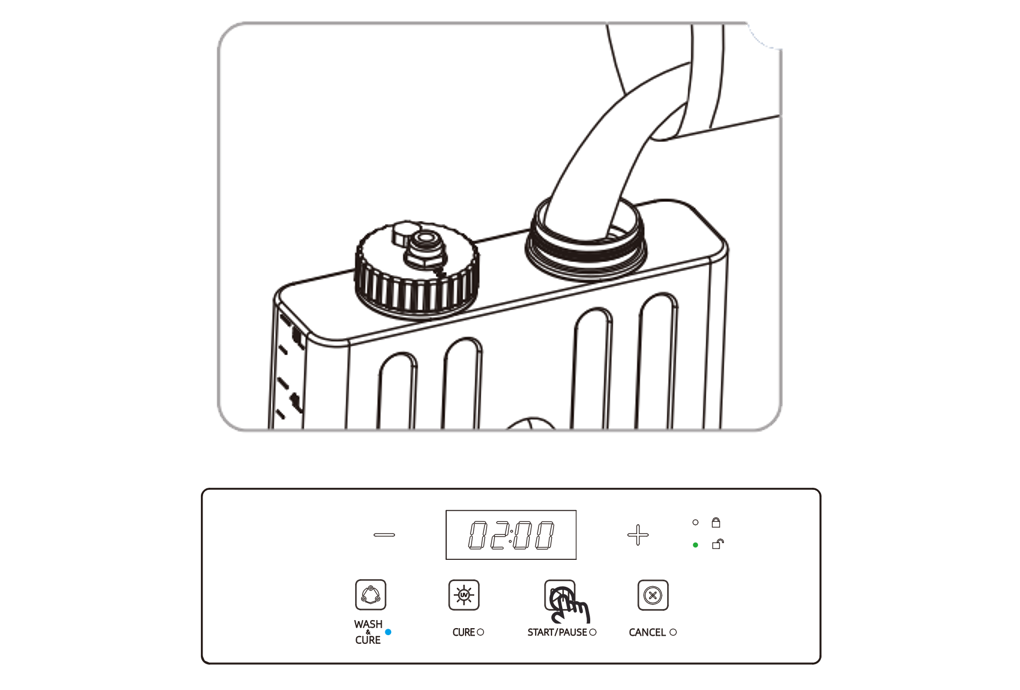
If this method doesn't resolve the issue and the device doesn't operate, try a long press on "CANCEL" to empty the cleaning bucket of any detergent. Wait for 10 minutes, then restart the device and follow the instructions below.
¶ 2.Check the Bucket Cover
Troubleshooting Steps:
¶ Step 1: Check the aluminum tube and filter on the bucket cover.
Open the covers of the wash and detergent buckets and check if there is an aluminum tube and filter on the cover.

¶ Step 2: Reconnect the water pipe and aluminum column on the bucket cover.
① Press the quick joint safety valve that secures the water pipe on the bucket cover, remove the water pipe, and reinstall it.
② Press the quick joint safety valve that secures the aluminum column on the bucket cover, remove the aluminum tube, and reinstall it.
¶ 3.Device Testing
Troubleshooting Steps:
After restarting the device, wait for 30 minutes and remove the model.
Press the quick joint safety valve on the bucket cover to remove the water pipe. Place all four water pipes in a bucket and fill the bucket with water. Open the machine and run a full automatic cleaning cycle. If it runs correctly, there may be an issue with the bucket cover. please record a video and create an after-sales ticket to provide it to the after-sales engineer.


¶ 4.Poor Contact of the Liquid Level Sensor
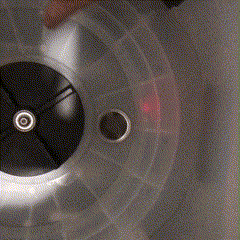
Wear a mask and gloves, open the machine's cover, and remove the cleaning basket and models. Refer to the diagram below to check if the red indicator light at the drainage port is lit and extinguishes when touched.
If the liquid level sensor is working correctly, contact the customer service or technical support of the store for detailed troubleshooting steps.
If the sensor is not functioning properly, proceed with the following steps to check for loose connections:
¶ Step 1: Turn off the machine's power.
Before proceeding, make sure to turn off the machine's power and unplug the power cord for safety.
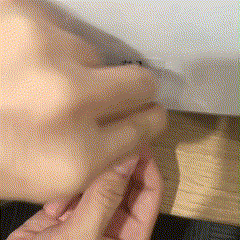
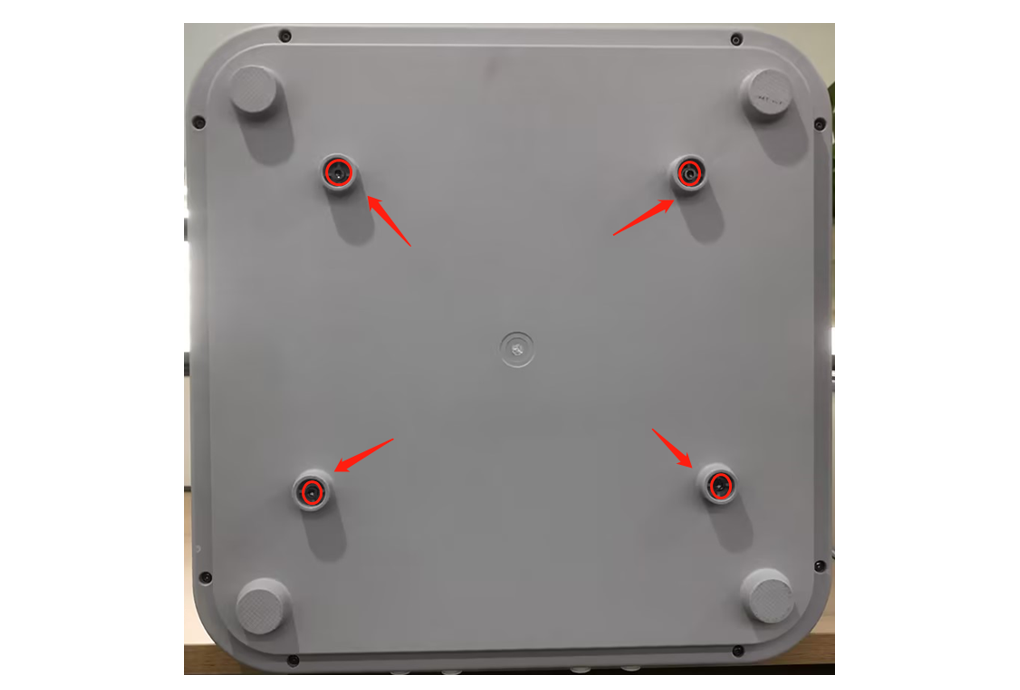
¶ Step 2: Remove the water hoses from the back of the machine.
Press the safety valve on the quick connector with one hand and use the other hand to remove the water hoses from the connectors. Follow the diagram below to remove all four water hoses using this method.
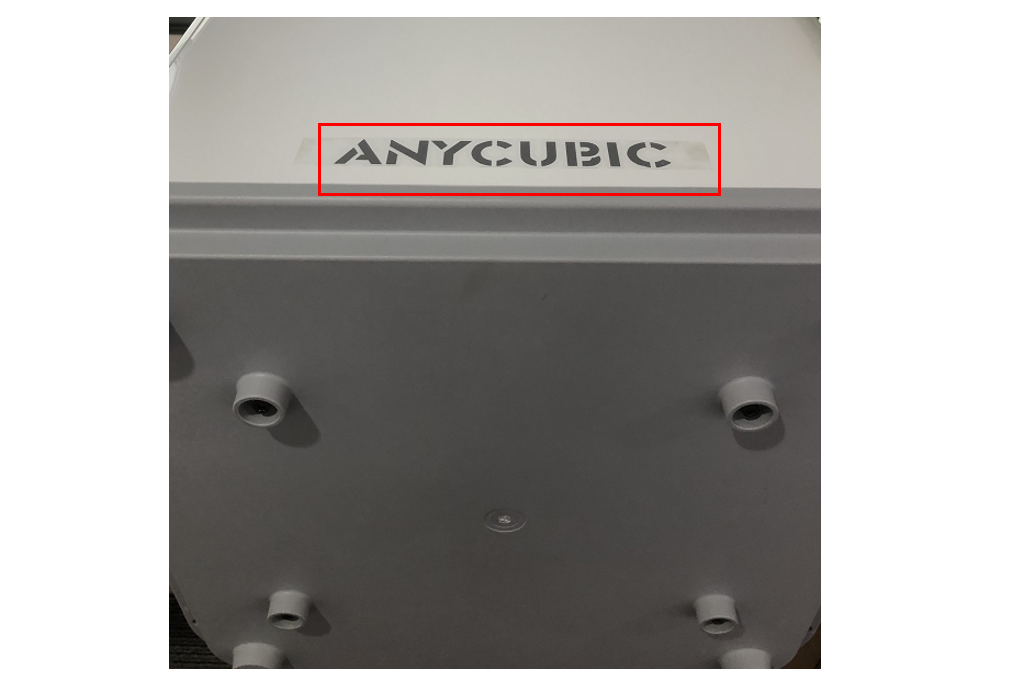
¶ Step 3: Disassemble the bottom cover of the machine.
①Place the machine upside down, with the side bearing the "ANYCUBIC" logo facing upwards. Note that when you place the machine upside down, a small amount of water may leak from the drainage port. You can place a cloth under the bottom to prevent this.
②Use an M2.5 Allen wrench to remove the 8 screws that secure the bottom cover of the machine.
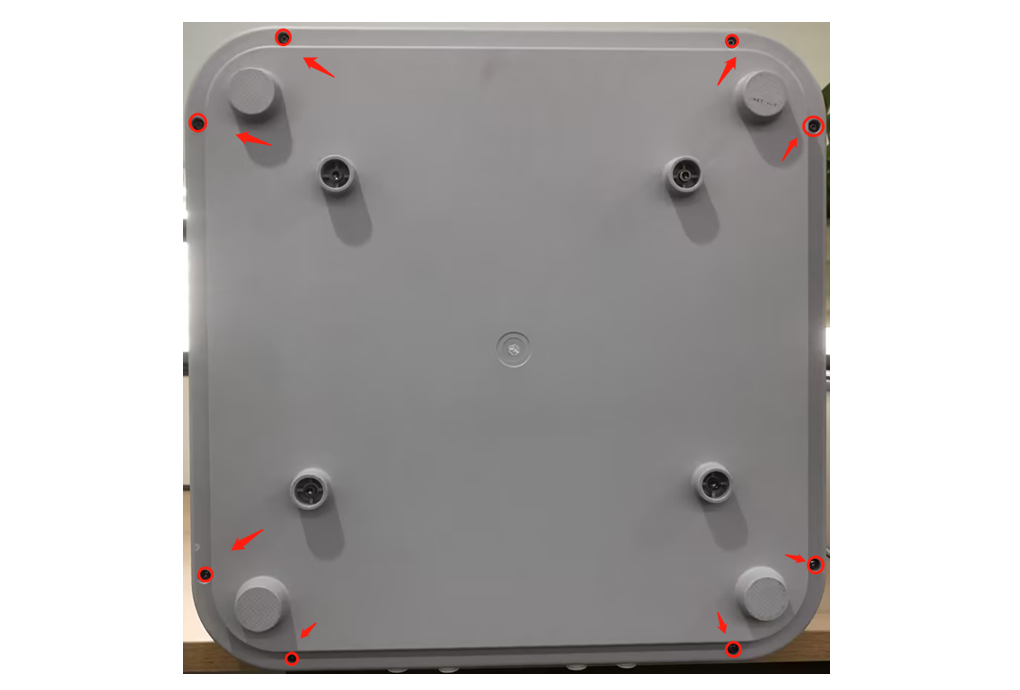
③Use an M4.0 Allen wrench to remove the 4 screws that secure the bottom cover of the machine.
④Remove the bottom cover of the machine and set it aside.
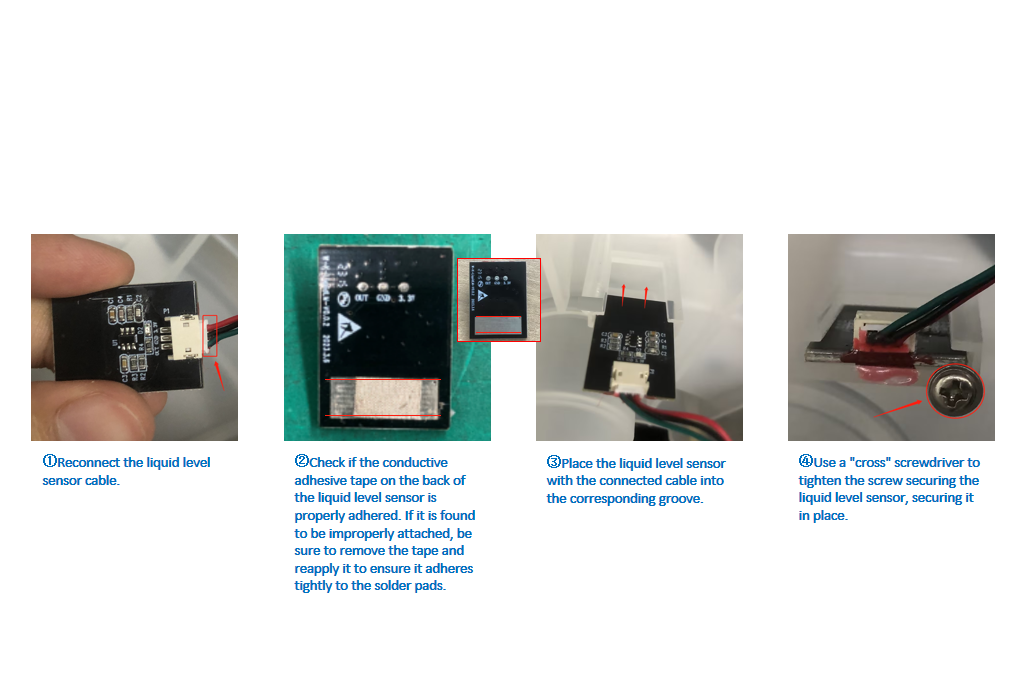
¶ Step 4: Reinstall the Liquid Level Sensor
Refer to the diagram below for the location.
①Use a Phillips screwdriver to remove the 1 screw that secures the liquid level sensor.

②First, unplug and plug in the liquid-level sensor cable. Then, carefully inspect the conductive tape on the back of the liquid level sensor to ensure it is correctly adhered. If it is not, remove it and reapply it to ensure full adhesion to the solder pad. Next, place the liquid level sensor with the connected cable into the corresponding groove. Finally, use the Phillips screwdriver to tighten the 1 screw on the liquid level sensor to secure it in place. These steps will help ensure the proper functioning of the liquid level sensor.
For reassembly, reverse the installation and disassembly steps. If the bottom cover does not fit into place, try changing its orientation.