¶ 1. Set up time-lapse photography
¶ Step 1: Bind the printer
Open the "Anycubic" APP, scan the code and bind the printer according to the instructions below.
Kobra S1-Printer Binding Guide
¶ Step 2: Install the camera and USB flash drive
Insert the USB flash drive into the printer's USB port, then follow the instructions below to install the camera.
Kobra S1-Camera Installation Guide
¶ Step 3: Turn on time-lapse photography
(1) Open the "Anycubic" APP, click "Workbench", then select the Kobra S1 page, click "Print" to initiate the print task.
(2) Select the file you want to print, check "Timelapse" on the page that initiates printing, and then click "Start Now".
¶ Step 4: Export the video to the USB flash drive
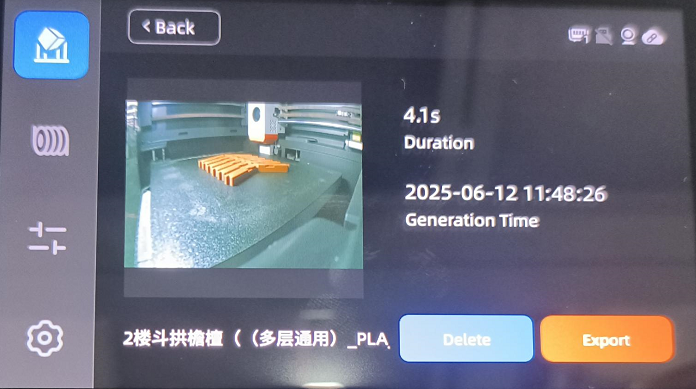
At present, the videos generated by time-lapse photography can only be saved locally for the time being, that is, the built-in time-lapse photography.
If you want to view the video from your computer, please click the export button at the lower right corner of the video, export it to the USB drive and then insert it into your computer.
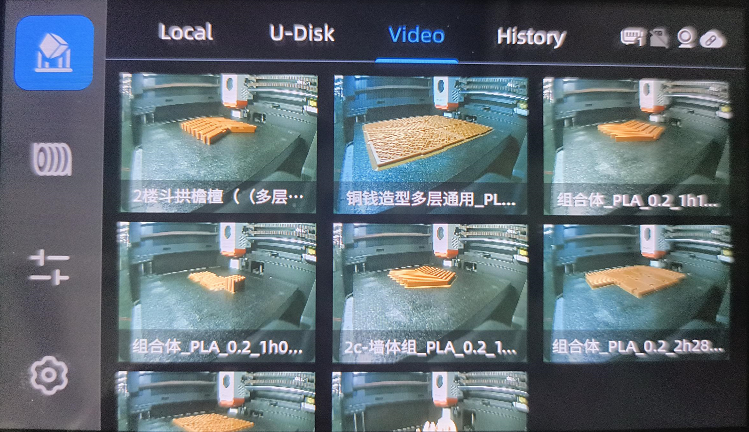
¶ Step 5: View the video on the USB flash drive
After printing, remove the USB flash drive from the printer, then insert the USB flash drive into your computer and click on the Time-lapse-Video folder to view the video.
¶ 2. Setting time-lapse photography fails
¶ Step 1: Check the USB flash drive
If there is no video in the folder, first check whether the USB flash drive is loose or removed during printing.
¶ Step 2: Check the camera
Then check whether the camera wiring is loose, and whether the printed page can monitor the printer.
Note: The time-lapse photography feature of the printer must ensure that the USB flash drive and camera are connected to the printer before printing.
¶ Step 3: Check the network connection
If both the USB flash drive and the camera are connected to the printer properly, please check the printer's network connection by following the guidance document below.